Table of Contents
Advertisement
Advertisement
Table of Contents

Subscribe to Our Youtube Channel
Related Manuals for 4IPNET WHG321 V3.30

Summary of Contents for 4IPNET WHG321 V3.30
- Page 1 WHG321 V3.30 Secure WLAN Controller...
-
Page 2: Copyright Notice
4IPNET, INC. You may not alter or remove any copyright or other notice from copies of the content. All other brand and product names are claimed or registered marks of their respective companies or organizations. - Page 3 2. Quick Installation Guide (QIG) x 1 instructions and reference material for 3. Ethernet Cable x 1 getting started with the 4ipnet WHG321 4. RS-232 DB9 Console Cable x 1 Secure WLAN Controller. This guide will 5. Power Adaptor (12VDC, 2A) x 1...
-
Page 4: System Overview
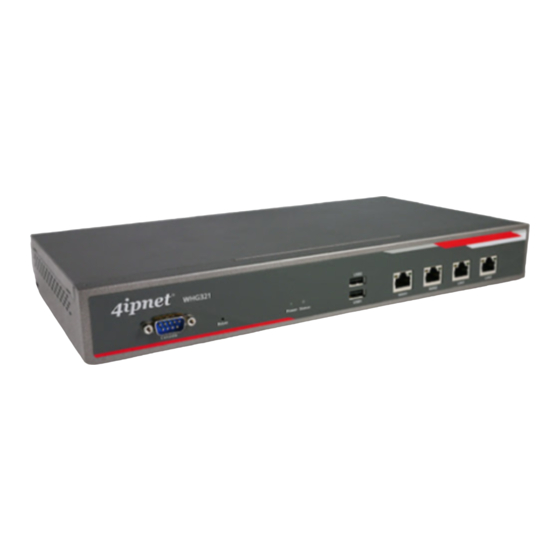
Quick Installation Guide WHG321 Secure WLAN Controller ENGLISH System Overview Front Panel Console: The system can be configured via a serial console port. The administrator can use a terminal emulation program such as Microsoft’s Hyper Terminal to login to the configuration console interface to change admin password or monitor system status, etc. -
Page 5: Hardware Installation
Quick Installation Guide WHG321 Secure WLAN Controller ENGLISH Hardware Installation Please follow the following steps to install WHG321: 1. Connect the power to the power socket on the rear panel. 2. The Power LED should be on to indicate a proper connection. 3. -
Page 6: Getting Started
Getting Started < System Concept > 4ipnet WHG321 is capable of managing user authentication, authorization and accounting. The user account information is stored in the local database or a specified external database server. Featured with user authentication and integrated with external payment gateway, WHG321 allows users to easily pay the fee and enjoy the Internet service using credit cards through Authorize.net, PayPal, SecurePay, or WorldPay. - Page 7 Quick Installation Guide WHG321 Secure WLAN Controller ENGLISH Next, enter the gateway IP address of WHG321 at the address field. The default gateway IP address is“https://192.168.1.254” (“https” is used for a secured connection). The administrator login page will appear. Enter “admin”, the default username, and “admin”, the default password, in the User Name and Password fields.
- Page 8 Quick Installation Guide WHG321 Secure WLAN Controller ENGLISH After a successful login, the system prompts for the administrator to change password to enforce system security. The password needs to be at least 6 characters long and include at least one alphabet and one number.
- Page 9 Quick Installation Guide WHG321 Secure WLAN Controller ENGLISH After a successful login, a Welcome page will appear on the screen. If you can’t get the login screen, the reasons may be: (1) The PC is set incorrectly so that the PC can’t obtain the IP address automatically from the LAN port;...
-
Page 10: Common Settings
Quick Installation Guide WHG321 Secure WLAN Controller ENGLISH Common Settings < Setup Wizard > Step 2: WAN1 Interface WHG321 provides a Setup Wizard for quick For setting up both wired WAN and wireless LAN configuration. To quickly configure WHG321 by functions: ... - Page 11 Quick Installation Guide WHG321 Secure WLAN Controller ENGLISH When the following Administrator Login Page appears, it means the restart process is now completed. Step 4: Confirm and Restart Click Finish to save current settings and restart the system. ...
- Page 12 < Service Zone & AP Management > Note: WHG321 supports multiple authentication 4ipnet WHG321 has introduced an important new options including built-in local user database concept called “Service Zone”. For how to set up and external authentication database (e.g.
Need help?
Do you have a question about the WHG321 V3.30 and is the answer not in the manual?
Questions and answers