Advertisement
Quick Links
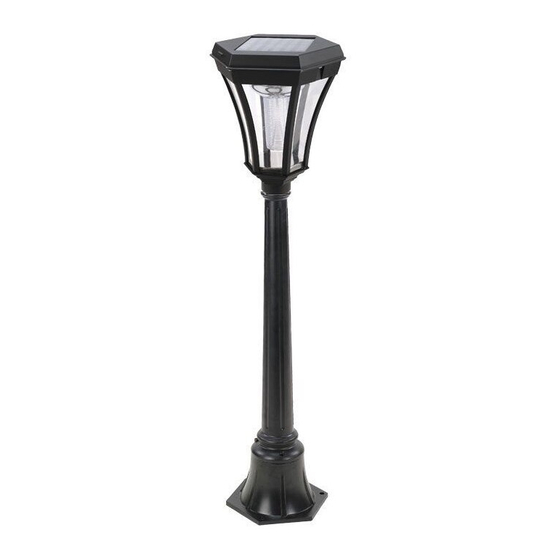
SOLAR LAMP POST
US Patent # 7172307
Instruction Manual
Models: GS-94L, GS-94S
GS-94D, GS-94T, GS-94W, GS-94P,
GS-94F
Introduction
® solar charged accent lighting eliminates
Thank you for your purchase.
GAMA SONIC
the problems associated with most solar lighting available today.
® solar
GAMA SONIC
charged lights are brighter and last all night with a typical solar charge. Unique design,
superior light output and numerous installation options confirm the outstanding value
of the product.
® has been recognized as a worldwide leader in the lighting industry for
GAMA SONIC
over 20 years. The company also offers unique multi-purpose rechargeable products
that range from party lights to emergency lighting products.
For technical assistance and more information call our Toll Free number:
800-835-4113 (only within the US) or visit our website at:
www.gamasonic.com.
Advertisement

Related Manuals for Gama Sonic GS-94L


Summary of Contents for Gama Sonic GS-94L
- Page 1 SOLAR LAMP POST US Patent # 7172307 Instruction Manual Models: GS-94L, GS-94S GS-94D, GS-94T, GS-94W, GS-94P, GS-94F Introduction ® solar charged accent lighting eliminates Thank you for your purchase. GAMA SONIC the problems associated with most solar lighting available today.
- Page 2 Please read the instruction manual carefully to obtain the best results from your purchase. Unpack and identify the following components. Parts: GS-94L Parts: GS-94S Parts: GS-94D Parts: GS-94T Parts: GS-94P Parts: GS-94 GS-94F...
- Page 3 4. Make sure the lamp base (F) is stable before installing Part (D) to the lamp base by using 3 supplied screws. 5. GS-94L: Then screw part (A) into part (B) and part (B) to Part (D). (Fig 3). 6. GS-94S: Then screw part (A) into Part (H), part (H) to part (B), part (B) to part (C), part (C) to part (D).
- Page 4 Fig. 3 – GS-94L Fig. 4 Fig. 5 Fig. 4 – GS-94S...
- Page 5 NOTE: The following steps are for reference only. Consult your local hardware store for the best installation method foryour particular surface. 1. Do steps 1 to 5 as described in models GS-94L and GS-94D. 2. Insert part (K) into part (B) as shown in Fig. 5.
- Page 6 Be Sure to place your lamp post in a spot where it can receive maximum sunlight throughout the day. It will turn on automatically at night. Replacing the Batteries (After several years of use, the batteries may need replacing) 1. Detach the top of the lamp unit (A) by releasing the 2 screws and twisting it counter-clockwise (as shown in Fig.