
Subscribe to Our Youtube Channel
Related Manuals for Time TT130


Summary of Contents for Time TT130
- Page 1 Ultrasonic Thickness Gauge TT130 TIME Group Inc Beijing TIME High Technology Ltd. Content...
-
Page 2: Table Of Contents
1. GENERAL DESCRIPTION ....................3 1.1 S ......................4 COPE OF APPLICATION 1.2 B ....................4 ASIC WORKING PRINCIPLE 1.3 B ........ 4 ASIC CONFIGURATION AND EACH PART DESCRIPTION OF THE TESTER 2. PERFORMANCE PARAMETERS..................6 3. MAIN FUNCTIONS ....................... 7 4. -
Page 3: General Description
10.10 P ..................17 ROTECTIVE SHEATH OF PROBE 11. PRECAUTIONS........................18 11.1 A ..................... 18 UTOMATIC TURN OFF 11.2 C ..................... 18 LEANING OF TEST BLOCKS 11.3 C ..............18 LEANING OF THE SHELL OF THE INSTRUMENT 11.4 P ....................18 ROTECTION OF THE PROBE 11.5 R .................. -
Page 4: Scope Of Application
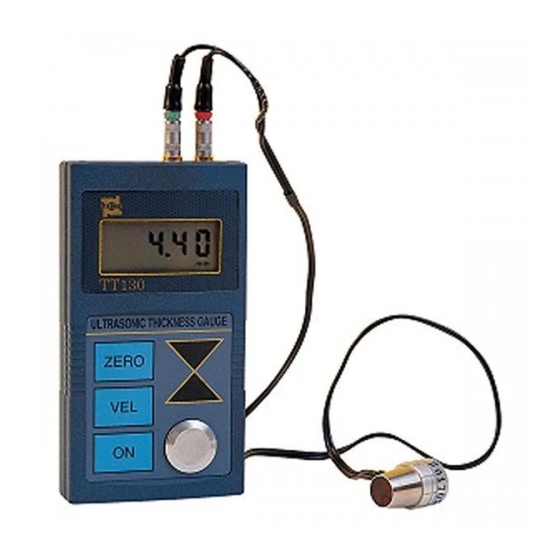
Another prominent characteristic of it is to monitor various kinds of pipes and pressure vessels for the decrease of their thickness during the use because of corrosion and erosion. TT130 enjoys a wide range applications in many areas, such as petroleum, chemical engineering, metallurgy, shipbuilding, aviation and spaceflight, etc. - Page 5 LCD screen display: BATT : low voltage indication 凸 : coupling indication : metric unit of sound velocity : metric unit of thickness inch/μs: imperial unit of sound velocity inch : imperial unit of thickness Keyboard:...
-
Page 6: Performance Parameters
: power ZERO : calibration : sound velocity ▲ : adjustment key for sound velocity, thickness and thickness unit ▼ : adjustment key for sound velocity, thickness and thickness unit VEL+ZERO : keys for thickness memory 2. Performance parameters Display type: 4-digit LCD Minimum display unit: 0.01 mm... -
Page 7: Main Functions
3. Main functions 1) Automatic calibration to zero: automatically correct the system errors 2) Automatic non-linear compensation: within the full range, computer software is used to correct the non-linear errors of the probe for the purpose of improving the accuracy 3) The upward and downward adjustment keys enable prompt selection of sound velocity, thickness, and check the thickness memory units 4) Prompt for coupling state: provide coupling indication and the observation of... -
Page 8: The Adjustment Of Sound Velocity
The screen will display the content of the current memory unit of sound velocity. Each time the VEL-key is pushed the sound velocity memory unit will change. Five different sound velocity values will be displayed in turn. If the current displayed sound velocity is desired to be changed, the keys △-▽... -
Page 9: Measurement Of Thickness
Put the coupling agent on the testing block supplied with the unit and couple the probe with the testing block. At this time, the bar lines displayed on the screen will disappear one after the other until the screen display 4.0mm (0.158inch). This indicates that the calibration is over. -
Page 10: Switch Between Meter And Inch
△-▽. Push VEL-key to get the desired sound velocity, at the same time this sound velocity will be stored in the current memory unit. In sound velocity measurement, the test block is required to be thick enough. The recommended minimum thickness is 20mm. -
Page 11: Memory Of Thickness Values
Each time when a new value is measured, the old one in this unit will be automatically replaced. The stored value in this memory unit is the latest measurement value. - Page 12 VEL-key, the new measurement value will replace the content of this memory unit. Low voltage indication If BATT is displayed on the screen, it shows that the battery voltage is running low and the batteries should be replaced in time before the unit can be used again.
-
Page 13: Automatic Turn Off
8. Automatic turn off If within two minutes no operation is performed, the unit turns off automatically. 9. Measuring technology 9.1 Cleaning the surface Before measurement, it is necessary to clean the dust, dirt or rusty matters and coatings of the surface off the test object. 9.2 Lessening the roughness Too rough a surface may cause errors or no reading. -
Page 14: Compound Contour
In measuring materials with compound contour (such as elbows), the method introduced in 7.4 may be used. The difference is that there is the need to measure the second time to obtain two readings and take the smaller reading as the thickness of the point measured. -
Page 15: Afew Measuring Methods
This method is often used to test low carbon steel only for approximate measurement. Since TT130 ultrasonic wave gauge possesses the capability to measure sound velocity, sound velocity can be obtained at first and then measurement of the part can be undertaken according to this velocity. -
Page 16: The Wear Of Probe Cross Talk Isolation Board May Affect The Results Of Measurement, Probe Should Be Replaced When The Following Phenomena Occur
9.12 The wear of probe cross talk isolation board may affect the results of measurement, probe should be replaced when the following phenomena occur: 1. The screen always displays the same measurement value while measuring different thickness. 2. There is echo wave indication or measurement value displayed when the probe has been inserted without measurement. -
Page 17: Use Of The Zero-Key
10.5 Use of the ZERO-key The key is used only for correction by coupling the probe onto the standard test block on the instrument panel. It is not to be used on any other kinds of test blocks. Otherwise it will cause measurement errors. 10.6 Laminated and compound materials It is impossible to measure the uncoupled laminated materials, because the ultrasonic wave cannot penetrate the spaces that have not been coupled. -
Page 18: Precautions
When the temperature is high, caution must be taken not to stain it with sweat. When not used for a long time, the test block should be coated with a thin layer of fat to prevent rusting. To use again, clean the fat, the instrument will work normally. -
Page 19: Replacement Of Batteries
Take off the batteries and put in the new batteries. Note the polarity of the battery. When the instrument lies idle for a long time, take out the batteries to prevent leaking that will corrode the battery chamber and the poles. -
Page 20: Non-Warranty Parts
1480 Water(20℃) Glycerine 1920 Sodium siliate 2350 13. Non-warranty Parts 1. Window, 2. Battery, 3. Probe. 4.Test block. 5. Sheath of gauge. 6. Couplant...
Need help?
Do you have a question about the TT130 and is the answer not in the manual?
Questions and answers