Advertisement
Advertisement
Table of Contents

Related Manuals for Ninja BL487A


Summary of Contents for Ninja BL487A
- Page 1 BL487A ® OWNER’S GUIDE www.ninjakitchen.com...
- Page 2 Do not store the proper outlet. DO NOT modify the ingredients before or after blending in plug in any way. the Nutri Ninja Cup with the blade WARNING: assembly attached. Some foods may Extension cords are contain active ingredients or release...
- Page 3 Nutri 10 Appliance accessories are not intended to NInja Cup properly attached. be used in the microwave as it may result in 21 DO NOT operate this appliance on or near damage to the accessories.
-
Page 4: Table Of Contents
Features .........................5 Nutri Ninja ® Before First Use ......................6 Auto-iQ ™ Assembly & Use of Nutri Ninja Cups or XL Multi-Serve Ninja Cup ........7 Complete. Care & Maintenance ......................8 Troubleshooting Guide ......................9 Warranty & Registration ....................10 THIS BOOK COVERS MODEL NUMBER:... -
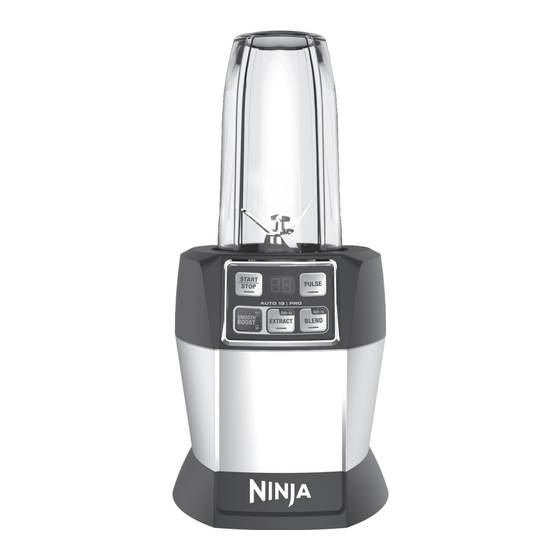
Page 5: Getting To Know Your Nutri Ninja ® Auto-Iq ™ Pro Complete
Auto-iQ Pro Complete ® ™ a 24 oz. Nutri Ninja Cup d Sip & Seal ® b 24 oz. Stainless Steel Ninja e Pro Extractor Blades Assembly ® ® c XL Multi-Serve 48 oz. Ninja Cup f Motor Base www.ninjakitchen.com... -
Page 6: Features
Cord Wrap located on back of the motor base. Ice to Snow Crushing Ice to Snow is easy – take ice cubes directly from your freezer, and put in a dry Ninja Cup – use the pulse feature in short quick bursts until it’s in snow like consistency. -
Page 7: Before First Use
Handle blade assemblies with care to avoid contact with sharp edges. Rinse and air dry thoroughly. The lids, Nutri Ninja Cups, and Pro Extractor Blades Assembly are all dishwasher safe. It is recommended that the lids and Pro Extractor Blades Assembly be placed on the top rack. -
Page 8: Auto-Iq ™ Pro
CAUTION: Remove the Pro Extractor Blades Assembly from the cup upon completion of blending. Do not store ingredients before or after blending in the Nutri Ninja Cup with the blade assembly attached. Some foods may contain active ingredients or release gases which will expand if left in a sealed container, resulting in excessive pressure buildup that can pose a risk of injury. -
Page 9: Care & Maintenance
Care & Maintenance CLEANING STORING CAUTION: MAKE SURE THE MOTOR BASE IS Store the Ninja Auto-iQ Pro Complete upright with the UNPLUGGED FROM THE POWER SOURCE BEFORE blade assembly inside the corresponding container with INSERTING OR REMOVING ANY ATTACHMENT AND the lid secured on top. -
Page 10: Troubleshooting Guide
Troubleshooting Guide PROBLEMS POSSIBLE REASONS & SOLUTIONS • Make sure the unit is plugged in and the POWER button is pressed. Unit doesn't turn on • Insert and rotate cup clockwise in the base until it clicks into place. Display should turn on. -
Page 11: Warranty & Registration
(as damage in shipping is not covered by your Limited Warranty). Mark the outside of your package “ATTENTION CUSTOMER SERVICE”. Product Registration Please visit www.ninjakitchen.com or call 1-877-646-5288 to register your new Ninja product within ten (10) days of ®... - Page 12 Copyright © SharkNinja Operating LLC 2016 Ninja, Nutri Ninja, Pro Extractor Blades and Sip & Seal are registered trademarks of SharkNinja Operating LLC. Auto-iQ and Smooth Boost are trademarks of SharkNinja Operating LLC. For SharkNinja U.S. Patent information visit sharkninja.com/USPatents.
Need help?
Do you have a question about the BL487A and is the answer not in the manual?
Questions and answers