Table of Contents
Advertisement
Advertisement
Table of Contents

Related Manuals for Nektar SE49


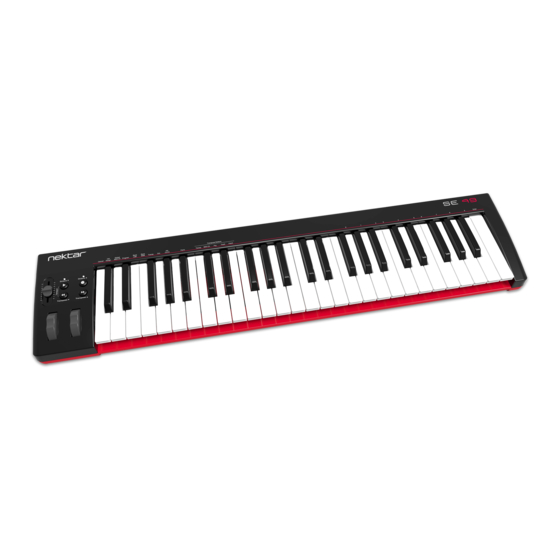
Summary of Contents for Nektar SE49
-
Page 2: Table Of Contents
SE49 firmware, software and documentation are the property of Nektar Technology, Inc and subject to a License Agreement. © 2016 Nektar Technology, Inc. All specifications subject to change without notice. Nektar is a trademark of Nektar Technology, Inc. Nektar SE49 User Guide... -
Page 3: Introduction
You also get a full version of Bitwig 8-Track software which of course feature SE49 integration. In addition, the SE49 range allow for complete user configurable MIDI control so if you prefer to create your own setups, you can do that too. -
Page 4: Getting Started
Using SE49 as a Generic USB MIDI Controller You do not need to register your SE49 in order to use your controller as a generic USB MIDI controller. It will work as a USB class device on OS X, Windows, iOS and Linux. -
Page 5: Keyboard, Octave, Transpose & Controls
Foot Switch You can connect a foot switch pedal (optional, not included) to the 1/4” jack socket on the back of the SE49 keyboard. The correct polarity is automatically detected on boot-up, so if you plug in your foot switch after boot-up is complete, you may experience the foot switch working in reverse. -
Page 6: Setup Menu
The chart below provides an overview of menus assigned to each key. Menu keys are the same for both SE49 and SE4961 but value entry using the keyboard is one octave higher on SE4961. Refer to the screen printing on the unit to see which keys to press to enter values. -
Page 7: Control Assign
Press the [Octave Up]+[Transpose Up] buttons at the same time. The LED above the button will blink and the color is orange to indicate setup is active. Press the low D1 on your SE49 keyboard to select MIDI Channel. Enter the MIDI channel value you want (from 1 to 16) using the white number keys spanning G3–B4. -
Page 8: Sending A Bank Msb Message
Press the [Octave Up]+[Transpose Up] buttons at the same time. The LED above the button will blink and the color is orange to indicate setup is active. Press the low F1 on your SE49 keyboard. Enter the Bank number you want (from 0 to 127) using the white number keys spanning G3–B4. -
Page 9: Keyboard Velocity Curves
Press the [Setup] button. The LED above the button will blink and the color is orange to indicate setup is active. Press the A1 key on your keyboard to select Panic. The reset will happen immediately and SE49 will exit Setup mode. www.nektartech.com... -
Page 10: Transpose Button Assignments
Press the [Setup] button. The LED above the button will blink and the color is orange to indicate setup is active. Press the key on your SE49 keyboard (C2-E2) that corresponds to the function you want to assign to the buttons. ... -
Page 11: Transport Control Without Nektar Daw Integration
Transport Control without Nektar DAW Integration The Nektar DAW Integration files automatically map the Octave and Transpose buttons so they can be used to control transport. If your DAW is not supported directly , you may still be able to control your DAWs transport controls using MIDI Machine Control. -
Page 12: Usb Port Setup & Factory Restore
USB Port Setup SE49 has one physical USB port however there are 2 virtual ports as you may have discovered during the MIDI setup of your music software. The additional port is used by the SE49 DAW software to handle communication with your DAW. You only need to change the USB Port Setup setting if the SE49 setup instructions for your DAW specifically advises that this should be done. - Page 13 Designed by Nektar Technology, Inc, California Made in China www.nektartech.com Nektar SE49 User Guide...
Need help?
Do you have a question about the SE49 and is the answer not in the manual?
Questions and answers