Table of Contents
Advertisement
Quick Links
Advertisement
Table of Contents

Summary of Contents for Glen GL 675
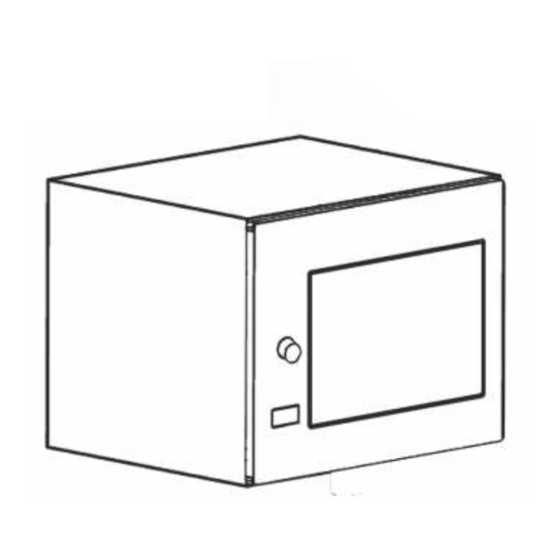
- Page 1 BUILT-IN MICROWAVE GL 675 U S E R ' S G U I D E...
-
Page 2: Precautions To Avoid Possible Exposure To Excessive Microwave Energy
If the apparatus is not maintained in a good state of cleanliness, its surface could be degraded and affect the lifespan of the apparatus and lead to a dangerous situation. SPECIFICATIONS Model: GL 675 Rated Voltage: 230V~ 50Hz Rated Input Power(Microwave):... -
Page 3: Read Carefully And Keep For Future Reference
If smoke is emitted, switch off or unplug the appliance and keep the door closed in order to stifle any flames. Do not overcook food. Do not use the oven cavity for storage purposes. Do not store items, such as bread, cookies, etc. inside the oven. -
Page 4: To Reduce The Risk Of Injury To Persons Grounding Installation
To Reduce the Risk of Injury to Persons Grounding Installation DANGER Electric Shock Hazard Touching some of the internal components can cause serious personal injury or death. Do not disassemble this appliance. WARNING Electric Shock Hazard Improper use of the grounding can result in electric shock. Do not plug into an outlet until appliance is properly installed and grounded. -
Page 5: Materials You Can Use In Microwave Oven
Materials you can use in microwave oven Aluminum Foil Shielding only. Small smooth pieces can be used to cover thin parts of meat or poultry to prevent overcooking. Arcing can occur if foil is too close to oven walls. The foil should be at least 1 inch (2.5cm) away from oven walls. -
Page 6: Setting Up Your Oven
SETTING UP YOUR OVEN Names of Oven Parts and Accessories Remove the oven and all materials from the carton and oven cavity. Your oven comes with the following accessories: Glass tray Turntable ring assembly Instruction Manual A) Control panel B) Turntable shaft C) Turntable ring assembly D) Glass tray E) Observation window... -
Page 7: Installation And Connection
Installation and connection This appliance is only intended for domestic use. This oven is intended for built-in use only. It is not intended for counter-top use or for use inside a cupboard. Please observe the special installation instructions. The appliance can be installed in a 60cm wide wall-mounted cupboard (at lease 55cm deep and 85cm off the floor). -
Page 8: Prepare The Cabinet
B. Prepare the cabinet Read the instruction on the BOTTOM CABINET TEMPLATE put the template on the bottom plane of cabinet. CENTER LINE FRONT EDGE Make the marks on the bottom plane of cabinet according to marks"a" of the template. Screw A Bracket Centre line... -
Page 9: Install The Oven
C. Install the Oven Install the oven to the cabinet Make sure the back of the oven is locked by bracket. Do not trap or kink the power cord. bracket Open the door, fix the oven to the cabinet with Screw B, at the installation hole Then fix the Trim-kit plastic cover to the installation hole. -
Page 10: Control Panel
Control Panel... -
Page 11: Operation Instructions
Operation Instructions 1. Clock Setting When the microwave oven is electried, the LED will display "0:00", buzzer will ring once. 1) Press " " twice to select clock function, the hour gures will ash. Kitchen Timer/Clock 2) Turn " " to adjust the hour gures, the input time should be within 0--23. - Page 12 3. Grill or Combi. Cooking Micro.Grill/Combi. Press " Micro.Grill/Combi. " the LED will display"P100",and press " " for times or turn the " " to choose the power you want, and "G","C-1" or "C-2" Start/+30Sec./Conrm will display for each added press. Then press " "...
- Page 13 6. Defrost By Time 1) Press " " twice, and the oven will display "dEF2". W.T./Time Defrost 2) Turn " " to select the defrost time. The MAX time is 95 minutes. 3) Press " Start/+30Sec./Conrm " to start defrosting.The defrost power is P30 , and it will not be changed.
- Page 14 Auto Menu Menu Display Weight 200 g Pizza 400 g 250 g 350 g Meat 450 g 200 g 300 g Vegetable 400 g 50g(with 450 cold water) Pasta 100g(with 800 cold water) 200 g 400 g Potato 600 g 250 g 350 g Fish...
- Page 15 9. Multi-section cooking At most 2 sections can be set for cooking. In multi-section cooking, if one section is defrosting, then defrosting shall be placed in the rst section. Example: If you want to defrost food for 5 minutes and then cook with 80% microwave power for 7 minutes, operate it as the following: 1) Press "...
-
Page 16: Troubleshooting
Trouble Shooting It is forbidden to run the unit without any food inside. It is very dangerous. According to Waste of Electrical and Electronic Equipment (WEEE) directive, WEEE should be separately collected and treated. If at any time in future you need to dispose of this product please do NOT dispose of this product with household waste. -
Page 17: Warranty
BILL NO. & DATE: NAME OF OWNER: ADDRESS: Imported & Marketed by/In case of customer complaints Contact Manager - Customer Support Glen Appliances Pvt. Ltd. I-34, DLF Ind. Area, Phase-I, Faridabad, India. Phone 0129-2254191 E-mail : service@glenindia.com, info@glenindia.com Website : www.glenindia.com...


Need help?
Do you have a question about the GL 675 and is the answer not in the manual?
Questions and answers