Table of Contents
Advertisement
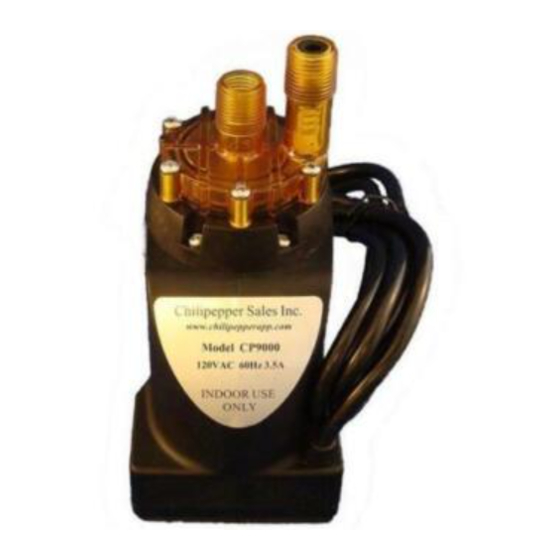
* The Chilipepper is not designed to be connected with rigid piping like copper or
galvanized pipes. *Flexible hoses MUST be used.
* The Chilipepper fittings are designed for flexible hoses that have a rubber gasket to
make a water-tight seal.
* Do not use putty/pipe dope on the fittings for the Chilipepper.
*Teflon tape is ok, IF USED CORRECTLY, and the Teflon tape does not get inside the
pump head.
WARNING: Risk of electric shock. This pump is supplied with a grounding conductor
and a grounding-type attachment plug. To reduce the risk of electric shock, be
certain that it is connected only to a properly grounded grounding-type receptacle.
Package Contents
The Chilipepper Appliance
Remote Key Fob
Brass Fitting with Temperature Sensor
White Washer for Brass Fitting
2 - Brass "T" Fittings
Hex Adjusting Tool
Screw Driver for Adjusting Temperature
Setting & Remote Codes
Helpful troubleshooting tips are at the back of this booklet.
Chilipepper CP9000
Installation Instructions
READ BEFORE INSTALLING:
Chilipepper Sales, Inc., 1410 Greg Street, Suite #408, Sparks, NV 89431
Items Needed to Install the Chilipepper
110 Volt Outlet
Two Braided type hoses:
3/8" Comp x 1/2" FIP
Wrench for the hoses
1
Advertisement
Table of Contents

Related Manuals for Chilipepper CP9000

Summary of Contents for Chilipepper CP9000
-
Page 1: Installation Instructions
Installation Instructions READ BEFORE INSTALLING: * The Chilipepper is not designed to be connected with rigid piping like copper or galvanized pipes. *Flexible hoses MUST be used. * The Chilipepper fittings are designed for flexible hoses that have a rubber gasket to make a water-tight seal. - Page 2 Next, insert the male connector on the end of the white sensor cable into the base of the Chilipepper. The male connector will only go into the circuit one way. Normally the two raised ridges on the male connector will be in the up position. The male connector will then slide into its connection smoothly.
- Page 3 7. Connect the remaining ends of the hoses to the brass T’s, making sure the hoses go to the correct Hot or Cold supply. (Fig 4 & Fig 6) Chilipepper Sales, Inc., 1410 Greg Street, Suite #408, Sparks, NV 89431...
-
Page 4: Priming The Pump
Priming and Removing all the air from the water lines and the pump is the most important step that can be done to insure a long life for the Chilipepper. The Chilipepper is a very high speed, powerful pump and running it for any length of time without water will either damage the shaft seal or the pump head, resulting in a water leak and will VOID THE WARRANTY. - Page 5 Temperature and Remote Code Adjustment On the side of the Chilipepper there are two round openings (Fig 9). Inside the top opening is a Sensitivity Adjustment. The adjustment can be done with the included screw driver or any small flat-head screw driver.
-
Page 6: Trouble Shooting
6. The temperature sensor has 4 sensitivity adjustments for your convenience. Setting 1 is the lowest and 4 is the highest. 7. It is not necessary for the faucet to be open when the Chilipepper is in use (except for the first use at installation). - Page 7 There are 3 reasons for this to happen: 1. The spring check valve is dirty. 2. There's an exterior hose bib or sprinkler line very close to where the Chilipepper is installed. 3. The Chilipepper is much higher than the water heater.
- Page 8 FAQ,'s, Warranties and Service Request Forms. READ BEFORE INSTALLING: * The Chilipepper is not designed to be connected with rigid piping like copper or galvanized pipes. *Flexible hoses MUST be used. * The Chilipepper fittings are designed for flexible hoses that have a rubber gasket to make a water-tight seal.
Need help?
Do you have a question about the CP9000 and is the answer not in the manual?
Questions and answers
What are the dimensions of the Chilipepper pump box?
The dimensions of the Chilipepper CP9000 pump box are 12.7 x 10.2 x 21.6 centimeters.
This answer is automatically generated