Advertisement
Table of Contents
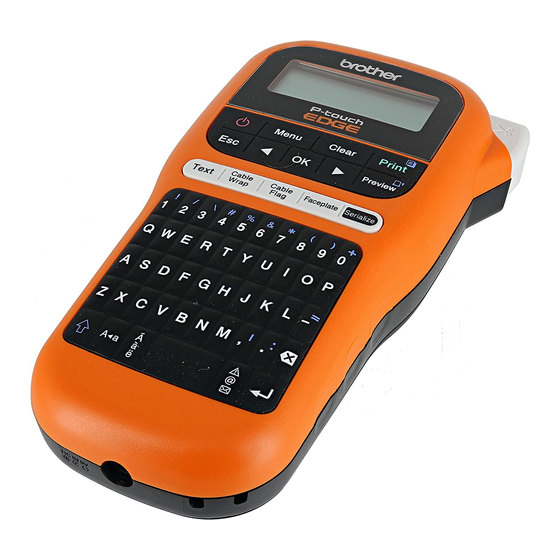
Thank you for purchasing a Brother P-touch labeling system!
Use your new Brother P-touch labeling system to create a wide variety of custom, self-adhesive labels.
This P-touch labeling system uses Brother TZe tapes. TZe tape cassettes are available in many colors and sizes. For a complete list of
tapes compatible with your P-touch labeling system, visit us at: www.brother.com.
Please read this guide, and the included Product Safety Guide, before using this P-touch labeling system. After reading this guide, keep
it in a safe place.
1
GETTING STARTED
Installing Power Supply and Tape Cassette
1
Cassette Cover
With the LCD facing down, open the Cassette
Cover by pressing the grooved tab and
pushing in the direction of the arrow, as
illustrated.
ELECTRONIC LABELING SYSTEM
E105
User's Guide
Print Head
Tape Cutter Lever
2
When replacing batteries or tape cassettes,
make sure the power is turned off.
This P-touch labeling system requires six (6)
AAA alkaline batteries or six (6) fully-charged
Ni-MH batteries, not included.
NOTE
This P-touch labeling system requires one of the
following (not included):
- six (6) AAA alkaline batteries,
- six (6) fully-charged Ni-MH batteries,
- AC Adapter (AD24).
01
Advertisement
Table of Contents

Related Manuals for Brother P-touch PT-E105


Summary of Contents for Brother P-touch PT-E105
-
Page 1: Getting Started
Use your new Brother P-touch labeling system to create a wide variety of custom, self-adhesive labels. This P-touch labeling system uses Brother TZe tapes. TZe tape cassettes are available in many colors and sizes. For a complete list of tapes compatible with your P-touch labeling system, visit us at: www.brother.com. - Page 2 If you prefer to use the optional AC Adapter • Make sure your Tape Cassette is marked (AD24) instead of using batteries: • Use Brother TZe tapes with this machine. Insert the Power Adapter cord into the AC Adapter Jack on the side of the P-touch labeling system.
- Page 3 Keyboard 1. Menu key 9. Shift key 17. Cable Flag key 2. Power key 10. Caps key 18. Faceplate key 3. Cursor key : Left (Use with Shift 11. Accent key 19. Serialize key key to go to top of the text.) 12.
-
Page 4: Initial Settings
Initial Settings Turn on your P-touch labeling system. Supply power using six AAA batteries or the optional AC Adapter (AD24), and then press to turn on the power. Set the language. The default setting is [English]. [Language] (Select language) Set the unit of measurement. The default setting is [inch]. -
Page 5: Supplies And Accessories
If you still have difficulties, replace with new Cutter Unit (stock no. TC-4) from an authorized Brother reseller. Replacing the Cutter Unit Remove the two sections of the Cutter Unit... -
Page 6: Entering Text
BASIC USAGE Entering Text You can enter a maximum of 80 characters and Entering Tabs spaces for a text label. [Tab] To cancel any operation, press • The tab symbol appears when you insert a Switching Upper Case / Lower Case tab in the text. -
Page 7: Saving Label Files
Saving Label Files Changing Label Length You can save and reuse the text and settings for up to nine different labels. Each label holds up to [Label Length] 80 characters (including spaces). Assign a number (1-9) to each saved file so you can reuse [Auto / 1.2"-12.0"... -
Page 8: Underline And Frame
Text Key Symbols Key Changing Text Settings Entering Symbols (Select category) (Select an item) (Select a setting) (Select a symbol) • Refer to the Symbols table in this guide. Size Large • To cancel any operation, press Medium • Select History to view up to seven recently-used Small symbols. -
Page 9: Printing Labels
Printing Labels Preview Setting Margins [Margin] • Pressing the Preview key displays a preview of [Full / Half / Narrow / Chain the label, and may differ from the actual one Print] when printed. • If the LCD cannot display all the text at once, [Full] / [Half] / [Narrow] press to display the hidden text. -
Page 10: Cable Wrap
• Text cannot be rotated when using the Cable Flag function. NOTE • We recommend using Brother Flexible ID Tape for labels attached to cables and wires. • To cancel the Cable Wrap/Cable Flag/Faceplate functions during operation, press accordingly. • Depending on the format you select, the entire contents of your text may not be printed. For example, if the... - Page 11 Faceplate Serialize Use this function to create a label that can be Use this function to create multiple labels with a used to identify various components, or panels. number or letter automatically incremented on each label. Using the Faceplate function ensures that each block of text is evenly spaced on a single label.
-
Page 12: Helpful Hints
HELPFUL HINTS Shortcuts If you have questions or need information about your Brother product, please visit us online or call. Language Space key For FAQs, Troubleshooting, and Manuals, visit support.brother.com. Undl/Frame To order supplies and accessories, visit www.brothermall.com or call Label Length 1-877-552-6255. - Page 13 SYMBOLS Category Symbols Symbols Punctuation Brackets Bullets Super/ Subscript Mathematics Arrows Currency Greek Electrical Datacom AV/Security Safety Accented Characters...
-
Page 14: Troubleshooting
Troubleshooting Error messages Message Cause / Remedy Message Cause / Remedy The batteries are weak. The Tape Cutter Lever was pressed Battery Cutter If using AAA alkaline batteries, in the middle of the printing process. Low! Pressed replace them with new ones (do not The maximum number of characters Text use a combination of old and new... - Page 15 What to do when Problem Solution Problem Solution The display • Check that the batteries are The P-touch remains correctly installed. Refer to the labeling blank after Installing Power Supply and system has you have Tape Cassette section. “locked up” turned on (i.e., nothing •...
Need help?
Do you have a question about the P-touch PT-E105 and is the answer not in the manual?
Questions and answers