Sign In
Upload
Download
Table of Contents
Contents
Add to my manuals
Delete from my manuals
Share
URL of this page:
HTML Link:
Bookmark this page
Add
Manual will be automatically added to "My Manuals"
Print this page
×
Bookmark added
×
Added to my manuals
Manuals
Brands
Acer Manuals
Projector
X1130 Series
User manual
Acer X1130 Series User Manual
Acer projector user's guide
Hide thumbs
Also See for X1130 Series
:
Service manual
(96 pages)
,
User manual
(57 pages)
1
2
3
4
5
6
7
8
9
10
Table Of Contents
11
12
13
14
15
16
17
18
19
20
21
22
23
24
25
26
27
28
29
30
31
32
33
34
35
36
37
38
39
40
41
42
43
44
45
46
47
48
49
50
51
52
53
54
55
56
page
of
56
Go
/
56
Contents
Table of Contents
Troubleshooting
Bookmarks
Table of Contents
Information for Your Safety and Comfort
Turning the Product off before Cleaning
Using Electrical Power
Additional Safety Information
Product Servicing
Medical Devices
Potentially Explosive Environments
Disposal Instructions
Mercury Advisory
Information for Your Safety and Comfort
First Thing First
Usage Notes
Precautions
Table of Contents
Introduction
Product Features
Package Overview
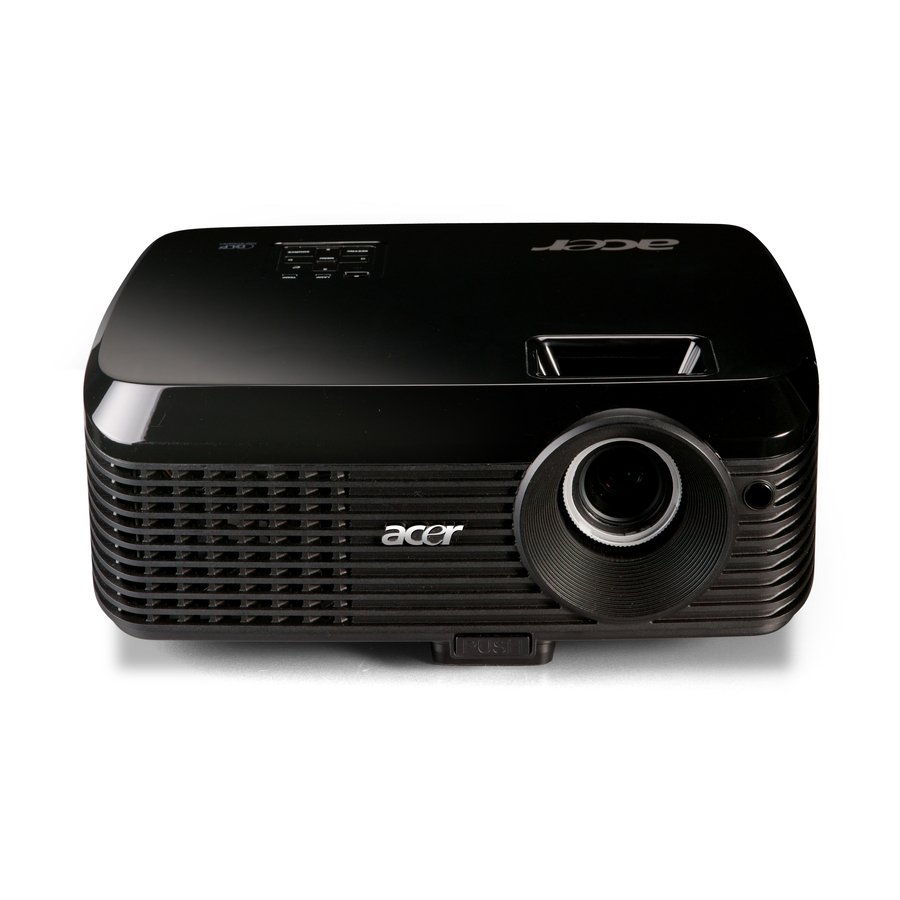
Projector Overview
Projector Outlook
Control Panel
Remote Control Layout
Getting Started
Connecting the Projector
Turning the Projector On/Off
Turning on the Projector
Turning off the Projector
Adjusting the Projected Image
Adjusting the Height of Projected Image
How to Optimize Image Size and Distance
How to Get a Preferred Image Size by Adjusting Distance and Zoom
User Controls
Installation Menu
Acer Empowering Technology
Onscreen Display (OSD) Menus
Using the OSD Menus
Color
Image
Setting
Management
Audio
Timer
Language
Appendices
Troubleshooting
Problems with the Projector
Osd Messages
LED & Alarm Definition Listing
LED Messages
Replacing the Lamp
Ceiling Mount Installation
Specifications
Compatibility Modes
Regulations and Safety Notices
Declaration of Conformity for Eu Countries
European Union (EU)
List of Applicable Countries
Federal Communications Commission Declaration of Conformity
Advertisement
Quick Links
1
Product Features
2
Control Panel
3
Connecting the Projector
4
Setting
Download this manual
See also:
Service Manual
Acer Projector
X1130/X1230/X1230S Series
User's Guide
Table of
Contents
Previous
Page
Next
Page
1
2
3
4
5
Advertisement
Table of Contents
Need help?
Do you have a question about the X1130 Series and is the answer not in the manual?
Ask a question
Questions and answers
Related Manuals for Acer X1130 Series
Projector Acer X1230S series Service Manual
(96 pages)
Projector Acer X1130PA Series User Manual
(57 pages)
Projector Acer X1130P Service Manual
(109 pages)
Projector Acer X1130P Series User Manual
(57 pages)
Projector Acer P1183 Series User Manual
(70 pages)
Projector Acer X1263 Series User Manual
(57 pages)
Projector Acer M403 Series User Manual
(69 pages)
Projector Acer D603P User Manual
(71 pages)
Projector Acer P1163 Series User Manual
User manual (57 pages)
Projector Acer X1263N Series User Manual
User manual (57 pages)
Projector Acer P1183 User Manual
(69 pages)
Projector Acer 1080p Series User Manual
(95 pages)
Projector Acer D616D+ User Manual
(99 pages)
Projector Acer SVGA/XGA Series User Manual
(92 pages)
Projector Acer D606D+ User Manual
(92 pages)
Projector Acer D626D+ User Manual
(94 pages)
This manual is also suitable for:
X1230 series
X1230s series
X1130series
X1230kseries
X1235 series
X1230series
Table of Contents
Save PDF
Print
Rename the bookmark
Delete bookmark?
Delete from my manuals?
Login
Sign In
OR
Sign in with Facebook
Sign in with Google
Upload manual
Upload from disk
Upload from URL


Need help?
Do you have a question about the X1130 Series and is the answer not in the manual?
Questions and answers