Table of Contents
Advertisement
Advertisement
Table of Contents

Subscribe to Our Youtube Channel
Related Manuals for Reconyx HyperFire 2


Summary of Contents for Reconyx HyperFire 2
- Page 1 Outdoor Series Camera User Manual Copyright: April 2018...
-
Page 2: Table Of Contents
Table of Contents Table of Contents ..............1 Camera Overview ..............2 III. HyperFire 2 Controls & Part Diagram......... 3 ™ Batteries & Memory Cards ............ 4 Setup & Programming ............9 Mounting Your Camera ............16 VII. Locking & Securing Your Camera ........17 VIII. -
Page 3: Camera Overview
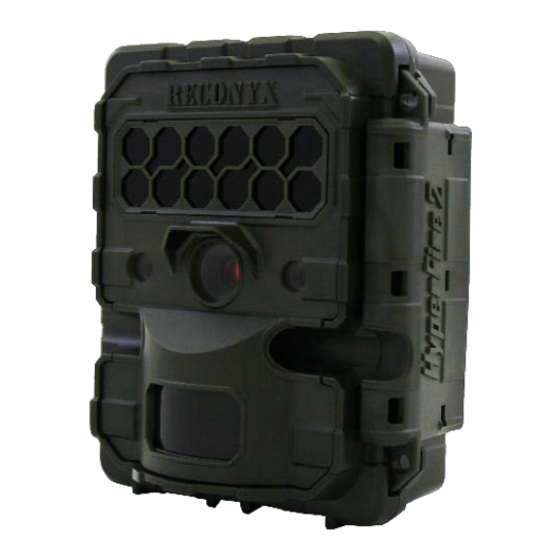
® ® leader in digital wildlife cameras since 2002. Your HyperFire 2™ camera is a state-of-the-art digital camera with a Passive Infrared (PIR) motion detector and a night time infrared illuminator. All contained in a secure, rugged and weather- resistant case. -
Page 4: Hyperfire 2 ™ Controls & Part Diagram
HyperFire 2 Controls & Part Diagram ™ ® RECONYX , Inc. -
Page 5: Batteries & Memory Cards
• Make sure the main gasket is seated properly and is clear of debris. • Be sure that the windows on the front of your camera are clean. • Also be sure the latch is fully seated when closing your camera to ensure a weather-tight seal. www.reconyx.com... - Page 6 Battery Specifications and Installation The RECONYX HyperFire 2™ camera uses 12 AA-cell batteries. We highly ® recommend using either Energizer Ultimate Lithium™ batteries or high-quality ® NiMH Rechargeable batteries in your camera. Alkaline batteries are not recommended. They do not provide as much power as Lithium or NiMH batteries and are adversely affected by both hot and cold weather.
- Page 7 (1.2V, 2600MaH) * High temperatures can reduce run time with NiMH batteries by 50% or more. ® TIP: You can purchase 1.5V Lithium batteries as well as RECONYX certified NiMH rechargeable batteries and chargers at www.reconyx.com. Your camera will display the status based upon battery type. Be sure that the display is showing the same type of battery that you are using.
- Page 8 ® image management software. TIP: Many digital cameras and smartphones can be used to view images taken by the HyperFire 2™ camera. No need to purchase a special purpose viewer! Insertion and Removal of the memory card Make sure the orientation is correct and that the card is aligned properly. Push gently on the memory card as shown below until it clicks into place.
- Page 9 Memory Card - File System Requirements Secure Digital cards have various speeds and capacities. Larger capacity cards are capable of storing more images. Your HyperFire 2™ camera can accept cards up to 512GB, but most users will find 32GB cards to be more than adequate for normal use.
-
Page 10: Setup & Programming
(with default settings) in two minutes. Default Settings NOTE: Throughout this manual, default camera settings are shown in red letters. Your RECONYX HyperFire 2™ camera comes pre-programmed with factory ® default settings. By default the camera will run in the Quickset Trail mode, which takes... - Page 11 TIP: Use the “Programming Diagram” on the next page for a better understanding of how the options are accessed on your HyperFire 2™ camera. The backlit LCD includes two lines of information.
- Page 12 HYPERFIRE 2™ Programming Diagram ® RECONYX , Inc.
- Page 13 The left and right buttons scroll between these items. NOTE: The battery status shows the level for different types of batteries. If you change battery types, be sure to change the “Battery Type” setting. www.reconyx.com...
- Page 14 4) Motion Videos – on, a) If On, Video Length – 5 sec, SEC, Dynamic Length 5) Quiet Period – DELAY, 5s, 10s, 15s, 30s, 1m, 2m, 3m, 5m 6) Sensitivity - low, low/medium, medium, medium/high, HIGH, very high ® RECONYX , Inc.
- Page 15 CODELOC - Use CodeLoc™ to add a four-digit security code to your camera to prevent unauthorized use of your camera in the event of tampering or theft. You can also change or remove an existing code. TIP: Write your four-digit CodeLoc™ code on the last page of this manual. www.reconyx.com...
- Page 16 Reset, all of your settings will be reset to factory settings and your camera will re- boot as if it were the first time you powered it on. TIP: You can return to the Main Menu options at any time by simply pushing the “up” directional arrow button. ® RECONYX , Inc.
-
Page 17: Mounting Your Camera
Mounting Your Camera Your RECONYX HyperFire 2™ camera can be mounted to a RECONYX ® ® Universal Camera Mount™ or a camera tripod by utilizing the threaded insert on the bottom of the camera housing. The camera can also be mounted to a tree by using the adjustable webbing strap (shown below). -
Page 18: Locking & Securing Your Camera
2) For increased security, RECONYX offers a custom fit Security Enclosure for ® the HyperFire 2™ camera series. The Security Enclosure can be secured with either a padlock or the Python™ cable lock by Masterlock®. HyperFire 2™ Security Enclosure Python™ cable lock by Masterlock®... -
Page 19: Aiming Your Camera
Aiming Your Camera PIR Motion Detector The Passive Infrared Motion Detector on your HyperFire 2™ camera is aligned with the camera lens to give you the best chance of capturing subjects that come into the field of view of the camera, while not triggering on subjects outside the view of the camera. - Page 20 Using the “WalkTest” Mode Learning to use the WalkTest mode is critical to being as successful as possible with your RECONYX camera. The WalkTest mode allows you to precisely ® determine your camera’s active motion detection zone. This ensures that your camera is aimed exactly where you want to capture animal activity.
-
Page 21: Image Data Information
Image Data Information Your RECONYX HyperFire 2™ camera stores Image Data along with every ® picture it takes. Some of this information is displayed in Image Data bands above and below the image. • An “M” or “T” in the top data band indicates a “motion” or “time-lapse” event. -
Page 22: Additional Camera Options
To replace the IR Mask™, carefully line up one side of the IR Mask™ with the IR Array window. Then gently push on both sides until the IR Mask™ is completely seated against the window and snaps into both sides. ® RECONYX , Inc. -
Page 23: Troubleshooting
Troubleshooting For answers to questions about your RECONYX HyperFire 2™ camera that you ® cannot find in this User Manual, please check the RECONYX web site ® (www.reconyx.com). Firmware Updates You should also periodically check the RECONYX website for firmware updates ®... - Page 24 Body heat from an animal can be quickly dispersed away from the animal on a breezy day, making it more difficult for the camera to detect the animal. Also movement directly toward and away from the camera is less likely to trigger the ® RECONYX , Inc.
- Page 25 If you have other issues, you may have to try a different brand of memory card. We have found that some inexpensive memory cards are very slow and do not always run well (even if they are advertised as fast). RECONYX certified ®...
-
Page 26: Warranty, Fcc, And Safety Information
Limited Software Warranty ® ® Software products are licensed to the user under the terms of the applicable RECONYX software license (contained within installation programs). If the user wishes to review the ® software license agreement before purchasing products from RECONYX... - Page 27 High temperatures may also cause deformation of the casing. • Be sure to check your state/local laws concerning the use of this product. www.reconyx.com...
-
Page 28: Your Information And Camera Warranty Registration
Password: www.reconyx.com Login Info: Register your Camera Your new HyperFire 2™ camera is covered by a 5-year warranty. In order for the warranty to take effect, you must register your camera online within 90 days of purchase at www.reconyx.com/warranty Copyright & Trademark Information...
Need help?
Do you have a question about the HyperFire 2 and is the answer not in the manual?
Questions and answers