Table of Contents
Advertisement
Quick Links
Advertisement
Table of Contents

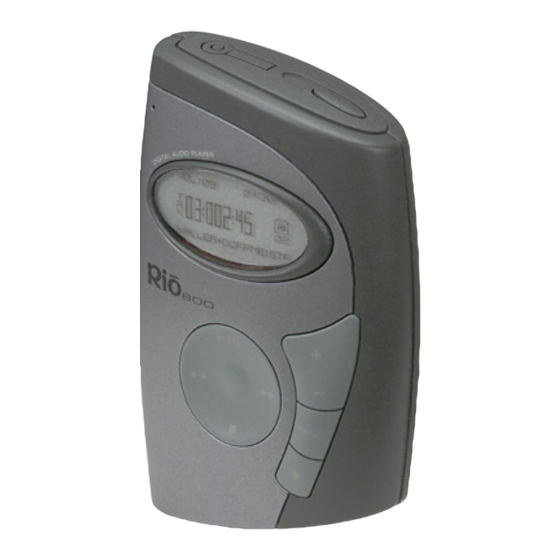
Summary of Contents for Rio Rio 800
-
Page 1: Getting Started
® GETTING STARTED... - Page 2 ® Page 2 Rio 800 Getting Started Guide Copyright © 2000 SONICblue, Inc. All Rights Reserved. SONICblue, Inc. does not assume any responsibility for errors or omis- sions in this document or make any commitment to update the informa- tion contained herein.
-
Page 3: Table Of Contents
...5 NTRODUCTION Important information ...6 ETTING UP YOUR Step 1: Unpacking your Rio 800 ...8 Step 2: Charging your Rio ...11 Step 3: Installing the software ...12 Step 4: Using the software ...15 Step 5: Plugging in the USB cable ...16 Step 6: Registering your Rio ...17... - Page 4 ® Page 4...
-
Page 5: Introduction
® Congratulations on your purchase of the Rio 800 portable digital audio player! Rio is the perfect companion for active people—delivering skip- free music for people on the go. The convenient remote control, rechargeable battery backpack, and voice recording option make the Rio 800 the ultimate digital audio player. -
Page 6: Important Information
This guide shows you how to set up and start using your Rio. To learn more: • Check out the Rio 800 User Guide on the CD-ROM for in-depth information on using your Rio, an introduction to the Rio software, warranty information, a glossary of digital audio terms, and more. - Page 7 Introduction ® Page 7 Caution Do not remove the rechargeable battery from the backpack. Batteries may explode or leak if disposed of in fire, mixed with a different battery type, inserted backwards or disassembled. Caution while driving: Use of headphones while operating a vehicle is not recommended and is illegal in some areas.
-
Page 8: Setting Up Your Rio
® Setting up your Rio Step 1: Unpacking your Rio 800 Your Rio 800 package includes the following items: • Rio 800 portable digital audio player with rechargeable battery backpack. • AC adapter. • Headphones. • Headphone remote with shirt clip. - Page 9 Setting up your Rio ® Page 9 Using your Rio On/Hold/Off Multifunction port Joypad Microphone Volume Select Menu Record >/|| Joypad includes (clockwise from top) Play/Pause , Forward >> << , Stop , Reverse , and Select.
- Page 10 Rec: Press Rec to display the Recorder options menu, where you can choose to record your voice or play a recording. Tip: See the Rio 800 User Guide on the CD-ROM for more information on Rio menu options and voice recording.
-
Page 11: Step 2: Charging Your Rio
® Step 2: Charging your Rio Caution: Do not remove the rechargeable battery from the backpack. Connect the AC adapter into your Rio’s backpack port at the bottom of the backpack. Connect the AC adapter power cord into an electrical outlet. The charge lamp on the backpack lights up when charging begins. -
Page 12: Step 3: Installing The Software
® Step 3: Installing the software Place the software CD in the CD-ROM drive on your computer. After a few seconds, the installation menu displays. Note: If the installation menu does not display automatically, skip to the next page for instructions. Click the Install button on the installation menu. - Page 13 Reboot your computer when the installation is complete or you are prompted to do so. Tip: When the installation is complete, the Rio Audio Manager icon is visible on your computer’s desktop. If the installation menu does not display automatically, follow these...
- Page 14 ® Place the software CD in the CD-ROM drive on your computer. The CD contents display automatically. To manually display the CD contents, double click the icon on your computer’s desktop. Double click the Install icon. The installation menu displays. Click the Install button on the installation menu to begin the installation.
-
Page 15: Step 4: Using The Software
Rio software. For detailed instructions, refer to the PC and Mac software online Help. To use the online help: Click on the Help Menu at the top of the Rio Audio Manager or AudibleManager screen. Click Help Topics. -
Page 16: Step 5: Plugging In The Usb Cable
Plug the other end of the USB cable into the USB port on your computer. On the Mac, the USB port is typically located on the keyboard. Tip: The Rio 800 USB connection only fits one way. Do not try to force the connection. Setting up your Rio... -
Page 17: Step 6: Registering Your Rio
For online software registration, your Rio must be connected to the computer with the USB cable and turned on. Rio Audio Manager allows you to convert 50 free MP3 tracks from CD- ROM, and write 25 free tracks to CD prior to registration. To register Rio Audio Manager, click the software Help menu, then click Upgrade Online. -
Page 18: Step 7: Checking Out The User Guide
® Step 7: Checking out the User Guide Do you want to learn more about your Rio? Click the User Guide but- ton on the installation menu. The User Guide contains: • In-depth information on using your Rio. • An introduction to the Rio software. •... -
Page 19: Accessing Customer Care
Saturday 8am-4pm PT Email customersupport@riohome.com Telephone (541) 967-2450 (541) 967-2451 (541) 967-2401 Web site www.riohome.com Accessing customer care Rio Audio Manager support customersupport@riohome.com CUSTOMER SERVICE Hours of Operation Monday-Thursday 6am-5pm PT Friday 6am-11am, 1pm-5pm PT Email customersupport@riohome.com Telephone 1-800-468-5846 or... - Page 20 Rio 800 Getting Started Guide 52260013-001...


Need help?
Do you have a question about the Rio 800 and is the answer not in the manual?
Questions and answers