
Subscribe to Our Youtube Channel
Related Manuals for Clean PH200

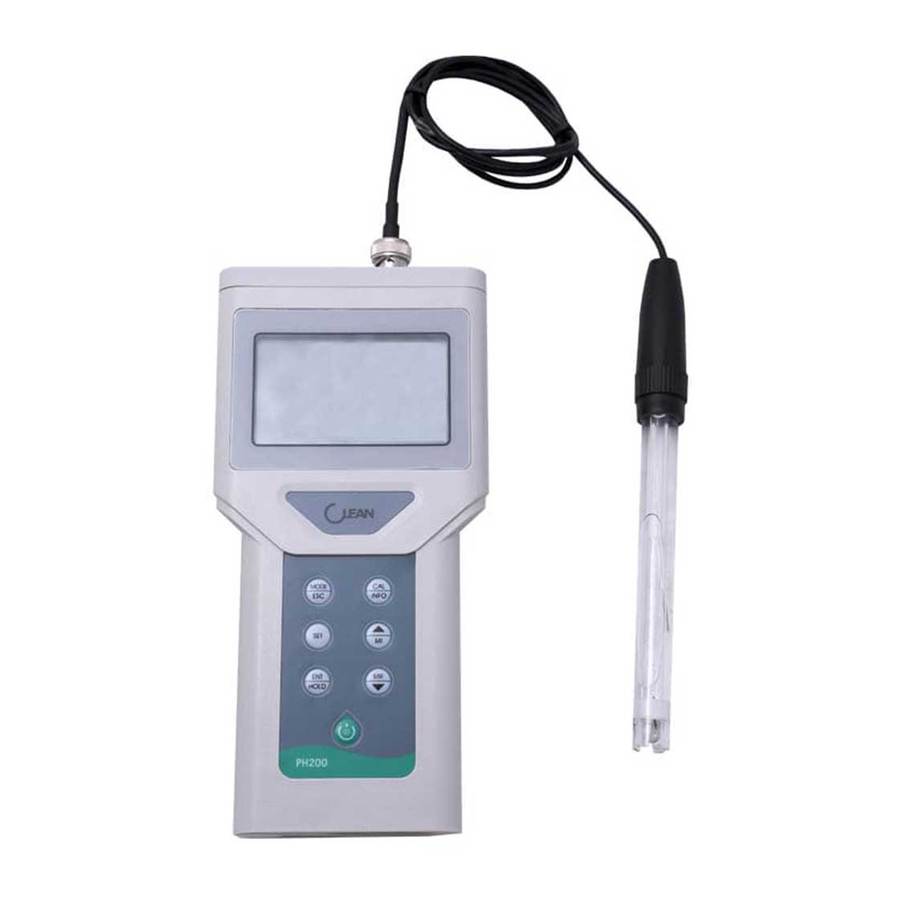
Summary of Contents for Clean PH200
- Page 1 CLEAN PH200/ PH500 pH/ mV/ ORP/ Ion Versatile Water Analysis Meter www.cleaninst.com E-mail: CS@cleaninst.com CLEAN INSTRUMENTS CO. LTD 2F No.140, Zhongxiao St., Zhonghe Dist., New Taipei City ,Taiwan...
- Page 2 CLEAN PH200/PH500 pH/ mV/ ORP/ Ion/ Temp Versatile Water Analysis Meter MODE INFO MODE INFO HOLD HOLD PH500 PH200 www.cleaninst.com...
-
Page 3: Table Of Contents
TABLE OF CONTENTS 1 Preface • • • • • • • • • • • • • • • • • • • • • • • • • • • • • • • • • • • • • • • • • • • • • • • • • • • • • • • • • • • • • • • • • • • • • • • • • • • • • • • • • • • • • • • • • • • • • • • • • • • • • • • • • • • 2 Basic Operation •... - Page 5 Temperature...
-
Page 7: Appearance
4. Appearance Display ① ③ ④ ⑤ ⑥ ⑧ ⑦ ② ⑧ ⑩ ⑨ ⑪ Battery power S- Stable. If twinkling, means unstable. CAL – Calibration SET- Setup display HOLD- Auto lock 6 °C °F - Temperature 7 ATC - Automatic Temperature Compensation 8 PH、mV、ORP、Ion、... - Page 8 Display Character Table Sensor Manual Temperature setting Temperature offset setting Automatic Temp. Compensation Prompt tone setting Temperature value Over Electrode slope Temperature value Under Auto lock Full Data Storage Auto off Measuring Value Over Measuring Value Under no stored data Battery Clear data Error...
- Page 9 Clear and easy understandable operation interface, excellent anti-interference, precise measuring, convenient to operate, combined with the high luminance LED backlight, CLEAN PH200/PH500 is your professional choice, a reliable partner in Lab, factory, and routine measuring in school.
-
Page 10: Technical Specifications
5.1 Technical Specifications PH200 PH500 Range -2.00 ~ 20.00 pH Resolution 0.01 pH Accuracy ±0.01 pH Range -2000~2000 mV Resolution 0.1mV ( -999 ~ 999mV ), 1 mV ( <-999 mV or >999 mV ) Accuracy ± 1 mV Range 0.000-99999mg/L, ppm... -
Page 11: Model And Function
5.2 Model and Function P-01 --------- Switch measuring unit Buffer kinds P-02 --------- Manual temperature Calibration point P-03 --------- Temperature offset Ionic valence setting P-04 Auto Lock P-05 Prompt tone P-06 Auto power off P-07 --------- Clear the saved data --------- P-08 Revert to factory default... -
Page 12: Set Up
5.4 Set UP 5.4.1 pH set up P-01 pH Standard Solution After power-up, the unit will enter the measurement mode. Factory default is pH measuring mode. You can switch between the pH measurement mode and the ORP measurement mode by pressing the Key. -
Page 13: P02 Manual Temperature Setting
P-02 Manual Temperature setting After entering P-02, you can set the manual temperature by pressing . Long press for speedy setting. Confirm your setting by pressing You can switch between °C and °F by pressing . Press to confirm. This setting will only take effect after the meter restarted. -
Page 14: P03 Temperature Offset Setting
P-03 Temperature Offset setting After entering P-03, you can set the temperature to the appropriate value by pressing according to the actual temperature. Long press for speedy setting. Confirm your setting by pressing Temperature Offset range: ±10°C. Please refer to above description steps to set up P-03. You can go to next parameter setting by pressing , or pressing key to quit and go... -
Page 15: P04 Auto Lock Function Setting
P-04 Auto Lock Function setting After entering P-04, you can select ON or OFF the Auto Lock Function by pressing . If the Auto Lock Function is ON, the meter can lock the measured value after the reading had stabilized and display . -
Page 16: P06 Auto Power Off Setting
P-06 Auto Power Off Setting After entering P-06, you can select ON or OFF the Auto Power Off by pressing . If the Auto Power Off is ON, the meter will power off if no operation in 10mins. Please refer to above description steps to set up P-06. You can go to next parameter setting by pressing , or pressing key to quit and go... -
Page 17: P08 Reverting To Factory Default Setting
P-08 Reverting to Factory Default Setting After entering P-08, you can select NO or YES to not reverting or reverting to factory settings by pressing . If select YES, the meter will revert all the settings to factory defaults and all the settings will lost forever. -
Page 18: Orp Set Up
Below is only the whole meter setting. 5.4.2 ORP set up Please refer to pH setting for detailed set up steps. P-04 Auto Lock P-05 Prompt tone P-06 Auto Power P-07 Reverting to Function setting setting (optional) Off Setting Factory Default Setting 5.4.3 Ion set up P-01 Measuring unit setting After entering P-01, you can switch between measuring unit mg/L and ppm by pressing... -
Page 19: P02 Calibration Point Setting
P-02 Calibration point setting After power-up, the unit will enter the measurement mode. Factory default is pH measuring mode. You can switch among the pH measurement mode, ORP measurement mode and the Ion measuring mode by pressing the Key. In Ion measuring mode, press to enter set up step. -
Page 20: Calibration Mode
5.5 Calibration Mode pH calibration change standard solution change standard solution 1. Dip the sensor into the already set buffer solution when in pH calibration mode. For details, please refer to the standard solution setting. 2. Press key to enter pH calibration step. “ ”... -
Page 21: Orp Calibration
ORP calibration Press key to enter ORP calibration step. “ ” will be displayed. Dip the sensor into any standard solution which the user already known the mV value in it. When the value is stable and display “ ”, press keys to adjust the four-digit STD number at the bottom row. -
Page 22: Measurement Mode
1. You can first set the meter per your request. Otherwise, the setting will be factory defaults. 2. Use tap water or distilled water to clean the pH and the temperature electrode, removing the adhesive impurities on the surface of electrode. -
Page 23: Storage Of Measuring Data
5.7 Storage of measuring data Storage of measuring data 1.If you need to save the measuring data once it is stabilized, press , the Lot no. will be shown on the upper right of the screen. Press to save the data. You can also press to not save. -
Page 24: Browse On Setting Parameters
5.8 Browse on Setting Parameters pH setting parameters browse Sensor slope and Zero offset 1. Long press to enter into Setting parameter when in measurement mode. Press to check through all the Calibration parameters and Setting parameter. 2. Press to quit and go back to measurement mode. Ion setting parameters browse Ion sensor slope... -
Page 25: Appendix
5.9 APPENDIX pH Factory defaults Corresponding interface Item Factory Defaults P-01 Standard Solution B1: 1.68, 4.01,7.00,10.01 (US) P-02 Temperature Manual Temperature Compensation 25 °C P-04 Auto Lock P-05 Prompt tone setting OFF (No configuration) P-06 Auto power off Backlight... -
Page 26: General Information
If repair is necessary and has not been the result of abuse or misuse within the warranty period, please return to CLEAN Instruments and amendment will be made without any charge. CLEAN Instruments Customer Service Center will determine if product problem is due to deviations or customer abuse.
Need help?
Do you have a question about the PH200 and is the answer not in the manual?
Questions and answers