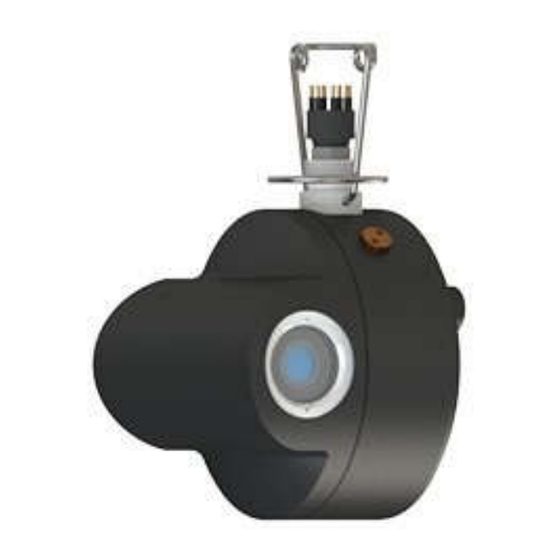
Summary of Contents for Steinsvik Orbit 3100
-
Page 1: User Manual
User Manual Orbit 3000-series Camera Steinsvik AS Rundhaug 25, 5563 Førresfjorden, Norway | +47 52 75 47 00 | post@steinsvik.no | www.steinsvik.no... -
Page 2: Table Of Contents
Routinely maintenance ......................9 Indications that camera needs service/repair at supplier ............10 Service which can be carried out at site by operations personnel ........10 Procedure for cleaning of oxygen sensor on Orbit-3500 ............12 User manual | Orbit 3100/3300/3500/3400/3600 Camera... -
Page 3: Equipment That Is Included In This User Manual
EQUIPMENT THAT IS INCLUDED IN THIS USER MANUAL User manual | Orbit 3100/3300/3500/3400/3600 Camera... -
Page 4: Introduction
HEALTH AND SAFETY Recommendations and reservations In case of new installation by Steinsvik AS, the equipment is checked before and after installation to eliminate danger of persons and fish. When reconnecting equipment (with new generation) is it important to ensure the installation and equipment are in accordance with the specifications given by Steinsvik AS. -
Page 5: Disposal Information
(and Orbit-3000 PSU), the cable is connected from the camera into the contact marked "Orbit-200". On the Orbit-5xx PSU the cable is connected from the camera into the "Multi Contact 1". See picture 1 for illustration of how the connections in the PSU are. User manual | Orbit 3100/3300/3500/3400/3600 Camera... - Page 6 After the connector is disconnected, rinse thoroughly with Isopropyl alcohol to make sure all sand, fouling etc. is taken out, and apply a new layer of Molykote 44. Picture 3: Connecting cable to camera housing User manual | Orbit 3100/3300/3500/3400/3600 Camera...
-
Page 7: Usage Requirements
No control of camera system 1. Check power supply to cage. 2. On the panel PC, use the “camera tools” in the Steinsvik software to verify communication and status between PSU and camera. 3. For fiber facilities: check status on fiber link and fiber cables. -
Page 8: Disassembly And Storage
Let it thoroughly dry before the lid is put back on. Make sure the cable is not buckled when it is coiled, to avoid damage. Minimum coil radius: 50 cm. User manual | Orbit 3100/3300/3500/3400/3600 Camera... -
Page 9: Service Of Camera
3. Check cables for kinks and damages. Recommended service interval: 1. Camera: each generation 2. Winch and PSU: Every other generation Else, if necessary: 1. Calibration/ exchange of oxygen film if needed/damage (estimated life without damage: about 5 years). User manual | Orbit 3100/3300/3500/3400/3600 Camera... -
Page 10: Indications That Camera Needs Service/Repair At Supplier
Either send the camera to service or repair the camera in place. This is a simple procedure: The lid of the pressure sensor is removed, as shown in picture 5, and mussels and dirt are washed out of the lid. Picture 5: Removal of pressure sensor lid User manual | Orbit 3100/3300/3500/3400/3600 Camera... - Page 11 Neovision or monitor should display depth when the key is pressed down. Do not press down harder than -3M, as the key can damage the membrane. Picture 9: Testing of the pressure sensor User manual | Orbit 3100/3300/3500/3400/3600 Camera...
-
Page 12: Procedure For Cleaning Of Oxygen Sensor On Orbit-3500
¨ The pictures numbered 1 – 3 shows cleaning of the Orbit-3500 oxygen sensor, while the pictures numbered 4 - 5 shows the oxygen sensor on Orbit-3600. Picture 10: Orbit-3500 oxygen sensor User manual | Orbit 3100/3300/3500/3400/3600 Camera... - Page 13 Picture 11: Clean Orbit-3500 sensor Picture 12: Orbit-3600 oxygen sensor Do not use sharp objects or a pressure washer to clean the film. User manual | Orbit 3100/3300/3500/3400/3600 Camera...


Need help?
Do you have a question about the Orbit 3100 and is the answer not in the manual?
Questions and answers