Greiner Vibrograf ACS 900 Manual
Hide thumbs
Also See for ACS 900:
- Manual and instruction (8 pages) ,
- Inspection and small maintenance (2 pages)
Advertisement
Helmut Klein GmbH
Fritz-Neuert-Strasse 31
75181 Pforzheim
Germany
Greiner Vibrograf AG
Mittelstrasse 2
4900 Langenthal
Switzerland
ACS 900
Manual
Tel. +49 7231 9535 0
Fax +49 7231 9535 95
info@klein-messtechnik.de
www.klein-messtechnik.de
T: +41 62 923 44 33
F: +41 62 923 18 46
info@greinervibrograf.ch
www.greinervibrograf.ch
Gebrüder Boley GmbH & Co. KG
Julius-Hölder-Str. 32 - D-70597 Stuttgart
Tel. +49-(0)711-13271-0 - Fax. +49-(0)711-13271-90
info@boley.de - www.boley.de
English
Greiner
Advertisement
Table of Contents

Related Manuals for Greiner Vibrograf ACS 900


Summary of Contents for Greiner Vibrograf ACS 900
- Page 1 T: +41 62 923 44 33 Greiner Vibrograf AG F: +41 62 923 18 46 Mittelstrasse 2 info@greinervibrograf.ch 4900 Langenthal www.greinervibrograf.ch Switzerland ACS 900 Manual English Gebrüder Boley GmbH & Co. KG Julius-Hölder-Str. 32 - D-70597 Stuttgart Tel. +49-(0)711-13271-0 - Fax. +49-(0)711-13271-90 info@boley.de - www.boley.de...
-
Page 2: Table Of Contents
Contents page 2 Introduction ACS 900 ------------------------------- page 3 Loading of the jars ----------------------------------- page 4 Fixed cleaning programs --------------------------- page 5 Select your own cleaning program------------- page 6 Display explanation -------------------------------- page 7 Programming ------------------------------------------ page 8 Programming ------------------------------------------... -
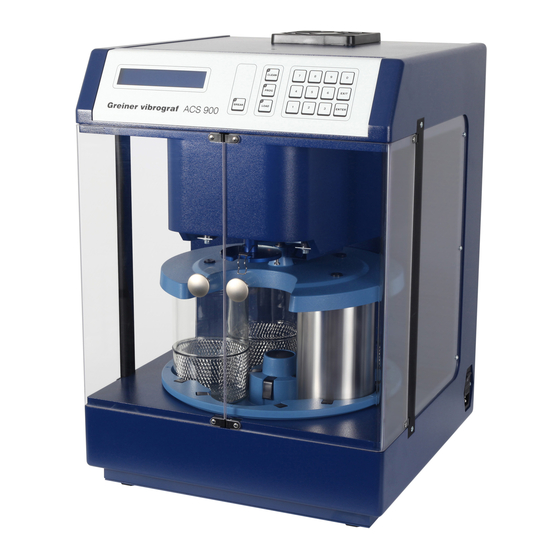
Page 3: Introduction Acs 900
Unpack the ACS-900 and install it on the working place. Open the front doors and remove all packing material inside the instrument. 1. Main switch off. 2. Connect the ACS 900 with the delivered power- cable to the power socket. Please observe the voltage (230 or 115 Volts) marked on the label. -
Page 4: Loading Of The Jars
Pos. 2 5. Put jar in Pos. 2 . Continue as described in point 2 till all the jars are installed. ACS 900 changes over to stand-by position. 7. Press EXIT EXIT 8. Load the baskets with the parts you want to clean, insert in lower basket-holder and close fixture. -
Page 5: Fixed Cleaning Programs
Fixed cleaning programs are fixed programs (factory set). Buttons They can not be changed. Description of the programs: Program 7 Spinning time Position turntable Ultra-sound S US TIME MODE 7 > 3 0 5 F 1 U Ultra-sound Yes Cleaning time in minutes 1 Minute Basket... -
Page 6: Select Your Own Cleaning Program
Select your own cleaning program Important: Button 1-6 can be used for cleaning procedures. Programming of ACS 900 is possible in standby status or during cleaning program. Explanation of the settings: Time Time programming positions 1-5 ( 0 - 9 minutes ) -
Page 7: Display Explanation
Display explanation When you press key and 1 of the keys CLEAN The programs are shown on the display as you can see in the following example: Spinning time Position turntable Ultra-sound Button-No. S US TIME MODE 1 > 3 0 5 F 1 U Ultra-sound yes Cleaning time... -
Page 8: Programming
Programming Key application display Indication Remark Which program ? Which cleaning program ? PROG 1 > -- -- -- -- -- 1 - Pos 1 > Time: # Acc: # ENTER Pos 1 > Time: 5 Acc: # Time pos. 1 ENTER Pos 1 >... -
Page 9: Programming
Programming with button (example) Key application Display indication Remark By pressing button 1, fan for drying is activated or Fan : OFF 1. ON ENTER deactivated. By pressing button 1, heat for drying is Heat : OFF 1. ON ENTER activated or deactivated. -
Page 10: Start Cleaning Program
Start cleaning program Key application Display indication Which cleaning program ? Press button CLEAN Press button Indication of the dates from the selected program. Cleaning program is started Press button ENTER and whole run time is indicated. Interruption of cleaning program You can interrupt the cleaning at any time. -
Page 11: Placing A Password
Placing a password Only the person who knows the password is able to change the cleaning program. Any password can be used. Installation can be done during standby-modus or cleaning program. Enter a password for the first time: Key application Display indication Remark Which cleaning program ? -
Page 12: Help
Assistance The ultra-sound does not work. Please check if the ultra-sound is installed as follows: Display indication Remark Service, WELCOME !!! Welcome to the service Program. Ultra-sound is not installed. US uninst, 1, Toggle ENTER Ultra-sound is installed. US inst, 1 , Toggle Press button 1 US inst, 1 , Toggle Indication is changing... -
Page 13: Accessories
Accessories 230 V = 17102 110 V = 17101 17142 US Generator Print Ultrasonic tank 17136 Cover 17135 Glass jar 17938 Wave – breaker Page 12... - Page 14 Accessories Ø 80 mm 17190 17122 17099 17091 Ø 60 mm 17098 15852 17092 17132 15850 17123 17129 17128 17128 1 x 17122 15849 5 x 17123 17127 17134 15848 15853 17131 Page 13...
- Page 15 Accessories Plastic baskets - 80mm For the use of the baskets in plastic, it is necessary to install the upper part of basket holder No.17098 or 17099 17098 17099 15890 Basket in plastic 80 for 4 plates max. Ø 31 mm 15891 Basket in plastic 80 for 2 plates max.
- Page 16 Accessories Plastic / metal baskets - 80mm No.15880 No.15885 No.15881 No.15886 No.15882 No.15887 No.15883 No.15888 No.15884 No.15889 Page 15...
- Page 17 Accessories Plastic baskets - 80mm Mesh size 0,65 x 0,65 No.15880 No.15882 Slits 0.60 No.15881 No.15883 No.15884 No.15882 Page 16...
- Page 18 Accessories Plastic / metal baskets - 80mm No.15887 Inner Ø 18 No.15885 Depth 11 Mesh No.15887 View from bottom 0,45 x 0,45 Inner Ø 61 No.15888 Depth 15 No.15885 View from bottom Mesh 0,25 x 0,4 No.15889 No.15886 No.15886 0,45 x 0,45 Page 17...
- Page 19 Accessories Special plastic baskets - 80mm These 2 baskets fit perfectly in the basket holder 15853. Ø 71 mm 24 mm No. 15896 Ø 71 mm 16 mm No. 15897 Page 18...
Need help?
Do you have a question about the ACS 900 and is the answer not in the manual?
Questions and answers