Aleko Victoria Series Installation Manual
Retractable awning sizes 16x10 20x10
Hide thumbs
Also See for Victoria Series:
- Installation manual (28 pages) ,
- Assembly manual (14 pages) ,
- Instructions for installation and operation manual (12 pages)
Table of Contents
Advertisement
Quick Links
- 1 Parts Diagram
- 2 Assembly Step One: Preparing Your Work Space
- 3 Assembly Step Four: Torsion Bar Assembly
- 4 Assembly Step Eight: Center Support Assembly
- 5 Installation: Notes about Wall Mounting
- 6 Optional Installation: Adjusting the Awning Pitch/Angle
- 7 Optional Installation: Motor Installation
- Download this manual
Advertisement
Table of Contents

Related Manuals for Aleko Victoria Series


Summary of Contents for Aleko Victoria Series
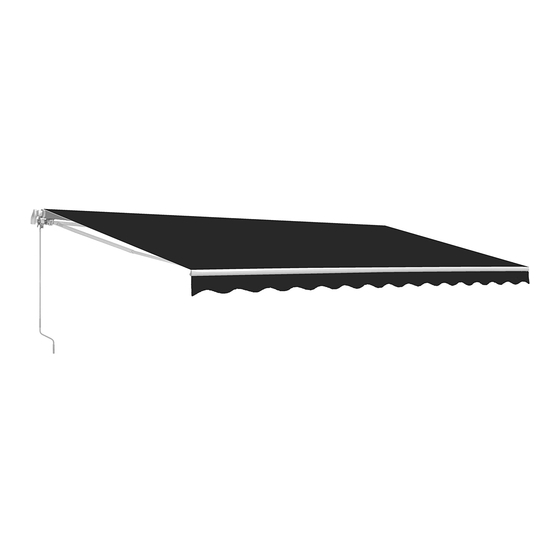
- Page 1 Installation Guide ALEKO® WWW.ALEKOPRODUCTS.COM...
- Page 2 Installation Guide SIZES 16X10 20X10 ALEKO®...
-
Page 3: Table Of Contents
Optional Installation: Adjusting the Awning Pitch/Angle · · · · · · · · · · 15 Optional Installation: Motor Installation · · · · · · · · · · · · · · · · · · · · · 18 ALEKO®... -
Page 4: Introduction
INTRODUCTION �� Thank you for purchasing ALEKO’s Retractable Awning! We hope you will find joy in our product for many years to come. To ensure your personal safety during installation and to get the most out of your investment, please read this entire manual before beginning the installation process. -
Page 5: Parts Diagram
PARTS DIAGRAM ⚙... -
Page 6: Assembly Step One: Preparing Your Work Space
ASSEMBLY �� STEP 1: Preparing Your Work Space 1. Before you begin, it is best to lay out all necessary tools to make setup smoother. Consult the required tools section for the list of necessary tools. WARNING DO NOT remove the safety wrap that holds the awning arms down. Serious injury can result from removing the wrap too soon. -
Page 7: Assembly Step Three: Front Bar Assembly
8. At this time, you will have one full-length roller, with all three roller tubes connected and screwed securely into place, as seen in the diagram below. Step 8 STEP 3: Connecting Front Bars 1. Gather the three long, wedge-shaped front bars (C-1, C-2, C-3) and lay them in a line. 2. -
Page 8: Assembly Step Four: Torsion Bar Assembly
STEP 4: Connecting Torsion Bars 1. Gather the three white torsion bars (B-1, B-2, B-3) and lay them in a line. WARNING DO NOT REMOVE THE SAFETY SLEEVES THAT HOLD THE ARMS DOWN! 2. Also gather the two short, rectangular connection pieces (B-B-1, B-B-2) and lay one between B-1 and B-3, and the other between B-3 and B-2, as seen in the diagram below. -
Page 9: Assembly Step Six: Front Bar Wrist Support Assembly
Steps 1, 2, 3 4. Once the liner is threaded through the large fabric, find the roller tube. Thread the fabric and its liner through the slot/notch in the roller tube all the way to the end. Note: the fabric has a front and a back. The back side has a hem, and should face downwards. -
Page 10: Assembly Step Seven: Left Roller Support Assembly
STEP 7: Left Roller Support Assembly NOTE: Your awning will come with the roller support attached. Refer to this step if installing a replacement part. Otherwise, proceed to step 8. 1. With a mallet or hammer, tap the left roller support (D-1) with the motor bracket into the torsion bar. 2. -
Page 11: Assembly Step Ten: Setting Awning Position
2. Using a mallet, knock the round shaft cover (E-2) into the right roller support (E-1). 3. Now, link the roller support into the round shaft (F). 4. Use a wrench to tighten the roller support. Insert in Steps 2 - 4 5. -
Page 12: Assembly Step Eleven: Finishing Awning Assembly
STEP 11: Finishing Awning Assembly 1. At this point, it is safe to cut the safety sleeves that hold the arms and torsion bar down. Awning assembly is complete! If you find that the fabric wraps unevenly or that the two arms won’t open together at the same time, look at the stability of the two arms. -
Page 13: Installation Step 1: Measuring The Mount Site
• Recommended Installation Height: 8-12 feet. • The ideal drop angle (when fully extended) has already been set in the factory, so you may not have to change the pitch/angle. • The awning has a drop of 24 inches when at a slope, or 15 degrees. CALCULATIONS: You can use the following formula to calculate the appropriate angle. -
Page 14: Installation Step 2: Drilling The Bolt Holes
STEP 2: Drilling the Bolt Holes 1. Now that you have a straight, level line across the wall with the locations Drill 9 cm (~4') deep of the wall brackets and their bolt holes marked, you will drill holes to mount the brackets. -
Page 15: Installation Step 4: Mounting The Wall Brackets
STEP 4: Mounting the Wall Brackets Washer 1. Now that the bolts are securely in the wall, remove the nuts that are loosely CROSS SECTION placed over the bolts. OF WALL 2. Place a wall bracket onto one set of bolts. This should be an easy fit if the bolt holes are properly aligned. - Page 16 Common mistakes Fabric Front Bar Fabric WARNING: When the front bar Correct operation Wrong operation touches the roller as shown in the figure, don't try to make them closer, otherwise the product may be damaged. REPAIR MANUAL �� CASE OF MALFUNCTION REASON REPAIR METHOD 1.
- Page 17 REPLACEMENT PARTS AND ACCESSORIES ALEKO AC TUBULAR MOTOR Upgrade your awning by installing a convenient, easy to use motor. With the touch of a button, your awning will expand and retract to your desired length in under a minute. •...
-
Page 18: Optional Installation: Motor Installation
MOTOR INSTALLATION ☻ BEFORE YOU START Warning: To ensure the longevity of your motor, please do not submerge it in water, hit or drop it, or drill it. Also, double check that the power cord is not damaged. STEP ONE: DRIVE ADAPTER INSTALLATION 1. - Page 19 NOTE: Each button must be pressed within four seconds of re-setting, otherwise the system will restore to the original state. 1. Remove the back of the remote and insert the battery. 2. Plug your motor into a power outlet. 3. Press the P2 button two times. The motor will beep twice. 4.
- Page 20 ALEKO Products 8307 S 192ND ST. KENT, WA 98032 SALES@ALEKOPRODUCTS.COM PHONE: +1 (888) 246-8596 ALEKOPRODUCTS.COM YOUTUBE.COM/ALEKOPRODUCTS...
Need help?
Do you have a question about the Victoria Series and is the answer not in the manual?
Questions and answers