Table of Contents
Advertisement
Advertisement
Table of Contents

Summary of Contents for Bush CTT939
- Page 1 Instruction Manual CTT939...
-
Page 2: Table Of Contents
Setting up the device on a computer . . . . . . . . . . . . . . . 7 CTT939 Setting the recording levels . . . . . . . . . . . . . . . . . . . . . . . . . 7 Recording . -
Page 3: Disposal Information
Safety information Important – Please read these instructions fully before using CAUTION: TO REDUCE THE RISK OF ELECTRIC SHOCK, DO NOT REMOVE ANY COVER . NO USER-SERVICEABLE PARTS INSIDE, REFER ANY SERVICING TO QUALIFIED SERVICE PERSONNEL . • Please read this owner’s guide •... -
Page 4: Accessories Included
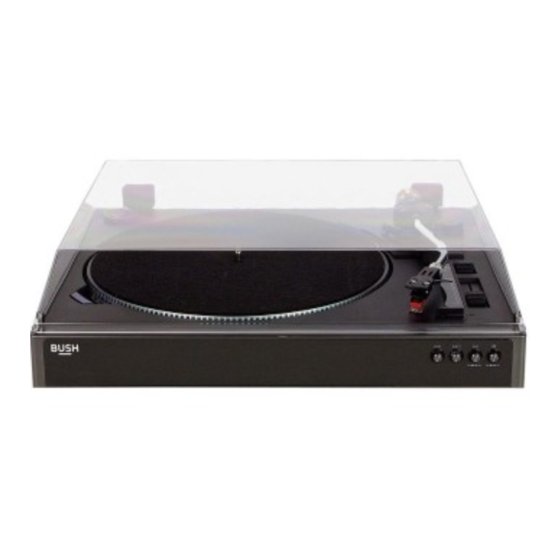
Functions & controls Please familiarize yourself with the parts and accessories listed below Accessories included • 1 x CTT939 • 1 x Counter weight • 1 x Instruction manual • 1 x USB cable Overview of controls 1: Dust cover... -
Page 5: Preparation For Use
Installation Preparation for use Installing the counter weight The counterweight is used to balance the head shell 3: Rotate clockwise only the black section of the counterweight until the line matches position 1 . and cartridge assembly so that the proper amount of pressure is applied to the record from the stylus. -
Page 6: Further Adjustments
User instructions Further adjustments Cue button 1: Raise the stylus protector towards the front of the 1: Pressing this button inwards lifts the tone arm above cartridge . the rest position so the tone arm can be located 2: Remove the cable tie securing the tone arm and anywhere above the record . -
Page 7: Stop / Start Alignment
User instructions Stop / start alignment Start position alignment In order to ensure the automatic stop / start functions If the tone arm does not align with the start position operate efficiently for your own record collection some correctly follow the below steps to fine tune . adjustments maybe required . -
Page 8: Setting Up The Device On A Computer
User instructions Setting up the device on a computer Recording 1: Run the AUDACITY program you installed earlier . 1: To begin recording make sure the tone arm is in the 2: Under the EDIT menu select PREFERENCES . rest position and press the PLAY button (2) . 3: Choose the DEVICES tab (if not selected already) 2: As the tone arm begins to lower to the record press the RED RECORD button in Audacity to begin... -
Page 9: Uk Mains Plug Information
UK Mains plug information For your convenience a mains plug with a fuse (3 Amp) has been fitted to this appliance. For your safety please observe the following information. • The unit is designed to operate on AC mains supply 230 volts, 50 Hz . -
Page 10: User Instructions
User instructions Troubleshooting In the unlikely event of difficulties with your appliance please follow the trouble shooting guide below . If the problem persists, visit the technical support website: www . a rgos-support . c o . u k Problem Reason(s) Solution(s) No power... - Page 11 Guarantee PRODUCT GUARANTEE This product is guaranteed against manufacturing defects for a period of Year This product is guaranteed for twelve months from the date of original purchase. Any defect that arises due to faulty materials or workmanship will either be replaced, refunded or repaired free of charge where possible during this period by the dealer from whom you purchased the unit.


Need help?
Do you have a question about the CTT939 and is the answer not in the manual?
Questions and answers