Do you have a question about the D245 and is the answer not in the manual?
Questions and answers
kabindra goja
January 21, 2025
printer some time ready sometime processing please wait problem
1 comments:
Mr. Anderson
May 14, 2025
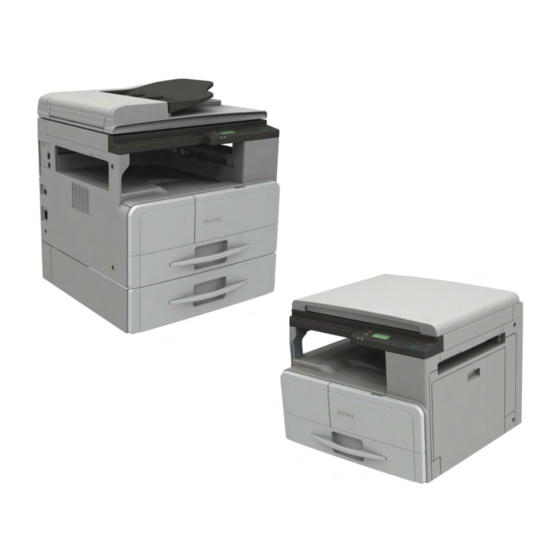
When the Ricoh printer with part number D245 shows "ready," it means the printer is idle and prepared to receive and process print jobs. When it shows "processing, please wait," it is performing internal operations such as warming up, supplying toner, shifting image positions, or executing other maintenance or print preparation tasks.


Need help?
Do you have a question about the D245 and is the answer not in the manual?
Questions and answers
printer some time ready sometime processing please wait problem
When the Ricoh printer with part number D245 shows "ready," it means the printer is idle and prepared to receive and process print jobs. When it shows "processing, please wait," it is performing internal operations such as warming up, supplying toner, shifting image positions, or executing other maintenance or print preparation tasks.
This answer is automatically generated
How can I download it's manual.