
Subscribe to Our Youtube Channel
Related Manuals for Xomax XM-04ZA


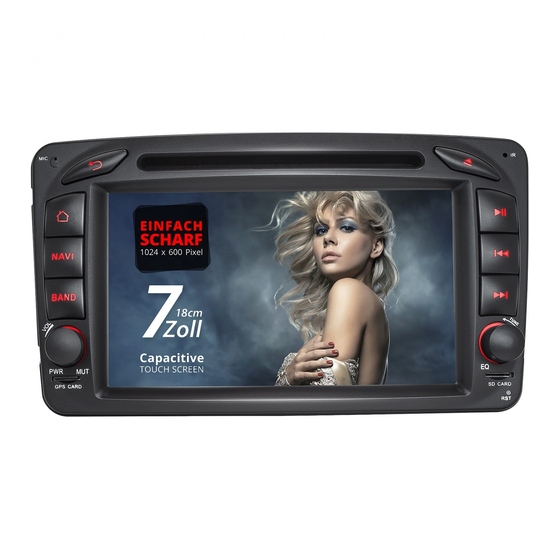
Summary of Contents for Xomax XM-04ZA
- Page 2 1.Main User Interface Press icon, user could clear the running operations. When unit first starts, it will enter the main UI every time. UI could be slided left and right. Press icon in any setting will return to the main UI. Scroll down from top, system notice section will appear. Press icon will enter the picture gallery section.
- Page 3 2. Main Menu User Interface 3. DVD This multi-media system provides DVD, radio, Wifi, Bluetooth, video, music, navigation and audio input functions. Insert the disc into the disc slot under any mode, disc will go in and play automatically. While disc is playing, touch any Press the icon on the bottom left of Main UI to enter the Main Menu UI.
- Page 4 5. CAR DVR 4. Radio Under any mode, press the BAND button on front panel, or press the radio icon in Main Menu will enter radio mode. Under any mode, press the BAND button on front panel, or press the radio icon in Main Menu will enter radio mode. Search: press once to search all available channels automatically, press again to stop the search;...
- Page 5 6. Bluetooth Press the Bluetooth button on front panel or press the Bluetooth icon on Main Menu to enter Bluetooth mode. After your cellphone is paired with the unit successfully, all icons will be light up and icon will appear on top of screen. To switch to Bluetooth dialing page To switch to Bluetooth phonebook page To switch to Bluetooth dialogue history page...
- Page 6 Press the icon to enter Bluetooth music streaming 7. Video Playback 1.Press the Video icon to play the video files from inside the unit or from external SD card and USB. Supports H.263 P3, MPEG 4 Simple Profile, H. 264 / AVC formats. Enlarge screen Play / Pause Play mode...
- Page 7 8. Music Playback 9. Photo Gallery 1.Press the Music icon to play the music inside the unit or external SD card and USB. Supports WMA, MP3 format. Press the photo icon to enter the photo gallery. Users could see the photos stored in units or from external SD card and USB.
- Page 8 11. File Management 10. AV IN Copy the files from external devices such as SD card and USB into the head unit memory. Press the AV IN icon to play the video or music files from external sources. memory of head unit copy files paste files delete files...
- Page 9 12. Setting 2.Video: to allow or disallow video playback while driving Press Setting icon to enter Setting page. User could modify setups of Wifi, audio, application, GPS, input method, date, time … etc settings. 1.GPS: to adjust the sound ratio of GPS and music...
- Page 10 13. GPS 14. 3G Internet GPS NAVIGATION APK FILE INSTALLATION SETTING Select the GPS Card slot path,then click the APK installation Plug in the 3G dongle, after 30 seconds icon will appear on top, unit is connected to 3G internet. files to install the map,as the below picture: When you need use the navigation,you must click “SD”at first click “primo_800*480”...
- Page 11 15. Air Pin Connection Press AirPin icon, turn ON the Hotspot of iPhone. Pair the head unit through Wifi with your iPhone. Restart the head unit, choose AirPlay from your iPhone, choose ITV@3 and turn ON the lens.
- Page 12 16. Android Connection Press icon, turn ON the of your Android cell phone. Connect your Android phone to the head unit with the USB cable, after Bluetooth is successfully paired, two way control is successful.
- Page 13 17. APK software installation 18. OBD Connection Press icon to enter APK, choose installation and the files, follow the steps. Press icon to enter OEM menu. Install the torque.apk file, search the OBD name and connect it through Bluetooth. Press icon on Main Menu to enter OBD and setup the OBD type and Bluetooth setting, the connection is successful.
- Page 14 System Setting Touch the Main system icon to enter the main setting interface,as the below picture: WIFI Setting WIFI Connecting:Touch the setting icon to enter wireless network. Turn on the WIFI function,and then ● enter WIFI-setting,the system will automatically search,select the WIFI name,click it then input password.The WIFI icon will appears at the top of notification bar after the connection is successful.
- Page 15 Printscreen Setting: Select 15 seconds,30seconds,1 minute 2 minute,3 minute tocapture the ● image of screen and Storage Setting: Storage location. Application Setting: Check running status,space usage,installation and unloading of software ● Security Setting: All the Programs to factory reset. ● Language and input method setting: The player supports multi-language.End user can choose ●...
- Page 16 Date and Time Setting Select and set time and time display formate according to time zone. ● Auxilary Function Select and set the text to speech function,time of touching.shorcut key of Enter into sound setting interface,then choose one from the following sound effects:Standard, ●...
- Page 17 CAR DVR OPERATION(optional) Click the icon to select the files to remove,select the copy icon ,then the paste icon to copy and paste The video of car DVR are stored in TF card and most files are big, so please use at least 8GB TF files,When you don’t need the file,press the delecting icon to delete it.
-
Page 18: Wiring Diagram
STEERING WHEEL LEARNING The steering wheel buttons of the product are appropriate for the original car steering wheel with non-bus control mode. Wiring Diagram The original car’s steering wheel buttons should be voltage input control,that is ,when operating each button,the corresponding inputs of original car audio input different voltage.
Need help?
Do you have a question about the XM-04ZA and is the answer not in the manual?
Questions and answers