Advertisement
Quick Links
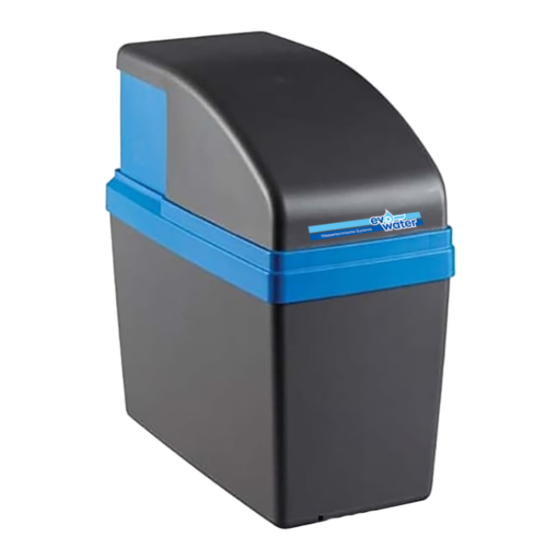
INSTALLATION GUIDE
soft monomatik
Before introduction of the softener the installation guide has to be read carefully.
For any disturbances cause by disregarding the instructions evo-water doesn't accept liability.
evo-water oHG
Falkenstraße 2 72589 Westerheim
Tel.: +49 7333/925710
Fax : +49 7333/9257120
www.evo-water.com
info@evo-water.com
Advertisement

Related Manuals for Evo-water soft monomatik

Summary of Contents for Evo-water soft monomatik
-
Page 1: Installation Guide
INSTALLATION GUIDE soft monomatik Before introduction of the softener the installation guide has to be read carefully. For any disturbances cause by disregarding the instructions evo-water doesn’t accept liability. evo-water oHG Falkenstraße 2 72589 Westerheim Tel.: +49 7333/925710 Fax : +49 7333/9257120 www.evo-water.com... - Page 2 The room temperature must be at least 7°C and may not cross 50°C. 5. Changes in the system may not be made without consultation and approval with evo-water oHG, for damages no other guarantee is taken over. 6. The system serves exclusively for the removing of undesirable mineral substances which retreat as a scale.
-
Page 3: Water Inlet
1. Parts: BYPASS WATER OUTLET VALVE HOUSING BLENDING REGULATOR RESIN TANK HARDNESS REGULATOR CONTAINER 10. TO BRINE VALVE DEVICE AND SALT BRINE VALVE (floater) 11. CONNECTIONS (1/2", 3/4”, 1") WATER INLET 12. TO DRAIN... -
Page 4: Installation
Pay attention that the inlet filter doesn’t fall out. 3.2.1 with evo-water bypass with direct connections The evo-water bypass has a ¾” connection. The direct connections on the water softener are available in ½”, ¾” and 1”. - Page 5 Caution: before installing the softener, set the Bypass in “bypass” mode, not in “service”. 3.2.2 Connect elbow or straight outlet (#12) to a local drain by means of a 13mm flexible drain pipe as supplied by your local supplier. In order to guarantee that the device will keep on functioning perfectly in the future, this drain pipe should be spirally reinforced to avoid later blocking and/or kinks.
- Page 6 CAUTION: For the installation of the flexible drain hose to the fixed piping, please follow local legislation. 3.2.3 Connect the brine valve (#5) to the softener by means of a Ø4mm flexible tube. Insert the tube as far as possible (to stop) into the quick-release couplings.
- Page 7 Place the softener in the salt bin; side with round opening (for correct installation, see 3.4). To install the brine valve, open the cover by pressing it gently at both sides. Now put the brine valve in the provided space, with the top side up.
- Page 8 3.4.1 Connections at the back: The arrow on the support in the container must be pointing to the back. Place the device in the container with the connections at the back, as shown below. 3.4.2 Connections to the left: As in 3.4.1.
- Page 9 Hardness regulator: =part number 9 on the illustration on page 1 Measure the hardness of incoming water by means of a hardness test kit (if required supplied by evo-water). evo-water uses ppm settings of CaCO . (10 ppm CaCO = 1°fh) (1°dh = 1,78°fh) 9°...
- Page 10 Blending regulator: = part number 8 on the illustration on page 1 With the blending regulator, you can determine the outgoing hardness. Depending on the desired residual hardness, outgoing hardness with a hex key number 5. The setting is proportional, i.e. 1/10 – –...
- Page 11 5.5. Open a tap behind the softener so a flow runs through it. Some air may flow from the tap; this comes from the softener. This will happen only once; at start-up. Once only water flows from the tap, and no more air, close the tap. 5.6.
- Page 12 5.6.2. Let regeneration perform until it stops automatically. The estimated time is approx. 12 minutes. When regeneration has stopped, no more water flows to the drain. This is a clear indication that the regeneration stage is over. 5.6.3. Open a tap behind the softener for several minutes to allow residual water to be flushed from the tubing.
- Page 13 An annual control of your Softener will guarantee optimal functioning and a long operating life. The EVO-WATER oHG is proud of its achievement in having provided in what we believe to be the best softener available today. Moreover, we are proud to have you as a customer. We will do our utmost to deserve your trust.
Need help?
Do you have a question about the soft monomatik and is the answer not in the manual?
Questions and answers