
Related Manuals for BuyTricycle Adult trike

Summary of Contents for BuyTricycle Adult trike
- Page 1 ASSEMBLY GUIDE BuyTricycle Tel: 07399 640 115 Email: help@buytricycle.co.uk Twitter: @TricyclesAdult Facebook: @BuyTricycle...
-
Page 2: Build Instructions
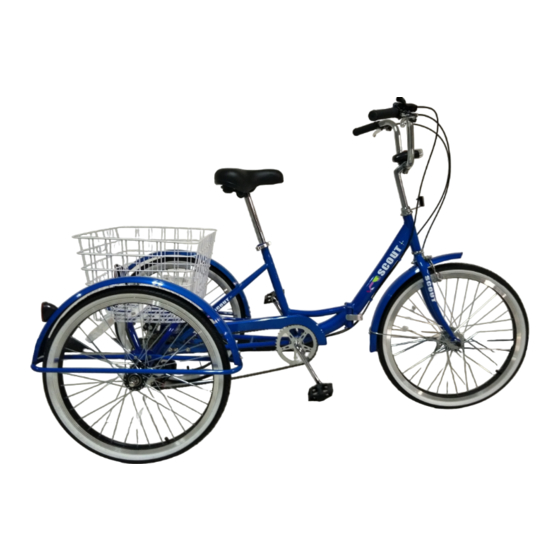
We’ve tried to make this booklet as user friendly as possible but it is only a guide, so please only attempt the build if you have experience with Tricycle / Bicycle assembly, if not seek professional assistance. BuyTricycle will not be held responsible for damages/accidents/injuries due to an improper build, but please do not hesitate to contact us with any questions you may have. - Page 3 ADULT TRIKE PARTS IDENTIFICATION Basket Support Arm Basket Fender Bar Support Bar Axle Begin by attaching the rear axle to the trike frame using the hardware provided (fig.1) and the two bolts already attached to the axle), 3 bolts either side (apply small amount of grease to threads).
- Page 4 Fit the chain over the chain wheel, through the rear gear cluster and the Shimano dérailleur and link together using a chain tool (oil chain). Fit the chain guard using hardware (Fig.4). Please note on aluminium trikes the large screw is replaced for a smaller one, the same as the two shown here.
- Page 5 ADJUSTMENT - Rear Dérailleur: The Low limit screw determines how far the rear derailleur will travel toward the wheel of the bicycle, while the High limit screw determines how far the cage will travel toward the frame. Shift the rear shifter to the largest number Outer side of Top Gear indicated, and place the chain on the Freewheel...
- Page 6 Fit rear fenders to the fender bars using hardware (Fig. 5) also attach rear red reflectors. Now attach the fenders to the rear axle using hardware (Fig. 6). The fender support bars fit to the V-shaped anchor points on the axle near the tyres. You may need to gently bend the fenders to align Fig 5 over the tyres.
- Page 7 V-Brake Assembly & Adjustment If not already assembled, take the brake noodle from the parts box and slide the cable through the larger opening. Brake Outer Cable The cable housing will then seat into the end of the noodle. Cable Boot Lead Slide the cable through the cable lead on the end of the left...
- Page 8 If you have never ridden a tricycle before, you may feel a slight pulling to one side, this is quite normal with tricycles due to there being only one rear drive wheel, also if the camber of the road is even slightly off this also can make the tricycle feel as if it is pulling to one side. BuyTricycle...
-
Page 9: Parts List
PARTS LIST AXLE HARDWARE FRONT FENDER SUPPORT BAR HARDWARE FENDER HARDWARE CHAIN GUARD HARDWARE REAR FENDER / FENDER BAR HARDWARE REAR BASKET HARDWARE CABLE CAPS REAR FENDER REFLECTORS WHEEL REFLECTORS FRONT BASKET HARDWARE AXLE/FENDER BAR HARDWARE... - Page 10 FRONT WHEEL CAPS GEAR CABLE / REAR BRAKE CABLE SEAT CLAMP PEDALS SEAT POST REAR BASKET BAR CHAIN FRONT BASKET SUPPORT BAR FRONT FENDER SUPPORT BAR REAR FENDER BARS REAR FENDERS FRONT FENDER...
- Page 11 . Any damages or wear and tear will be between the hours of 7am and 9pm. BuyTricycle can responsibility. BuyTricycle will not be held liable for any injury or deducted from the refund. give an exact time of delivery.
- Page 12 If on the rare occasion there are any problems with your order (such as item arrived damaged in transit) then please drop us an email at help@buytricycle.co.uk and we will deal with the issue to your satisfaction. We would love to see you riding your Tricycle, so please #tricyclescouting to our Twitter or Instagram page and we’d love you to give us a like on our facebook page.
Need help?
Do you have a question about the Adult trike and is the answer not in the manual?
Questions and answers