Advertisement
Quick Links
Advertisement

Related Manuals for CRC Battle Axe 3

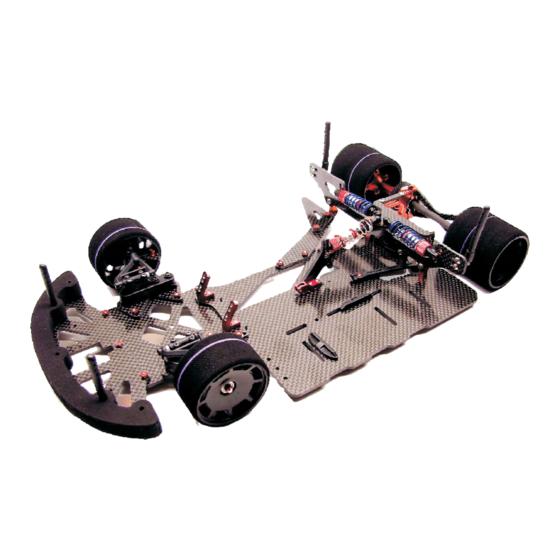
Summary of Contents for CRC Battle Axe 3
- Page 1 0 0 7 3 4 0 1 9 0 1...
- Page 2 Center Pivot 4019 - Alum Pivot ball 3254 - 2-56 Button Head 3374 - Center Pivot Socket Bag 1 *Note - Sometimes it is helpful to slightly over-tighten the top clamp screws, then work the ball around by hand, and then loosen the screws so the ball floats around very free.
- Page 3 One-Piece 1412 - Red Locknut 1426 - 4-40 x 13615 - 1430 - 4-40 x ½” Side Links 5/16” Flat Head Red Low- Flat Head 3254 - 2-56 Button Head Bag 2 Profile Ball 3280 - 1967 - BA3.0 Rear Bottom Plate *NOTE - Before installing, inspect the side links and you will notice that the screw holes on one side of the link are larger than the holes on the...
- Page 4 Slider Pod 33401 - Motor Plate 1424 - 4-40 x 1/4” 1434 - 4-40 x 1/4” 1435 - 4-40 x 7/16” 33411 - Slider Bearing Carrier Flat Head 13615 - Button Head Button Head Bag 3 Red Low- 33421 - Left Side Pod Plate Profile Ball 1963 - Rear Top Plate 3375 - Graphite X-brace...
- Page 5 Shock Tower 1434 - 4-40 x 1/4” 1424 - 4-40 x 1/4” 1971 - Shock Tower 13615 - Button Head Flat Head Red Low- Bag 4 3355 - Shock Tower Mounts Profile Ball 3355 1971...
-
Page 6: Side Shocks
Side Shocks Center Shock CRC Encore Shock & 3290 - Bag 5 Bag 7 1 - Thread the spring adjuster nut onto the shock body as shown. *This needs to be installed first or you will not be able to get it on later after the lower end of the shock is assembled!* 2 - Insert only 1 of the small o-rings into the lower end of the shock body. - Page 7 Center Shock 1424 - 4-40 x 1/4” 1434 - 4-40 x 1/4” Flat Head Mount 13615 - Button Head Red Low- Profile Ball Bag 6 1745 - Alum Shock / Antenna Mount 3373 - Plastic Battery Position Pieces 1946 - Graphite Shock Mount Plates 3373...
- Page 8 2 - Use the 5 mm thick ride height block for 1/10th scale tires. For fine front ride height adjustments, use the CRC #4262 optional front shim set. This set contains .010, .020 and .030” plastic ride height shims. After selecting the proper spacer, push the 4-40 x 7/16”...
- Page 9 1751 - Steering Arm 3393 - .50mm 2-56 SH Button Head Pivot Ball Front Spring 3251 - Steering Block Set 3235 - CRC Pro-Strut 3228 - Dual Axle 3287 - Nylon King Pin Front End - cont. Spring Cup 1382 -...
- Page 10 Again, we recommend starting in the middle hole, giving you the option to go longer or shorter. 3 - Repeat these steps for the other side. 1757 4 - For fine ride height adjustments, you can use CRC’s 4262 plastic shim kit (optional). 1760 1753 Front of Car...
- Page 11 NSTALL AND GREASE THE DIFF BALLS ** Balls in outer ring of holes in gear ** Place the spur gear flat on the table in front of you with the side that says “CRC” 64072 facing down. The diff balls will fall into each of the outer ring of holes in the diff 64080 gear, but won’t fall out the other side.
- Page 12 1436 - 4-40 x 3/8” 13783 - 4-40 x 1/8” 1264 - Long Body Posts Button Head Set Screw Bag 10 w/ collars (3 in.) 1264 3248 - 3/16” x 5/16” 1462 - 4-40 x 3/8” 4745 - Flanged Bearing 1412 - Red Locknut Red Socket Cap 3/16”...
Need help?
Do you have a question about the Battle Axe 3 and is the answer not in the manual?
Questions and answers