Table of Contents
Advertisement
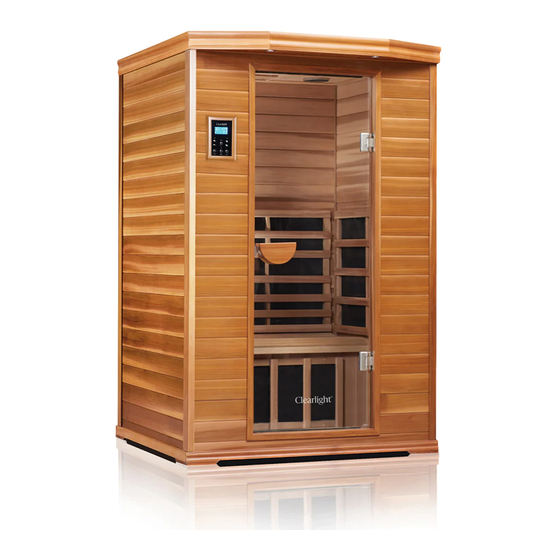
OWNER'S MANUAL
CLEARLIGHT PREMIER
FAR INFRARED SAUNAS
Superior Quality and Service
Congratulations on your purchase of a Clearlight Infrared Sauna™.
We are confident that you will enjoy the many benefits of your sauna for years to come.
Please read this manual before using your Sauna for the first time.
Please keep this manual for future reference.
Advertisement
Table of Contents


Need help?
Do you have a question about the PREMIER IS-1 and is the answer not in the manual?
Questions and answers
Control Panel will not stay on… lights works
The control panel of the Clearlight PREMIER IS-1 may not stay on while the lights work if the keypad is locked using the "Lock Keypad - Light Button Will Continue To Work" function. Holding down the OUTSIDE button for 5 seconds activates this lock, allowing only the light buttons to function while disabling the rest of the keypad.
This answer is automatically generated