Table of Contents
Advertisement
Assembly Instructions
5-70-0424
(Rev 1 -3/7/17)
Contains Assembly, Use, and Maintenance Instructions
Turbo Carnival
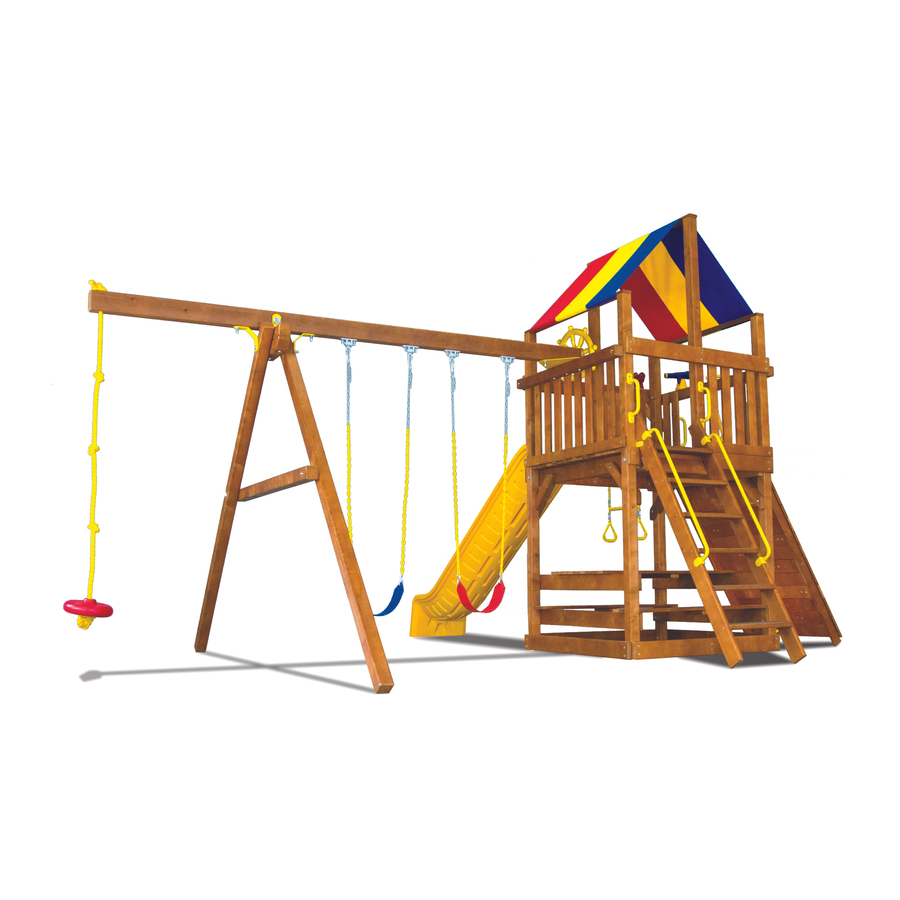
Clubhouse
Carnival
Clubhouse
WARNING: Not suitable for children under 36 months. Fall Hazard.
!
Only for domestic use.
To be used under the direct supervision of an adult. Intended for children ages 3-12.
This owner's manual contains important information about how to assemble, locate, use,
and maintain this playground equipment. Read this manual before you start assembly. Follow all
instructions. Be sure to educate all children who use this playground and all adult supervisors about
the rules for safe use that are contained in this manual.
Keep this Owner's Manual for future reference and to remind you of how to safely use and maintain this equipment.
RAINBOW RESERVES THE RIGHT TO MAKE CHANGES AND MODIFICATIONS TO THIS PRODUCT.
COPYRIGHT 2017 RAINBOW PLAY SYSTEMS, INC. ALL RIGHTS RESERVED
Advertisement
Table of Contents

Related Manuals for Rainbow Carnival Clubhouse

Summary of Contents for Rainbow Carnival Clubhouse
- Page 1 Keep this Owner's Manual for future reference and to remind you of how to safely use and maintain this equipment. RAINBOW RESERVES THE RIGHT TO MAKE CHANGES AND MODIFICATIONS TO THIS PRODUCT. COPYRIGHT 2017 RAINBOW PLAY SYSTEMS, INC. ALL RIGHTS RESERVED...
- Page 2 OWNER'S MANUAL Rainbow Play Systems, Inc. Thank you for choosing Rainbow Play Systems, Inc. Please read the instruction manual thoroughly before you start building your Carnival Clubhouse to help ensure safe installation. Familiarize yourself with all hardware and parts to help with building your playground.
-
Page 3: Rules For Safe Play
Rules for safe play on your play system. Do not allow children in the area while you are assembling your play system. Many of Rainbow's components are very heavy and could seriously injure a child. Observing these rules reduces the likelihood of serious or fatal injury. - Page 4 Choosing a location for your play system When selecting your play site, always keep the child's safety in mind. Here are some recommendations that should help you achieve a safe play area. 1. The play system should be located on solid level ground free of objects that could cause injury such as, but not limited to, tree stumps, roots, and large rocks.
-
Page 5: Maintenance
Maintenance of your play system To ensure safe enjoyment of your Rainbow Play System for years to come, follow these maintenance tips: 1. At the beginning of each usage season and twice each month, check and tighten as needed (but do not over tighten causing the wood to crack) all nuts and bolts. - Page 6 3. DO NOT allow children to play on the play system until it is completely assembled in a proper location. 4. DO NOT allow children in the area while you are assembling your play system. Many of the Rainbow Play Systems, Inc.
-
Page 7: Commonly Asked Questions
If play surfaces or play items become overly sticky with pitch use rubbing alcohol to safely remove. Question: What accessories may be added or what modifications can be made to my Rainbow boxed kit set? Answer: Rainbow boxed kit sets are complete kits and are not modular. Play sets with unauthorized accessories or modifications will not be covered under warranty. - Page 8 Hardware for Assembly Note: Thread length may vary from what is pictured.
- Page 9 Hardware for Assembly Note: Thread length may vary from what is pictured. H115 H116 H131 H119 H133 H215 H121 H143 H135 H146 H139 H124 H151 H129...
- Page 10 Hardware for Assembly *Note: Thread length may vary from what is pictured. H169 H192 H166 H164 H104 H157 H216 H108 H183 H188 H100 H155 H154 H153 H152 H194...
-
Page 11: Hardware
Hardware for Assembly *Note: Thread length may vary from what is pictured. TOOLS REQUIRED FOR ASSEMBLY Tape Measure Electric Impact Gun or 1/4" 7/16" Deep Well Socket Carpenters Level and 3/8" Ratchet 1/2" Deep Well Socket Carpenters Square 1/8" Drill Bit 9/16"... - Page 12 Carnival 4x4 Monkey Bar Parts List F/N# DESCRIPTION DIMENSION FOUND IN Flat Washer 3/8" 5-46-0902 Flat Washer 1/2" 5-46-0902 Flat Washer 3/4" 5-46-0902 Lock Washer 3/8" 5-46-0902 Lock Washer 1/2" 5-46-0902 Standard Nut 3/8" 5-46-0902 Standard Nut 1/2" 5-46-0902 Acorn Nut 3/8"...
- Page 13 Carnival 4x6 Monkey Bar Parts List F/N# DESCRIPTION DIMENSION FOUND IN Standard Nut 3/8" 5-46-0903 Acorn Nut 3/8" 5-46-0903 Carriage Bolt 3/8" x 6 1/2" 5-46-0903 H104 Lag Bolt 5/16" x 2" 5-46-0695 H116 Lag Bolt 3/8" x 3 1/2" 5-46-0903 H119 Lag Bolt...
- Page 14 Carnival Penthouse Parts List F/N# DESCRIPTION DIMENSION FOUND IN Flat Washer 1/4" 5-46-0906 Flat Washer 3/8" 5-46-0906 Lock Washer 1/4" 5-46-0906 4 Prong T-Nut 1/4" 5-46-0906 Lag Bolt 1/4" x 3" 5-46-0906 H104 Lag Bolt 5/16" x 2" 5-46-0906 H116 Lag Bolt 3/8"...
- Page 17 4x4 Monkey Bar Assembly *NOTE: 4x4 Monkey Bar can only be mounted on the Carnival Clubhouse and MUST NOT have a Penthouse mounted on it. 1. Place Left and Right Monkey Bar Arms (6316) (6317) and Left and Right Monkey Bar Support Legs (6318) (6319) on a flat surface directly across from each other with pre-drilled hole facing up (as (shown).
- Page 18 Step 49 4x4 Monkey Bar Installation *NOTE: A Helper will be needed to complete this Step. *NOTE: Rail Uprights (9022) should not have been installed in the opening that the Monkey Bar is being installed in. If Rail Uprights were installed, remove and reinstall after Monkey Bar has been installed.
- Page 19 Step 49 4x4 Monkey Bar Installation Continued from previous page: 4132 6313 6138 6302 1 11/16" 1 11/16" 7/16" DIAMETER HOLE 6302 6138 6313 6317 H29 H18 H12 H116 6316 7024 H5 H71 N391 H116 USE BOTTOM H116 HOLE IN H104 7025 SUPPORT...
- Page 20 Step 50 Monkey Bar Support Block & Rail Upright Installation 1. Position Monkey Bar Support Blocks (6342) against Corner Upright (6302) and Center Post (6138) (6313), pushed up tight to underside of Monkey Bar. 2. Attach Monkey Bar Support Blocks (6342) using 3/8" Hardware (H3) (H119). 3.
- Page 21 Step 51 4x6 Monkey Bar Assembly 1. Place Left and Right Monkey Bar Arms (7051) (7052) on a flat surface directly across from each other, oriented with counter bored holes facing down as shown. 2. Insert Pipes (N3) in to pipe holes into both Monkey Bar Arms (7051) (7052) to connect the two Monkey Bar Arms (7051) (7052) together.
- Page 22 Support with the back counter bored hole in the Monkey Bar, if installing the Monkey Bar on the Carnival Clubhouse. If installing the Monkey Bar on a Turbo Carnival Clubhouse, use the third hole in the Monkey Bar Support (as shown).
- Page 23 Step 52 4x6 Monkey Bar Installation Continued from previous page: 4132 6324 6138 6313 6302 1 11/16" 1 11/16" 7/16" DIAMETER COUNTER BORED HOLE HOLES UP 6324 6302 USE THIRD HOLE 6138 6313 IN SUPPORT FOR TURBO CARNIVAL CLUBHOUSE 7052 H28 H17 H11 H116 7051...
- Page 24 Step 53 Monkey Bar Support Block & Rail Upright Installation 1. Position Monkey Bar Support Blocks (6342) against Corner Upright (6302) (6324) and Center Post (6138) (6313), pushed up tight to underside of Monkey Bar. 2. Attach Monkey Bar Support Blocks (6342) using 3/8" Hardware (H3) (H119). 3.
- Page 25 Step 54 Chin Up Bar Installation *NOTE: Depending on set configuration, Chin Up Bar may be mounted on either Monkey Bar arm. *NOTE: The Chin Up Bar can be mounted on both the 4x4 and 4x6 Monkey Bars. 3/8" Hardware (H129) will be used if mounting the Chin Up Bar on the 4x4 Monkey Bar. *NOTE: Installation processes will be the same if mounting the 2 Hole Mount Chin Up Bar (N380) or the 4 Hole Mount Chin Up Bar (N406).
- Page 26 Step 55 Penthouse Assembly *NOTE: Pre-drill holes for all Lag Bolts using the appropriate drill bit. *NOTE: For ease of assembly, construct Penthouse on a flat, level surface. 1. Lay Penthouse Corner Posts (6320) (6321) on ground 58" apart, with counter bored holes facing up.
- Page 27 Step 56 Penthouse Assembly *NOTE: Ensure now and periodically throughout construction the Facias and Uprights are plumb and level. *NOTE: If installing Penthouse with Spiral, be sure to orient Penthouse correctly relative to the side with the Spiral Slide. 1. Stand up Penthouse wall assemblies, positioned 30 5/8" apart. On each end of Penthouse, measure down 1"...
- Page 28 Step 57 Penthouse Tarp Board Installation *NOTE: If installing wood roof, skip to next Step. 1. Using a small hammer, pound 1/4" Hardware (H32) into holes in Short Penthouse Center Posts (3175). 2. Attach T-Brackets (N33) and Short Penthouse Center Posts (3175) through center holes in Tarp Facias (4147) using 1/4"...
- Page 29 Step 58 Penthouse Wood Roof Installation 1. Install 1/4" Hardware (H1) (H9) (H32) (H215) into center holes in Tarp Facias (4147). A small hammer or mallet may be used to pound 1/4" Hardware (H32) into back of Tarp Facias (4147). 2.
- Page 30 Step 58 Penthouse Wood Roof Installation Continued from previous page: INSET A H154 3183 15/16" 3180 6320 3183 6321 H100 3183 H154 H215 0087 H154 H100 3183 6320 4147 3183 H154 H100 9183 6320 4147 1 1/4" H215 4164 1 1/2" 6321 THIS WOOD ROOF FILLER (4164) INSTALLED ON OPPOSITE PENTHOUSE...
- Page 31 Step 59 Penthouse Filler Block & Step Block Installation 1. Position Filler Blocks (7055) (7056) against Center Post (6138) and Corner Upright (6302) (6324), directly on top of 6 Hole Facia (4132). Attach Filler Blocks using 3/8" Hardware (H3) (H121). *NOTE: If set has a Wood Roof, install Filler Block (7061) in place of Filler Block (7056) (as shown in Inset A).
- Page 32 Step 60 Penthouse Deck Board Installation 1. Layout and evenly space Deck Boards (9243) (9244) (0147), in pattern shown, on top of Monkey Bar using measurements shown in Inset A. 2. Attach Deck Boards (9243) (9244) (0147) to Monkey Bar using #8 Hardware (H154). THIS BOARD MUST MEASURE INSET A 3 3/8"...
- Page 33 Step 61 Penthouse and Handle Installation *WARNING: DUE TO ITS EXTREME WEIGHT, IT IS STRONGLY RECOMMENDED THAT AT LEAST THREE PEOPLE HELP TO LIFT PENTHOUSE INTO PLACE. *NOTE: Penthouse with Tarp is shown; installation of the Penthouse with Wood Roof will be the same unless otherwise noted.
- Page 34 Step 62 Penthouse Side Board & Rail Upright Installation *NOTE: Installation of Rail Uprights and Penthouse Side Boards will be the same for the Penthouse with Wood Roof. *NOTE: Only install Penthouse Side Boards (4069) on one side of Penthouse if assembling Penthouse with Spiral Slide or Penthouse with Wood Roof and Spiral Slide.
- Page 35 Step 63 Penthouse Side Board Installation (for Spiral Slide) *NOTE: Installation processes will be the same for the Wood Roof Version. 1. On the backside of Short Penthouse Side Board, insert 1/4" Hardware (H32) into the bottom hole of the short side offset counter bored holes (as shown in Inset A). 2.
- Page 36 Step 64 Penthouse Tarp Installation *NOTE: Skip to next step if installing Penthouse with Spiral Slide. Skip to Step 66 if installing Penthouse with Wood Roof. 1. Evenly spread Penthouse Tarp (N376) over the top of Tarp Board (3180) and Penthouse Side Boards (4069) with the Snaps against the inside.
- Page 37 Step 65 Penthouse with Spiral Slide Tarp Installation *NOTE: Skip to next Step if installing Penthouse with Wood Roof. 1. Spread Penthouse Tarp (N377) over the top of Tarp Board (3180) and Penthouse Side Boards (4069) with the Snaps against the inside. 2.
- Page 38 Step 66 Penthouse Wood Roof Installation *NOTE: Wood Roof installation is the same for Penthouses with and without Spiral Slide. 1. Position first Roof Board (4163) on Penthouse Roof Supports (3183), pushed up to and flush with ends of Tarp Board (3180) (as shown in Inset A). Attach Roof Board (4163) using #8 Hardware (H154). 2.
-
Page 39: Warranty
Acts of God. Your sales receipt will be needed to make a warranty claim. Rainbow will ask you for photos for your warranty claim. Warranty claims will be repaired or replaced as determined by Rainbow. Shipping and labor costs are not covered under this warranty.
Need help?
Do you have a question about the Carnival Clubhouse and is the answer not in the manual?
Questions and answers