Sign In
Upload
Download
Table of Contents
Contents
Add to my manuals
Delete from my manuals
Share
URL of this page:
HTML Link:
Bookmark this page
Add
Manual will be automatically added to "My Manuals"
Print this page
×
Bookmark added
×
Added to my manuals
Manuals
Brands
Daikin Manuals
Ventilation
UHH
Installation instructions manual
Daikin UHH Installation Instructions Manual
Steam/hot water unit heaters installation instructions for horizontal air delivery model uhh and vertical air delivery model udh
Hide thumbs
1
Table Of Contents
2
3
4
5
6
7
8
9
10
11
12
13
14
15
16
17
18
19
20
21
22
23
24
page
of
24
Go
/
24
Contents
Table of Contents
Bookmarks
Table of Contents
General Information
Table of Contents
Safety Information
Inspection
Installation
Special Precautions
Locating Unit Heaters
Unit Heater Mounting Height
Deflector Mounting
Unit Suspension
Suggested Piping Arrangements
Hot Water Systems
Steam Systems (Uhh-18 Through 86)
Steam Systems (Uhh-108 Through 340)
Piping
Wiring
Prior To Operation
Initial Start-Up
Automatic Control
Control Sequences
Operation
Performance Data
Model UHH & UDH Motor Data & Power Codes 10 Model UHH - (Steam) High Motor Speed
Model Uhh - (Steam) Reduced Motor Speed
Model Uhh - (Hot Water) High Motor Speed
Model UHH - (Hot Water) Reduced Motor Speed 12 Model UDH - (Steam) High Motor Speed
Model Udh - (Hot Water) High Motor Speed
Building or Room Sound Zones
Dimensional Data
Model Uhh
Explosion Proof Horiz. Model UHX Dimensions . 16 Model UDH
Explosion Proof Vert. Model Udx Dimensions
Service Diagnosis
Maintenance
Service Checklist
Replacement Parts Information
Advertisement
Quick Links
1
General Information
2
Installation
3
Hot Water Systems
4
Wiring
5
Model Uhh & Udh Motor Data & Power Codes 10 Model Uhh - (Steam) High Motor Speed
6
Model Uhh - (Hot Water) High Motor Speed
7
Model Uhh
Download this manual
Steam/Hot Water Unit Heaters
Installation Instructions for Horizontal Air Delivery Model UHH
and Vertical Air Delivery Model UDH
Installation & Maintenance Data
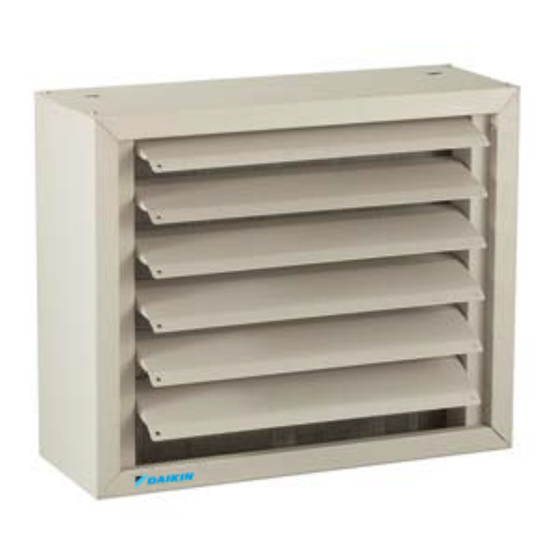
Model UHH
Model UDH
IM 907
Group: Fan-Coil
Part Number: 668709201
Date: January 2008
Table of
Contents
Previous
Page
Next
Page
1
2
3
4
5
Advertisement
Table of Contents
Need help?
Do you have a question about the UHH and is the answer not in the manual?
Ask a question
Questions and answers
Related Manuals for Daikin UHH
Ventilation Daikin UDH Installation Instructions Manual
Steam/hot water unit heaters installation instructions for horizontal air delivery model uhh and vertical air delivery model udh (24 pages)
Ventilation Daikin VAM350J7VEB Installer And User Reference Manual
Heat reclaim ventilation unit (49 pages)
Ventilation Daikin D-Series Service Manual
(479 pages)
Ventilation Daikin FWF02B7TV1B Installation Manual
Fan coil units (40 pages)
This manual is also suitable for:
Udh
Table of Contents
Print
Rename the bookmark
Delete bookmark?
Delete from my manuals?
Login
Sign In
OR
Sign in with Facebook
Sign in with Google
Upload manual
Upload from disk
Upload from URL


Need help?
Do you have a question about the UHH and is the answer not in the manual?
Questions and answers