Chicago Electric MIG 180 Installation Manual
81295b gun
Hide thumbs
Also See for MIG 180:
- Owner's manual & safety instructions (33 pages) ,
- Owner's manual (32 pages)
Advertisement
Quick Links
Download this manual
See also:
Owner's Manual
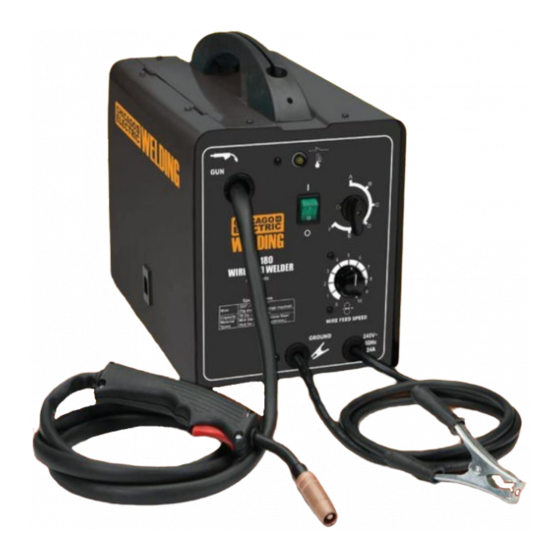
Chicago Electric MIG 180
81295B Gun Install
Step 1
First you will need to remove all the side panels on your machine. This is
necessary to access everything for this install.
Step 2
On the side with your wire feeder, you will need to remove the four screws that
hold your gun to the wire feeder.
Advertisement

Related Manuals for Chicago Electric MIG 180


Summary of Contents for Chicago Electric MIG 180
- Page 1 Chicago Electric MIG 180 81295B Gun Install Step 1 First you will need to remove all the side panels on your machine. This is necessary to access everything for this install. Step 2 On the side with your wire feeder, you will need to remove the four screws that...
- Page 2 Step 3 On the same side of the machine you will need to disconnect the gas hose from the push-lock fitting. To do so you will push the plastic collar of the fitting toward the back of the machine and gently pull the hose out toward the front of the machine.
- Page 3 Step 4 You will then disconnect your guns power cable located below your wire feed mechanism. This cable is held in by one of two knobs, depending on if you have switched your polarity from the factory set reverse polarity. You will remove the knob that holds the cable with the red sheathing.
- Page 4 Step 5 Now you will go to the other side of the machine (referred to as the “inside” for the remainder of this walk-through). On the inside you will need to locate where your guns trigger wires, power cable, and gas hose come through from the wire feed side.
- Page 5 Step 6 Now that you have located the above mentioned hole and wires, the next step will be to follow the trigger wires to the computer board in your machine. The trigger wires are hard wired into a 4 wire plug in your machine. The trigger wires will be the two covered in the black insulation as indicated below.
- Page 6 Step7 With the segments of wires you left on the plug, strip the ends and you will attach two male spade terminals to the ends. You can also use butt connectors or solder them together but we prefer to use spade terminals in case there is ever a time where the gun needs to be removed again.
- Page 7 Step 9 With your old gun out we can start with installing your new HTP 81295B (Or 81295-T10) gun. You will put your gun through the face of the machine just as the previous one was. The power cable, trigger wires, and gas hose will feed back through the hole to the inside of the machine (disregard the liner for the time being), make sure your strain relief is facing the correct direction when installing the gun.
- Page 8 Step 10 Once your trigger wires, power cable, and hose are on the inside of the machine you will route your gas hose the same way it was before you removed it and insert it firmly into the quick disconnect fitting. The trigger wires and power cable will run down behind the board.
- Page 9 Step 11 The trigger wires will lead back down to the computer board you cut the previous trigger wires from. You will then plug the trigger wires on your new gun into the newly attached spade terminals (orientation of these two wires is irrelevant).
- Page 10 Step 12 The power cable will run down and back out the hole that leads to the wire feed side. You will then return the cable to the terminal you removed it from. Our machine pictured is still set to the factory set reverse polarity.
- Page 11 Step 13 The steel cable sticking out the back of the gun with the hose and wires is your liner, this is what guides your welding wire to the tip of the gun and you will need to trim this to fit in the wire feeder. The liner should reach as close to the drive roll as possible without touching it, use your previous gun as reference to trim it.
Need help?
Do you have a question about the MIG 180 and is the answer not in the manual?
Questions and answers