Table of Contents
Advertisement
Quick Links
Content
Preface
Chpter 1 Installation
U n p a c k i n g ... ... ... ... ... ... ... ... ... ... ... ... ... ... ... ... ... ... ... ... . ... . . . . 1
Viewing Angle Adjustment.................................................. 1
Interface for Arm Applications............................................ 2
Connecting the Display..................................................... 2
Connecting the AC Power.................................................. 2
Connecting the Audio Cable.............................................. 3
Setting Up the LCD Monitor.................................................. 3
Power Management System............................................... 3
Chpter 2 Display Control
User Controls.................................................................... 4
Adjusting the Monitor's Display............................................ 4
Function Description........................................................ 5
Chpter 3 Technical Informaion
Sp e c i f i c a t i o n s ... ... ... ... ... ... ... ... ... . ... ... ... ... ... ... ... ... ... ... ... . . . . 7
Standard Timing Table.......................................................10
Troubleshooting................................................................11
Advertisement
Table of Contents

Related Manuals for Gigabyte GD-1704BP


Summary of Contents for Gigabyte GD-1704BP
-
Page 1: Table Of Contents
Content Preface Chpter 1 Installation U n p a c k i n g … … … … … … … … … … … … … … … … … … … … . … ..1 Viewing Angle Adjustment………….…………………………….. -
Page 2: Canadian Doc Notice
Preface This manual is designed to assist users in setting up and using the LCD Monitor. Information in this document has been carefully checked for accuracy; however, no guarantee is given to the correctness of the contents. The information in this document is subject to change without notice. This document contains proprietary information protected by copyright. - Page 3 Important Safety Instructions Please read the following instructions carefully. This manual should be retained for future use. 1. To clean LCD Monitor screen; -- Power off LCD Monitor and unplug the AC Cord. -- Spray a non-solvent cleaning solution onto a rag. -- Gently clean the screen with dampened rag.
-
Page 4: Unpacking
Chapter 1 Installation Installation Unpacking Before unpacking the LCD Monitor, prepare a suitable workspace for your Monitor and computer. You need a stable and clean surface near a wall power outlet. Make sure that LCD Monitor has enough space around it for sufficient airflow. Though the LCD Monitor uses very little power, some ventilation is needed to ensure that the Monitor does not become too hot. -
Page 5: Interface For Arm Applications
Chapter 1 Installation Installation Interface for Arm Applications The rear of this LCD display has four integrated 4 mm, 0.7 pitches threaded nuts, as well as four 5 mm access holes in the plastic covering as illustrated in Figure 1-2. These specifications meet the VESA Flat Panel Monitor Physical Mounting Interface Standard Note : Please using M 4mm x 10mm (L) -
Page 6: Connecting The Audio Cable
Chapter 1 Installation Installation Connecting the Audio Cable 1. Connect the audio cable to the " LINE OUT " jack on your PC's audio card or to the front panel's “AUDIO OUT” jack of your CD ROM drive. (See Fig. 1-5) 2. -
Page 7: User Controls
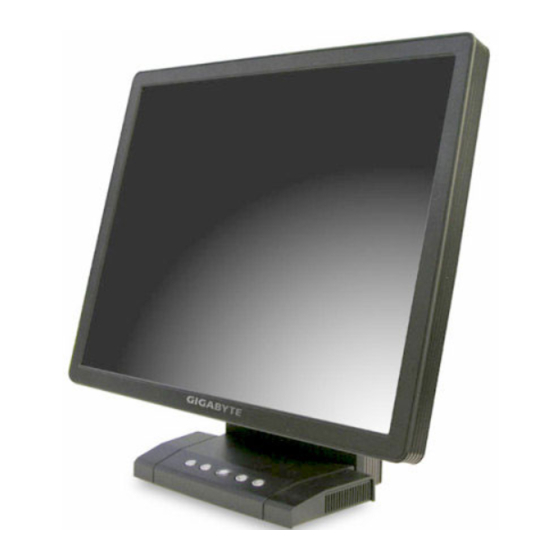
Chapter 2 Display Control Display Control User Controls A brief description and the location of all LCD Monitor function controls and indicators: Figure 2-1 User Controls A brief description and the location of all LCD Monitor function controls and indicators: Power LED will be Green when monitor is on, be amber when in power saving mode, be dark when monitor in off mode. -
Page 8: Function Description
Chapter 2 Display Control Display Control Function Description Icon Function Function Description 101 scales of brightness are available to choose from Brightness (0 to 100). 101 scales of contrast are available to choose from Contrast (0 to 100). (Digital Input Mode not support.) This function let's you adjust the display's horizontal H. -
Page 9: Display Control
Chapter 2 Display Control Display Control Icon Function Function Description The recall function will return all adjusted parameters to Recall factory preset values. Eight OSD language options are available: English, German, French, Spanish, Italian, Japan, Language Russian, and Chinese(Traditional), Chinese(simple). Press the left or right adjustment control button to select other language. -
Page 10: Specifications
Chapter 3 Technical Information Technical Information Specifications 19" (48 cm) Size Display Type Active matrix color TFT LCD Resolution 1280 x 1024 Display Dot 1280 x (RGB) x 1024 Display Area (mm) 376.32 x 301.056 (H x V) Display Color 16.2M (RGB 6bit + FRC) Brightness (typical, minimum) 250 cd/m... - Page 11 Chapter 3 Technical Information Technical Information Brightness Digital Contrast Digital Horizontal Position Digital Vertical Position Digital Phase Digital Clock Digital Use EEPROM to save settings in memory Display Mode Setup OSD Format 26 characters x 15 rows Power Management Mode Power AC Input LED Color...
- Page 12 Chapter 3 Technical Information Technical Information 5°C to 40°C/ Environment Operating Temperature 41°F to 104°F Relative Humidity 20% to 80% Condition 5°C to 40°C/ Storage Temperature 41°F to 104°F Relative Humidity 20% to 80% F Condition Power Supply Input Voltage Single phase, 100 AC Input) ~ 240VAC, 50 / 60...
-
Page 13: Standard Timing Table
Chapter 3 Technical Information Technical Information Standard Timing Table If the selected timing is NOT included in table below, this LCD monitor will use the most suitable available timing. SYNC ACTIVE FRONT PIXEL FH(KHZ) SYNC TOTAL WIDTH BACK PORCH TIMING (DOT / PORCH FOREQ... -
Page 14: Troubleshooting
Chapter 3 Technical Information Technical Information Troubleshooting This LCD Monitor has pre-adjusted using factory standard VGA timings. Due to the output timing differences among various VGA cards in the market, users may initially experience an unstable or unclear display whenever a new display mode or new VGA card is selected. Attention This LCD Monitor Supports Multiple VGA Modes.
Need help?
Do you have a question about the GD-1704BP and is the answer not in the manual?
Questions and answers