Advertisement
Table of Contents
Advertisement
Table of Contents

Related Manuals for Laser Reference Pro Shot Alpha


Summary of Contents for Laser Reference Pro Shot Alpha
- Page 1 Laser Operations Guide Laser Operations Guide Laser excellence since 1991...
-
Page 2: Table Of Contents
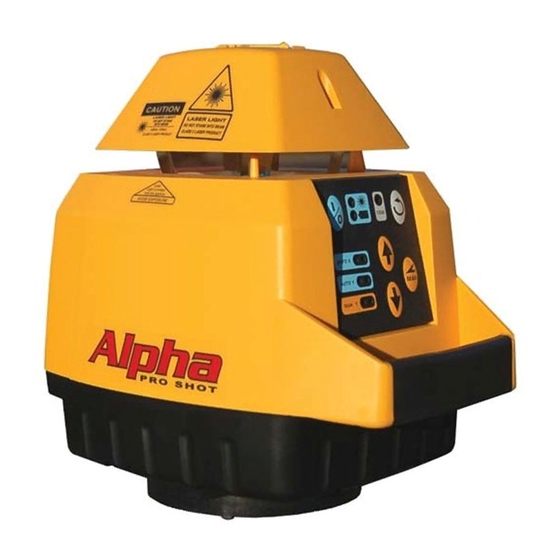
Pro Shot Alpha, a high accuracy, ultra rugged servo leveled automatic laser for your most demanding leveling or grading operations. Please take a moment to read this manual, it contains vital information on safely operating and getting the best results from your new laser. -
Page 3: C Ase Contents
Case contents (will vary depending on package ordered) Instruction packet Receiver Batteries Laser Battery installation Pull on tab at base of door to remove. Install 4 C-cell batteries (alkaline, or NiMH rechargeable) according to instructions molded on battery holder. Carbon batteries are not recommended. Replace battery door by hooking cover into slots at the top of the housing and pressing the tab closed. - Page 4 Alignment sights Y Axis X Axis Power Power Power Laser power and Laser power and Laser power and switch switch switch low battery indicators low battery indicators low battery indicators X Axis leveling X Axis leveling X Axis leveling Rotation speed Rotation speed Rotation speed (green) &...
-
Page 5: Controls & Displays
Laser Controls • Alignment Sights are used to align the slope axis of the laser. • Power Switch turns the laser on and off. • X axis Leveling LEDs: green LED lights when unit is leveling, both red LEDs (X & Y axis) flash if a leveling limit is reached. •... -
Page 6: Safety
CAUTION CAUTION LASER LIGHT LASER LIGHT DO NOT STARE INTO BEAM CLASS 2 LASER PRODUCT LASER LIGHT DO NOT STARE Warning placard INTO BEAM 635nm - 670nm CLASS II LASER PRODUCT Safety labels Note: The Alpha is a CDRH class II laser and an IEC 60825 class 2 laser. It conforms to applicable EC directives regarding RFI and EMI, and to FDA performance standards 21 CFR subchapter J. -
Page 7: Initial Setup
Calibration Although the Alpha transmitter is calibrated at the factory and is an exceptionally rugged laser, it is worthwhile to check calibration before you first use your laser. To ensure the best possible results with your laser, check calibration periodically, or if has been shipped or handled roughly. Check your setup Set the tripod in a location away from vehicular and foot traffic. -
Page 8: Level Setup
Laser power and Laser power and Laser power and Power Power Power low battery indicators low battery indicators low battery indicators switch switch switch Rotation speed Rotation speed Rotation speed selector & speed selector & speed selector & speed X Axis leveling X Axis leveling X Axis leveling indicator... -
Page 9: Slope Matching
Slope Matching Slope Matching Mode, Y axis manually adjusted, X axis auto levels. • Use the sights on top of the laser to align it with the slope direction axis. • Press the power switch to turn the laser on. •... -
Page 10: Calibration
Calibration is your responsibility, check it often. It is well worth the effort to check calibration before you first use your laser, and then periodically to ensure that you are doing the highest quality work. Always check calibration if the laser has been handled roughly. Follow the steps below to check the calibration of the laser and make adjustments if necessary. - Page 11 Upper right controls +Y Upper right controls +Y Upper right controls +Y Upper left controls +X Upper left controls +X Upper left controls +X Lower right controls -Y Lower right controls -Y Lower right controls -Y Lower left controls -X Lower left controls -X Lower left controls -X...
-
Page 12: R9 System Receiver
R9 • System Receiver Rear display The R9 senses the plane of laser light and indicates a height position relative to Five channel Five channel Five channel the plane (high, low, or on grade). The front display front display front display R9 displays height information on a five channel front LCD and a three channel rear LED display. -
Page 13: Rechargeable Battery Kit
Rechargeable battery option The optional NiMH rechargeable battery kit is an environmentally friendly and economical alternative to alkaline batteries. NiMH batteries can be charged up to 500 times under optimum conditions and contain no hazardous materials. To use the NiMH batteries, install a set into the laser and charge them fully prior to initial use (12 hours). -
Page 14: Maintenance & Troubleshooting
Calibration: Calibration should be checked periodically or if the laser has been handled roughly or shipped. Batteries: Occasionally remove the batteries and check the contacts for corrosion. Remove the batteries if the laser is to be stored for an extended period. -
Page 15: Warranty & Specifications
Warranty The Pro Shot Alpha laser transmitter is warranted for twenty four (24) months from the date of new equipment purchase from an authorized dealer. During the warranty period, Laser Reference or its authorized service center will repair or replace, at Laser Reference’s sole discretion, laser transmitters (except for transportation costs), if the product is found to be defective in workmanship or materials. - Page 16 Part No. 020-0040 Version 2.1 June 2016...
Need help?
Do you have a question about the Pro Shot Alpha and is the answer not in the manual?
Questions and answers