Advertisement
Quick Links
Advertisement

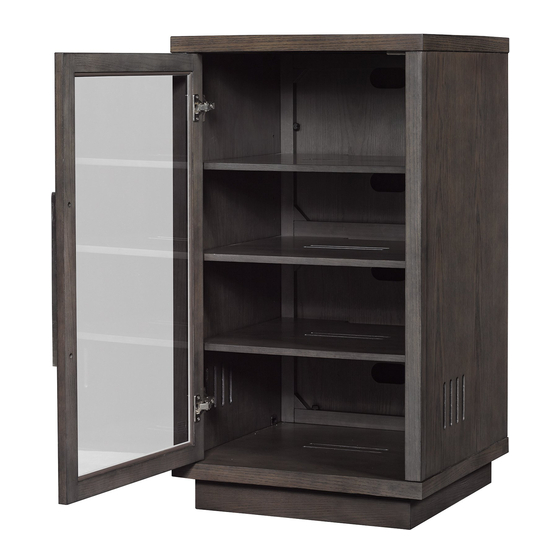
Summary of Contents for Bell'O ATC402E
- Page 1 ATC402E AUDIO/VIDEO COMPONENT TOWER ASSEMBLY INSTRUCTIONS...
- Page 2 ! Do not PlAce Items on tHe sHelves wHIcH eXceeD tHe mAXImum weIGHt lImIts oF 75 lbs. For toP sHelF, AnD 50 lbs. For eAcH InterIor sHelF. AlwAys PlAce tHe HeAvIest comPonents on tHe bottom sHelF. Twin-Star International Inc. will not be responsible for failure to assemble as directed or for the improper assembly, use or handling of this stand.
-
Page 3: Parts List
PARTS LIST Quantity Quantity Part Part MX7E MX1E MX8E MX2E MX9E MX3E MX10E MX4E MX11E MX5E MX12E MX6E MX13E... - Page 4 ASSEMBLY INSTRUCTIONS NOTE: 2 PEOPLE ARE RECOMMENDED TO ASSEMBLE THIS FURNITURE. TO AVOID DAMAGE DURING ASSEMBLY, IT SHOULD BE ASSEMBLED ON A SOFT SURFACE. Fig. 1 (View from Rear) Fig. 1A MX2E MX3E 1. PLACE the Cabinet Base (MX5E) on a flat, solid floor surface as shown.
- Page 5 MX2E Fig. 2 MX4E (View from Rear) MX11E MX3E Fig. 2A MX5E MX11E 4. ATTACH the Rear Frame (MX4E) to the Left and Right Side Panels (MX2E, MX3E) and to the Cabinet Base (MX5E) as shown using six Thumb Screws (MX11E) . TIGHTEN Thumb Screws firmly by hand.
- Page 6 Fig. 3 Fig. 3A (View from Front) MX1E MX9E MX9E MX11E MX3E MX11E Fig. 3B MX2E 5. INSERT four Wood Dowels (MX9E) i nto the predrilled holes along the top edges of the Left and Right Side Panels (MX2E, MX3E) and ATTACH the Cabinet Top (MX1E) to the Left and Right Side Panels as shown.
- Page 7 Fig. 4 (View from Rear) MX4E MX7E 7. ATTACH the Top and Bottom Rear Panels (MX7E) to the Rear Frame (MX4E) as shown above. PRESS firmly into place.
- Page 8 Fig. 5 (View from Front) MX10E MX3E MX2E MX8E 8. INSERT twelve Shelf Support Pins (MX10E) into the predrilled holes in the Left and Right Side Panels (MX2E, MX3E) as shown. Use four Shelf Support Pins for each Interior Shelf (MX8E) . MAKE SURE the Shelf Support Pins are placed in level positions, and that each Shelf is evenly and properly supported by four Shelf Support Pins.
- Page 9 Fig. 6 (View from Front) MX2E MX6E MX12E MX13E 9. ATTACH the Door (MX6E) to the Left Side Panel (MX2E) as shown above. PLACE the metal hinge on the Door over the metal bracket on the Left Side panel, the pieces interlock together. NOTE: (!): A philips-head screwdriver can be used to straighten the door after installation.


Need help?
Do you have a question about the ATC402E and is the answer not in the manual?
Questions and answers