Advertisement
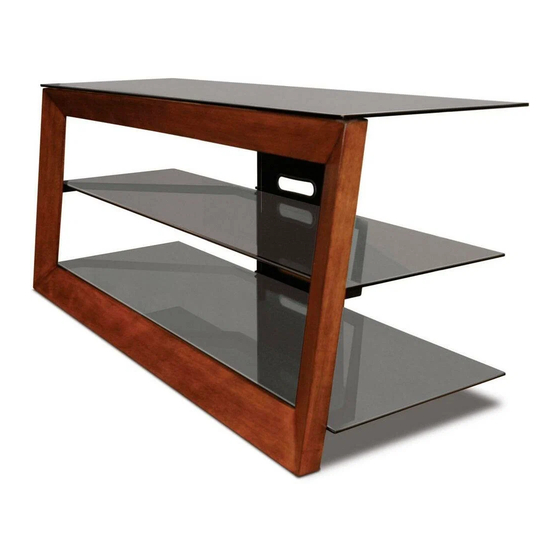
AVSC2151
AUDIO/VIDEO TELEVISION SYSTEM
MEUBLE TV POUR TÉLÉVISEURS
SOPORTE PARA TV
INSTRUCTIONS D'ASSEMBLAGE
INSTRUCCIONES DE ENSAMBLAJE
Patent pending / Brevet en instance / Patent pendiente
Made in China / Fabriqué en Chine / Hecho en China
Italian designed / De design italien / De diseño italiano
Do not discard these instructions / Ne pas jeter ces instructions / Conserve estas instrucciones
M-1_030711v1T
Advertisement
Table of Contents

Summary of Contents for Bell'O AVSC2151
- Page 1 AVSC2151 AUDIO/VIDEO TELEVISION SYSTEM MEUBLE TV POUR TÉLÉVISEURS SOPORTE PARA TV ASSEMBLY INSTRUCTIONS INSTRUCTIONS D’ASSEMBLAGE INSTRUCCIONES DE ENSAMBLAJE Patent pending / Brevet en instance / Patent pendiente Made in China / Fabriqué en Chine / Hecho en China Italian designed / De design italien / De diseño italiano...
- Page 2 ! NE PAS GRIMPER NI MARCHER SUR LE MEUBLE. ! NE PAS TAPER NI S’APPUYER SUR LE PLATEAU EN VERRE. Bell'O International Corps décline toute responsabilité en cas d'assemblage non conforme aux instructions ou pour l'assemblage, l'utilisation ou la manutention incorrects de ce meuble.
- Page 3 PARTS LIST / NOMENCLATURE DES PIÈCES / LISTA DE PIEZAS Quantity Quantity Part / Pièce / Pieza Part / Pièce / Pieza Quantité Quantité Cantidad Cantidad 12 mm 15 mm...
- Page 4 ASSEMBLY INSTRUCTIONS / INSTRUCTIONS D'ASSEMBLAGE / INSTRUCCIONES DE ENSAMBLAJE NOTE: 2 PEOPLE ARE RECOMMENDED TO ASSEMBLE THIS FURNITURE. TO AVOID DAMAGE DURING ASSEMBLY, IT SHOULD BE ASSEMBLED ON A SOFT SURFACE. REMARQUE : IL EST CONSEILLÉ D’ÊTRE À DEUX POUR ASSEMBLER CE MEUBLE. POUR ÉVITER LES DOMMAGES, EFFECTUER L'ASSEMBLAGE SUR UNE SURFACE DOUCE.
- Page 5 FIG. 2 4. ATTACH the Front Wood Frame (M5) to the Bottom Shelf Support Bar (M2) as shown above using four 12 mm Screws (M10). Do not yet fully tighten. 5. ATTACH the Front Wood Frame (M5) to the Middle Shelf Support Bar (M3) as shown above using four 12 mm Screws (M10). Do not yet fully tighten.
- Page 6 FIG. 3 8. PLACE four Glass Pads (M15), evenly distrubuted, on the top edge of the Bottom Shelf Support Bar (M2). 9. PLACE four Glass Pads (M15), evenly distrubuted, on the top edge of the Middle Shelf Support Bar (M3). 10.
- Page 7 FIG. 4A FIG. 4 11. Carefully PLACE the Top Shelf (M6) onto the Top Shelf Support Bar (M4), and SECURE using two 15 mm Screws (M11) from behind the CMS ® Panel (M1) as shown in Fig. 4A. BE CAREFUL NOT TO OVERTIGHTEN SCREWS. 12.
- Page 8 GARANTIE • Garantie limitée un (1) an Ce produit Bell'O International Corporation est garanti, à l’exception du verre, à l’acheteur initial au moment de l’achat et pour une durée d’un (1) an à compter de cette date. Le verre est garanti à l’acheteur initial au moment de l’achat et pour une durée de trente (30) jours à...


Need help?
Do you have a question about the AVSC2151 and is the answer not in the manual?
Questions and answers