Do you have a question about the SL-PC14 and is the answer not in the manual?
Questions and answers
Bob
February 17, 2025
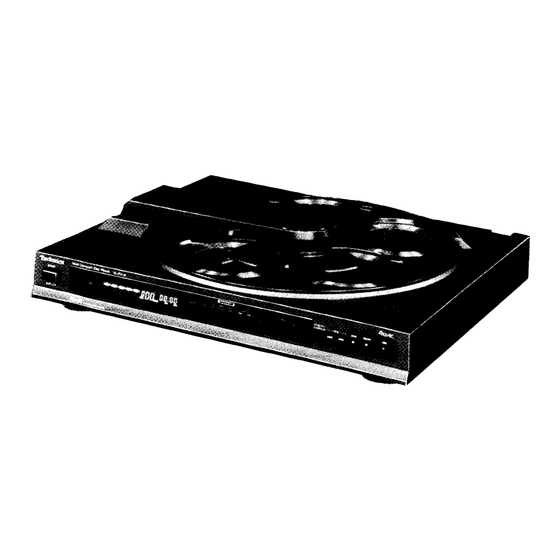
How do I remove the top arm to clean the cd reader head? It has been sitting for quite a while and will not play. The disk spins for a few seconds but then moves on to the next disc.
1 comments:
Mr. Anderson
February 17, 2025
To remove the top arm on a Technics SL-PC14 CD changer for cleaning the CD reader head, follow these steps carefully:
1. Unplug the Unit – Ensure the device is completely powered off and unplugged to avoid electrical hazards.
2. Open the CD Tray (if possible) – If the tray can be manually extended, do so to access internal components more easily.
3. Remove the Outer Cover – Unscrew and remove the top panel of the unit to expose the internal mechanisms.
4. Locate the Top Arm Assembly – Identify the arm that holds the CDs in place and moves them within the changer.
5. Unscrew or Unclip the Arm – Depending on the design, remove any screws or clips securing the arm. Take note of their positions for reassembly.
6. Carefully Lift the Arm – Gently remove the top arm, ensuring no cables or springs are damaged.
7. Clean the CD Reader Head – Use a lint-free cloth and isopropyl alcohol to carefully clean the laser lens without applying excessive pressure.
8. Reassemble the Unit – Reverse the removal steps, securely reattaching the top arm and outer cover.
9. Test the Player – Plug the unit back in, reload CDs, and confirm proper operation.
If unsure, consult the service manual or seek professional assistance.


Need help?
Do you have a question about the SL-PC14 and is the answer not in the manual?
Questions and answers
How do I remove the top arm to clean the cd reader head? It has been sitting for quite a while and will not play. The disk spins for a few seconds but then moves on to the next disc.
To remove the top arm on a Technics SL-PC14 CD changer for cleaning the CD reader head, follow these steps carefully:
1. Unplug the Unit – Ensure the device is completely powered off and unplugged to avoid electrical hazards.
2. Open the CD Tray (if possible) – If the tray can be manually extended, do so to access internal components more easily.
3. Remove the Outer Cover – Unscrew and remove the top panel of the unit to expose the internal mechanisms.
4. Locate the Top Arm Assembly – Identify the arm that holds the CDs in place and moves them within the changer.
5. Unscrew or Unclip the Arm – Depending on the design, remove any screws or clips securing the arm. Take note of their positions for reassembly.
6. Carefully Lift the Arm – Gently remove the top arm, ensuring no cables or springs are damaged.
7. Clean the CD Reader Head – Use a lint-free cloth and isopropyl alcohol to carefully clean the laser lens without applying excessive pressure.
8. Reassemble the Unit – Reverse the removal steps, securely reattaching the top arm and outer cover.
9. Test the Player – Plug the unit back in, reload CDs, and confirm proper operation.
If unsure, consult the service manual or seek professional assistance.
This answer is automatically generated