Advertisement
Quick Links
Advertisement

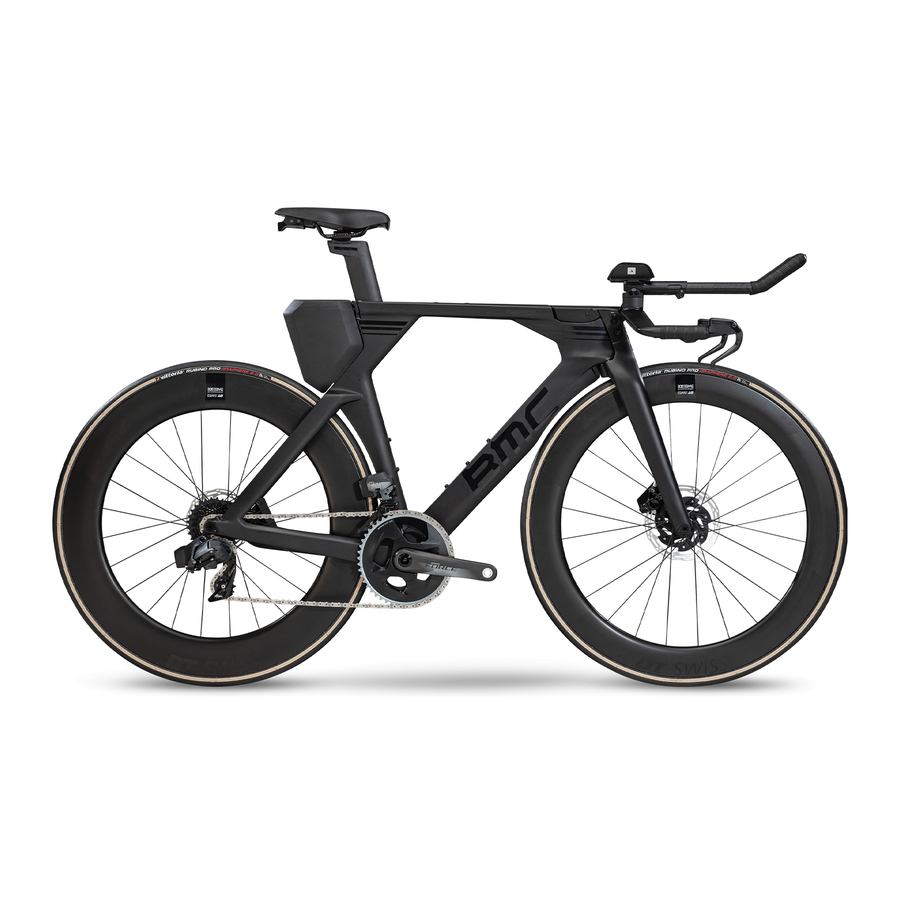
Summary of Contents for BMC TIMEMACHINE 01 Ultegra Di2
- Page 1 TIMEMACHINE 01 Decal Kit Installation Manual...
- Page 2 Cleaning and preparing the frame Prior to installing the decals, proper cleaning methods will ensure proper application prolong the life of the decal. Use a light degreaser to remove any road debris or other contaminants. Once free of grease, oils and other contaminants, use a dust-free cloth and a gentle cleaning solution to remove any small dust particles.
- Page 3 Decal set for Timemachine 01 Ultegra Di2 Flat Cockpit 1. Seatstay (x2) 2. Storage box 3. Downtube (x2) 4. V-Cockpit (x2) 5. Headtube...
- Page 4 Decal set for Timemachine 01 Dura Ace Di2 / FRS Align on edge 50 mm 30 mm 1. Headtube 2. Fork (x2) 3. Downtube (x2) 4. Chainstay (x2) 5. Storage box...
- Page 5 Decal application Align the logo on the top line Apply decal from top to Decal remains on the transparent film for applying bottom to avoid air bubbles Once decals are all in place, use a lint-free cloth to apply pressure, ensuring all corners are properly secured and no air bubbles remain.


Need help?
Do you have a question about the TIMEMACHINE 01 Ultegra Di2 and is the answer not in the manual?
Questions and answers