Advertisement
BioDoc-It
and VisiDoc-It
™
™
Imaging Systems
Installation and User Instructions
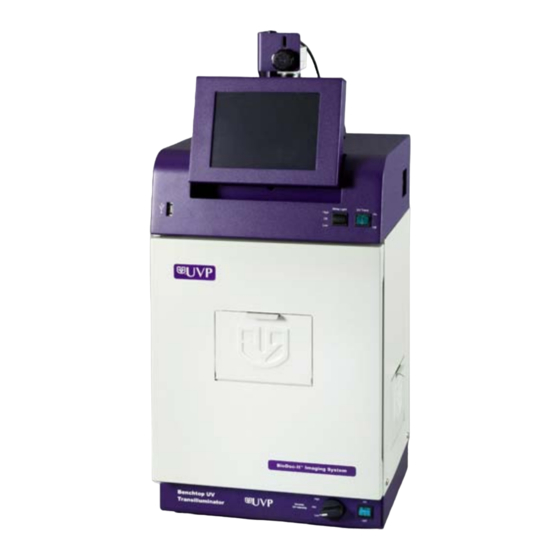
BioDoc-It Imaging System
VisiDoc-It Imaging Systems
UVP, LLC
Ultra-Violet Products Ltd.
2066 W. 11th Street
Unit 1, Trinity Hall Farm Estate
Upland, CA 91786
Nuffield Road, Cambridge CB4 1TG UK
Phone: (800) 452-6788 / (909) 946-3197
Phone: +44(0)1223-420022
Fax: (909) 946-3597
Fax: +44(0)1223-420561
Web Site: www.uvp.com
81-0301-01 Rev A
Advertisement
Table of Contents

Related Manuals for UVP BioDoc-It


Summary of Contents for UVP BioDoc-It
- Page 1 BioDoc-It and VisiDoc-It ™ ™ Imaging Systems Installation and User Instructions BioDoc-It Imaging System VisiDoc-It Imaging Systems UVP, LLC Ultra-Violet Products Ltd. 2066 W. 11th Street Unit 1, Trinity Hall Farm Estate Upland, CA 91786 Nuffield Road, Cambridge CB4 1TG UK...
-
Page 2: System Components
Images are saved in 8-bit TIFF or JPEG formats allowing the images to be read by most PC or MAC programs. The BioDoc-It System is a cost effective solution for archiving quality images in a compact standalone package. No computer is required. - Page 3 BioDoc-It and VisiDoc-It Imaging Systems Internal Storage: 75GB or more USB 2.0 ports: 1 front, 4 in the back USB storage device capacity: 1GB (minimum) Software: TS software VisiDoc-It Components Refer to the packing slip and pictured components for parts included with the system.
- Page 4 BioDoc-It and VisiDoc-It Imaging Systems VisiDoc-It™ with Stand Camera Stand with X/Y Movement FluorCam 210 Camera with Lens Kit EtBr Filter is Mounted under the Lens 8” LCD Touch Screen Transilluminator with UV Blocking Cover (check the packing slip to determine if...
-
Page 5: System Specifications
The 5.7-34.2mm zoom lens is fitted with a close-up diopter and step-up ring. The camera can then be held in a fixed position. The diopter is for focusing on objects at the focus length of the BioDoc-It and VisiDoc-It system. Processor Internal Storage: 75GB or more USB 2.0 ports: 1 front, 4 in the back... - Page 6 FirstLight transilluminator. Note: For UV protection, there is a 10-minute timer installed in the BioDoc-It system. The timer shuts off the transilluminator after 10 minutes of operation. A switch on the front of the darkroom allows the user to reset the timer.
-
Page 7: Optional Equipment
UV/White Converter Plate Transilluminators If the system does not include a transilluminator (check the packing slip), contact UVP for ordering information or go to UVP’s web site at www.uvp.com. A large selection of transilluminators is available from UVP. These units include compact 8-watt models to our high performance FirstLight... - Page 8 Installing the Filter Systems include a 50mm sq EtBr filter. The filter is pre-installed in the VisiDoc-It hood at the UVP factory. To install the 50mm sq Ethidium Bromide (EtBr) filter in the BioDoc-It: Carefully remove the filter from the protective plastic case, holding the filter at the edges to prevent fingerprints.
- Page 9 BioDoc-It and VisiDoc-It Imaging Systems Camera Set-up In the BioDoc-It The camera and zoom lens are assembled at the Step up ring UVP factory. Remove the cap from the lens. Attach the step up ring and diopter to the lens. The step up ring and diopter will only fit one way.
- Page 10 BioDoc-It and VisiDoc-It Imaging Systems Plug the camera cable into the top the camera and the other end into a UBS port on Connection for the back of the darkroom. darkroom power Connect the jumper cord from the darkroom to the transilluminator.
- Page 11 BioDoc-It and VisiDoc-It Imaging Systems In the VisiDoc-It Hood The camera and zoom lens are assembled at the Step up ring UVP factory. Remove the cap from the lens. Attach the step up ring and diopter to the lens. The step up ring and diopter will only fit one way.
- Page 12 BioDoc-It and VisiDoc-It Imaging Systems Plug the camera cable into the top the camera and the other end into a UBS port on back of the processor. Connection for the Connect the power cord from the darkroom power transilluminator to a surge protector power outlet.
- Page 13 The screen is touch sensitive. Use the stylus included with the system to operate the software controls. For easy access to the stylus when operating the system, remove the tape from the back of the holder and adhere it to the BioDoc-It / VisDoc-It. Slide the stylus into the holder. Using the System...
- Page 14 BioDoc-It and VisiDoc-It Imaging Systems Adjusting the Screen Angle To adjust the angle of the screen, loosen the knobs on each side of the monitor. Twist each knob counter-clockwise (note that you will actually be turning each knob in the opposite direction from each other).
- Page 15 Using the Transilluminator In the BioDoc-It Once the BioDoc-It darkroom power is turned on, power is supplied to all components including the jumper power cable that supplies power to the transilluminator. To use the transilluminator, turn the transilluminator power on.
-
Page 16: Replacement Parts And Accessories
“pop-out”. Inspect the thin wire within the glass fuse to see if there is a break in the wire. If so, replace fuse(s). If fuses are blown repeatedly, contact UVP Technical Support Department for additional troubleshooting. -
Page 17: Technical Support
UVP offers technical support on all of its products. If you have any questions about the product’s use, operation or repair, please contact our offices at the locations below. Or go to UVP’s web site and click the Tech Support > BioImaging Systems. - Page 18 Moreover, UVP makes no warranties whatsoever with respect to parts not supplied by UVP or that have been installed, used and/or serviced other than in strict compliance with instructions appearing in this manual.
Need help?
Do you have a question about the BioDoc-It and is the answer not in the manual?
Questions and answers