Table of Contents
Advertisement
Quick Links
Advertisement
Table of Contents

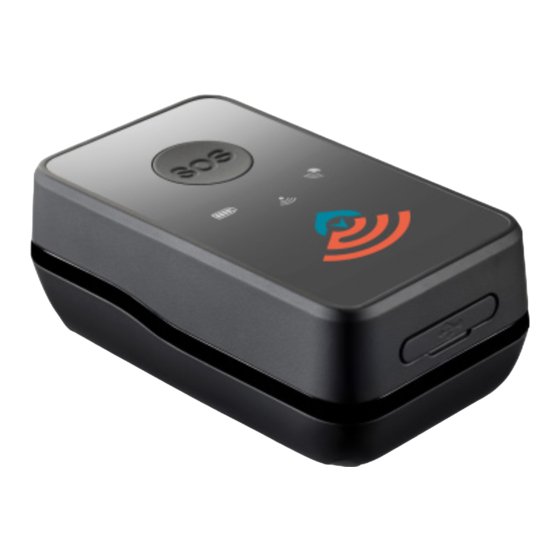
Summary of Contents for Spytec GX350
- Page 1 SpyTec GX350 GPS Tracker User Guide...
- Page 2 Function key button STEP 1 - Charging a. Plug in wall charger, then connect charger to GX350 – black side up on connector. b. Power LED will flash Red while charging, and will go solid Red when fully charged. c. Charge for at least 8 hours or until Red LED goes solid.
- Page 3 STEP 4 – Placement of the Tracker a. The GX350 needs to have as much access to the open sky as possible to retain a connection to the GPS satellites. b. Tracker cannot have metal on most sides. Metal blocks GPS signals.
-
Page 4: Troubleshooting
10 seconds) and you took it out for a the unit or your account. 5- to 10-minute drive, and the unit is still not updating on the platform, please contact us at: support.gps@spytecinc.com. SPYTEC GPS GX350 PORTABLE TRACKER USER GUIDE... - Page 5 Input voltage DC 4.75-5.25V Physical Dimensions 2.69˝ x 1.5˝ x 1.06˝ (6.8 x 3.8 x 2.7 cm) Weight 3 oz. (85 g) Connector Custom charging port USB charging cable length 39.5˝ (1 m) SPYTEC GPS GX350 PORTABLE TRACKER USER GUIDE...
- Page 6 Help Thanks for purchasing a SpyTec GPS product! We appreciate your business and strive to make your experience the best possible. If you have any issues with your product, please contact us at the following addresses: Email tech support questions to: support.gps@spytecinc.com Email billing questions to: support@spytecinc.com...


Need help?
Do you have a question about the GX350 and is the answer not in the manual?
Questions and answers