Sign In
Upload
Download
Table of Contents
Contents
Add to my manuals
Delete from my manuals
Share
URL of this page:
HTML Link:
Bookmark this page
Add
Manual will be automatically added to "My Manuals"
Print this page
×
Bookmark added
×
Added to my manuals
Manuals
Brands
ICT Manuals
Cash Counters & Coin Sorters
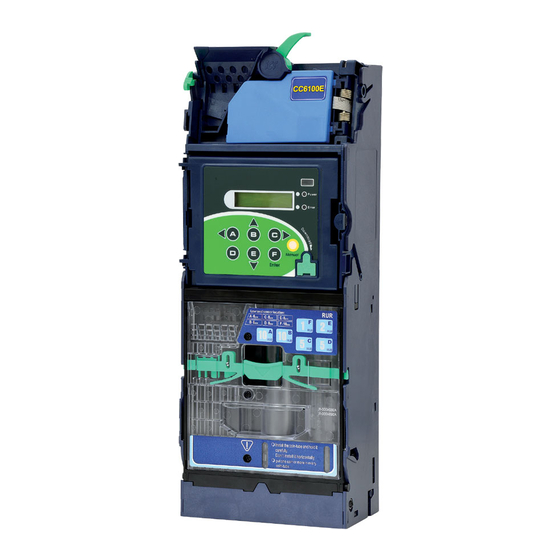
cc6000
Installation manual
ICT cc6000 Installation Manual
Coin changer series
Hide thumbs
1
Table Of Contents
2
3
4
5
6
7
8
9
10
11
12
13
14
15
16
17
18
19
20
21
22
23
24
25
26
27
28
29
30
31
32
33
34
35
36
37
38
39
40
41
42
43
44
45
46
47
48
49
50
51
52
53
54
55
56
57
58
59
60
61
62
63
64
65
66
67
68
69
70
71
72
73
74
75
76
77
78
79
80
81
82
83
84
85
86
87
88
89
90
91
92
93
94
95
96
97
page
of
97
Go
/
97
Contents
Table of Contents
Troubleshooting
Bookmarks
Table of Contents
Table of Contents
1 General Information
Features
System Specifications
Dimensions
Module Descriptions
2 Installation
3 Operation
EZ Code Overview
Dispensing Coins to Low Level
Operating Function Descriptions
Setting Function Descriptions
Executive Setting Function Descriptions
DIP Switch Setting
4 Harness Application
List of Main Wire Harness
List of Wire Harness for ICT Bill Acceptor
Wire Harness Pin Assignment for JPSTD Interface
Wire Harness Pin Assignment for MDB Interface
Wire Harness Pin Assignment for Executive & MDB Interface
Wire Harness Pin Assignment for Download Box
5 I/O Circuit
6 Maintenance
7 Troubleshooting
Error Code Messages
Error Handling
8 Firmware Download and Upgrade Instruction
MCU STM32 Firmware Download by FP-004
MCU STM32 Firmware Download by Irda Special Function
9 PC Tool Instruction
Cashfloat Setting
Serial Number Setting
10 Read Audit Data
Read Audit Data by ICT MTB
Read Audit Data by Irda
11 Module Assembling Procedure
Upper Module Disassembling
Recognition Module Disassembling
Coin Discharge Module Disassembling
12 Module Exploded Views
Advertisement
Quick Links
1
Ez Code Overview
2
Error Code Messages
3
Troubleshooting
4
Error Handling
Download this manual
1
Table of
Contents
Previous
Page
Next
Page
1
2
3
4
5
Advertisement
Table of Contents
Need help?
Do you have a question about the cc6000 and is the answer not in the manual?
Ask a question
Questions and answers
Related Manuals for ICT cc6000
Cash Counters & Coin Sorters ICT cc6100 Installation Manual
Coin changer series (97 pages)
Cash Counters & Coin Sorters ICT CC6100 Series Quick Start Manual
Coin changer (20 pages)
This manual is also suitable for:
Cc6100
Table of Contents
Save PDF
Print
Rename the bookmark
Delete bookmark?
Delete from my manuals?
Login
Sign In
OR
Sign in with Facebook
Sign in with Google
Upload manual
Upload from disk
Upload from URL


Need help?
Do you have a question about the cc6000 and is the answer not in the manual?
Questions and answers