
Subscribe to Our Youtube Channel
Related Manuals for Inanny Roomie30


Summary of Contents for Inanny Roomie30
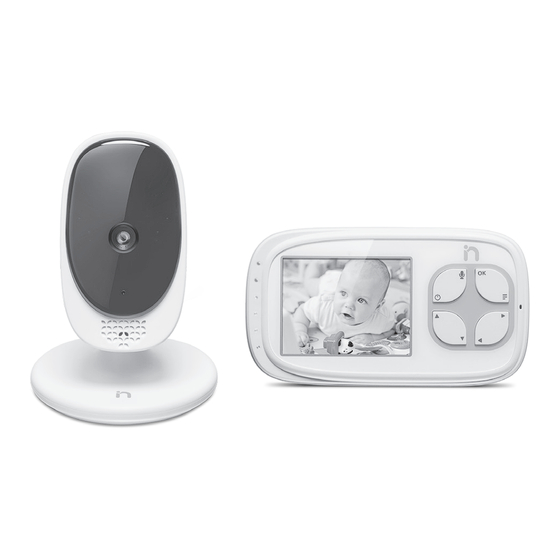
- Page 1 User's Guide Video Baby Monitor 2.8" Video Baby Monitor Roomie30 The features described in user's guide are subject to modifications without prior notice.
-
Page 2: Table Of Contents
ENGLISH Read these instructions for use carefully and keep them for later use, be sure to make them accessible to other users and observe the information they contain. Table of Contents Getting to know your devices ....3 7.10 Delete camera ......12 Signs and symbols ........3 7.11 View camera .......12 Intended usage ........3... -
Page 3: Getting To Know Your Devices
Getting to know your devices Functions of the device This video baby monitor enables you to see your baby at all times while you pursue activities in rooms or in the garden. The 21 channels ensure a connection that is secure and as free of interference as possible. The baby unit (portable camera) is equipped with: •... -
Page 4: Notes
Notes WARNING Safety notes • Always position the camera and power cord out of the reach of children. The power cord may cause strangulation or injury to children. • Keep small parts out of reach of children. • Keep packaging material away from children (risk of suffocation). •... -
Page 5: Unit Description
WARNING Safety notes on handling batteries • If a battery has leaked, put on protective gloves and clean the battery compartment with a dry cloth. • If your skin or eyes come into contact with fluid from the battery cell, flush out the affected areas with plenty of water and seek medical assistance. -
Page 6: Parent Unit (Monitor)
Parent Unit (Monitor) 1. Power and sound level indicator via LEDs 5. Main menu button - press to enter/ exit menu mode. Blue (mains power on) Green (parent unit on) Green-Orange-Red-Red (sound level indicators with more LEDs for louder sound, and rapid flashing green indicates pairing mode) 2. -
Page 7: Display Description
Display description Signal strength Camera power mode AC/battery Camera patrol mode Camera identification number Speaker on / off Lullabies menu / mode Zoom menu / mode Night vision Alarm timer Parent Unit battery status Brightness Speaker volume Video on timer Add camera Delete camera View camera... -
Page 8: Initial Use
Initial use Initial use of baby unit (camera) • Open the cover on the rear of the baby unit and insert the battery included in delivery inside the battery compartment, then replace the cover. • Place the camera on a level, firm surface and point the camera lens at the area that you wish to monitor. -
Page 9: Initial Use Of Parent Unit With Battery
Initial use of parent unit with battery • Insert the small end (USB) of the parent unit mains plug into the USB socket in the back of the parent unit. • Insert the other end of the mains plug into a suitable mains socket. The blue light to the left of the screen will turn on to indicate mains power is connected. -
Page 10: Operation
Operation Infrared night vision • In order to ensure that clear transmission images can be seen on the screen even when it is dark, the video baby monitor automatically activates the infrared night vision in the dark. When the infrared night vision is active, a moon symbol is shown on the screen, and images are black and white. -
Page 11: Alarm
• Press the UP/DOWN keys to select the lullaby of your choice (1-5) or play all ( <¬ ). • Press the OK button, then UP/DOWN to adjust the volume of the melody playing from the camera. • You can stop playing the lullaby by selecting the icon. -
Page 12: Delete Camera
• Now hold down the PAIR button on the rear of the camera until an acoustic signal is heard and the transmission image from the camera that has been added appears on the screen. • Press the menu button to return to the main screen. 7.10 Delete camera If you wish to delete the connection to a camera, proceed as follows: •... -
Page 13: Two-Way Communication
7.13 Two-way communication The parent unit has a two-way communication function. To activate the two-way communication function, hold down the button on the parent unit and speak into the unit. The words you speak will be heard from the camera. To deactivate the intercom function, release the button. -
Page 14: Troubleshooting
10. Troubleshooting Problem Solution “Monitor” parent unit will Check whether not switch on. • the mains part plug is correctly connected. • the battery is full, needs charging or is damage. An acoustic signal sound from the Check whether “monitor” parent unit. the parent unit is too far from the camera - move them closer together. -
Page 15: Disposal
11. Disposal Batteries must be disposed of through specially designated collection boxes, recycling points or electronics retailers. You are legally required to dispose of the batteries. For environmental reasons, do not dispose of the device in the household waste at the end of its useful life. Dispose of the unit at a suitable local collection or recycling point. -
Page 16: Guarantee And Service
13. Guarantee and service This product is guaranteed against manufacturing defects for a period of One Year. This does not cover the product where the fault is due to misuse, abuse, use in contravention of the instructions, or where the product has been the subject of unauthorised modifications or alterations, or has been the subject of commercial use. - Page 17 To ensure safety of users, the FCC has established criteria for the amount of radio frequency energy that can be safely absorbed by a user or bystander according to the intended usage of the product. This product has been tested and found to comply with the FCC criteria.
- Page 18 ©2016 Binatone Electronics International Limited All rights reserved. Printed in China Version 1.0...
Need help?
Do you have a question about the Roomie30 and is the answer not in the manual?
Questions and answers