Table of Contents
Advertisement
Advertisement
Table of Contents

Related Manuals for CNBOU Helios Series

Summary of Contents for CNBOU Helios Series
-
Page 2: Table Of Contents
Category Dear Customer: Thank you very much for purchasing our products! This manual will provide some important information and recommendations including: installation, operation and troubleshooting. Before use, please read the manual carefully and pay special attention to the recommendations relating to safety. 1. -
Page 3: Safety Summary
2.Product Introduction 2.1 Introduction The Helios Series Inverter consists of a Pure Sine Wave Inverter, MPPT Solar Charge Controller and an AC Charger. The use of advanced components creates high reliability, high efficiency, better protection and a cleaner waveform. Here are some other key features: ... -
Page 4: Technical Specifications
2.2 Technical Specifications 2.2.1 Technical Specifications Specs Values BAT Input Voltage Range (VDC) 24VDC(20VDC-30VDC)/ 48VDC (40VDC-60VDC) Output Power (W) 2000W/3000W/5000W AC Output Voltage (VAC) 100V ~250V(Adjustable) AC Input Voltage (VAC) 100V/110VC/220V/230V AC Output Frequency (HZ) 50HZ/60HZ(Adjustable) AC Input Frequency (HZ) 50HZ/60HZ Pure sine wave Regulation(THD)% ≤3%(Liner Load)... -
Page 5: Installation
3.1.2 Storage To avoid damage or adverse effects, please store in the following conditions: clean, dry and well ventilated environment ambient temperature of -20℃ to 55℃(-4°F to 131°F) relative humidity of less than 90%, with no condensation ... - Page 6 Note! The Helios Series Inverter has phase lock, but not on the “AC OUT”. Do not connect the grid to "AC OUT" directly! If the grid is connected to the "AC OUT" directly, the inverter could be permanently damaged. Due to the inverter being damaged by a Non-Standard Operation, the warranty will become null and void! "are ground terminals.
-
Page 7: Precautions
E) "NC","C","NO"for the generator dry node contacts."NC"for the normally closed contact and"C"for the common contact."NO"is normally an open contact. 4.Precautions Do not reverse the battery cables. If reversed, the inverter will not be damaged and can reboot without any reaction. ... -
Page 8: Applications
When the number of inverters in parallel,there must and only a master and one slave to connect to the “CAN R”. If would like to connect with PC program,please using the standard USB cable,softw are and drive can be download from website(www.cnbou.com) 5.Applications 5.1 Single Application 5.1.1 Operating Model Solar Priority Under this option, the inverter output is the power supply. - Page 9 ○ "running, can be set Manually shut down;" ● × " "operating," "Stop. AC Power Status AC Charger MPPT Controller Inverter Module Module Inverter Output ○ × ● Grid Output × ○ ● Steps: 1. Make sure the inverter power switch is off! Connect the batteries, PV panels, AC OUT and AC IN (grid) correctly.
-
Page 10: Parallel Application
2. After everything is connected correctly, press the POWER button to turn on the inverter. 5.2 Parallel Application The Helios Series Inverter can support up to 30 pcs in parallel with same series to enhance the power. Internationally standardized CAN communication protocol is used for high-speed synchronous communication. -
Page 11: Series Application
To clear fault codes, see page 18, P 6.2-2. 5.3 Series Application Helios Series Inverter supports star series communication with three of the same wattage and input voltage inverters to achieve 3 phase AC output. Suitable for 3 phase motors and other industrial equipment power supplies. -
Page 12: Display And Parameter Setting Guide
6.Display and Parameter setting guide Helios Series Inverter has built-in intelligent and interactive systems. When powering on the inverter for the first time, it will enter the Settings Wizard. Follow the instructions to set the parameters and connections. When the settings are finished, the Helios will check the all main parameters automatically and begin working. - Page 13 Hour...
- Page 14 Time: Set the correct time based on your region. The Helios will record the generating capacity every day as well as the fault code information. Output voltage: The Helios Series Inverter output voltage can set between 100V-250V to meet the requirements for each region.
- Page 15 Temperature unit selection: Select Fahrenheit or Celsius. Grid Frequency: Set it the same as the grid frequency for your region.
- Page 16 Priority Default: Set Solar Priority or Grid Priority Output Application: Single, Parallel or 3 phase (Series) Output...
-
Page 17: Display
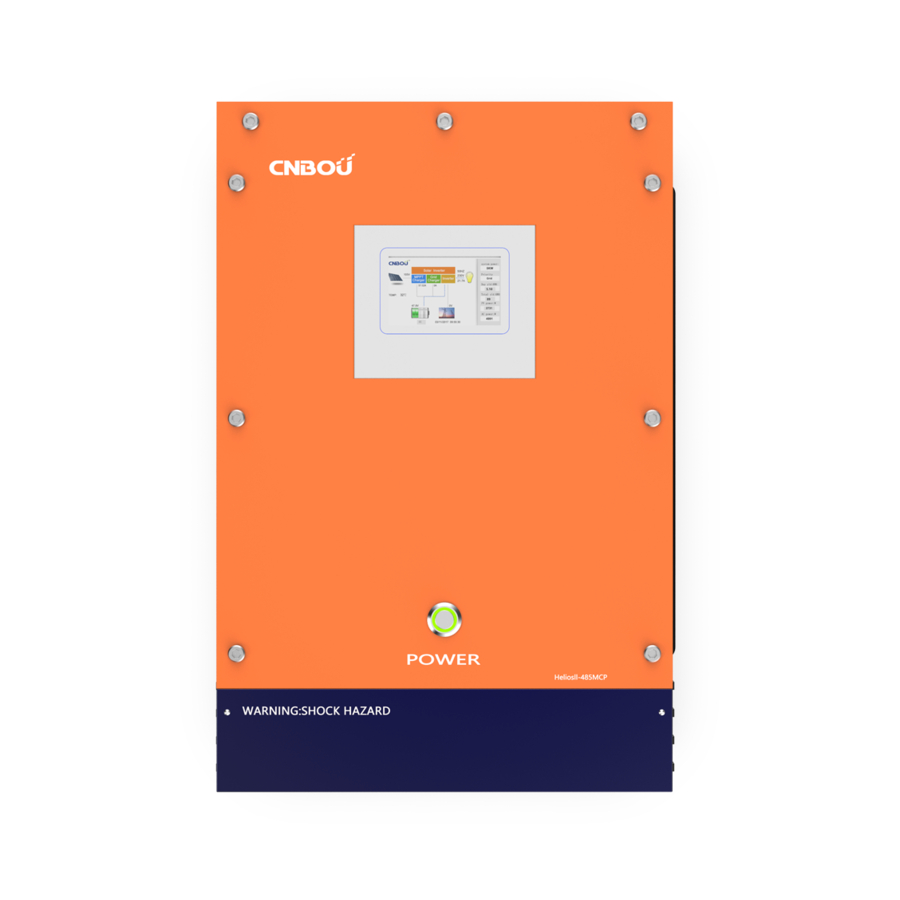
Check all wire connections to ensure that they are correct. Check the wire connections again and press"SET"to start power. 6.1 Display Helios Series Inverter uses a 4.3 inch TFT color screen as the monitor display. Now you can visually monitor the current operating status of the different systems. -
Page 18: Parameter Setting
P 6-1 As seen in picture 6-1, you can monitor the battery voltage, PV panel voltage, PV panel current, MPPT charging current, grid charging current, AC output voltage, AC output current, output power, inverter and MPPT heat-sink temperature, communication and fault information, etc. - Page 19 P 6.2-2 Detailed Data includes: inverter status and fault codes. P 6.2-3 Main Options includes: Temperature Unit Setting, Grid and Solar Priority setting, Output Frequency setting, Soft-start setting, Display Steady backlight setting, Alarm Sound setting and Grid Charging disable setting.
- Page 20 P 6.2-4 Parameter Setting includes: Language setting, Time setting, Output Voltage setting and Battery Type setting. P 6.2-5 Versions Info includes: version No. of software & hardware.
- Page 21 P 6.2-6 INV Fault Log includes: operating status record of the inverter. P 6.2-7 MPPT Fault Log includes: operating status record of the MPPT Solar Charge Controller.
- Page 22 P 6.2-8 Generating Capacity includes: cumulative record of Generating Capacity. Can be record up to 2 year and then it will clear after a full year. P 6.2-9 Control & Set includes : Alarm Cancel, Fault Resetting, Parallel Master/Slave settings, 3phase 380V output Master/Slave B/Slave C settings.
- Page 23 6.2.1 Parallel Master-Slave Setting In the Parallel Application, only one “Master” is needed. The rest of the inverters are “Slave”. The Master does not need to be set, only the Slave. Note! Two inverters cannot be set as Master. All Slave inverters are required to be set. If two inverters are set as Master, it could cause permanent damage to the inverters! Move the cursor to Parallel Set “Master”, hold the"∧"choose “Master and Slave”.
-
Page 24: Fault Code
6.3 Fault Code 6.3.1 Short-C Meaning: Short-circuit Reason: Boost switch tube or output IGBT drive circuit short circuit protection Solution: 1.Remove the short circuit line's source. 2.The load has a large capacitor, remove. 3.The output error of active devices, remove; 6.3.2 Over-C Meaning: Over-current Reason: When the load current is more than 1.5 times,the time longer than 1 second Solution: 1. - Page 25 6.3.7 Bat Hi Meaning: Battery over voltage Reason: Battery voltage is too high Solution: 1. When there is a sudden disconnect the battery connection action, the action is very dangerous, check the battery wiring is reliable. 2. The battery capacity is too small, the charging current relative to the battery is too high, increase the battery capacity.
- Page 26 6.3.13 CAN O-T Meaning: CAN communication over time Reason: CAN slave detect the communication interrupt timeout Solution: 1. CAN communication wire is not reliable,exclusion it; 2. CAN network must have an 120Ω anti reflection resistance, every device has an 120Ω resistance, but the entire network can only have one device short connect to this resistance,proposed short connect with the farest one from master.
-
Page 27: Maintenance & Warranty
7. Maintenance & Warranty The Helios Series Solar Inverter has a 2 year warranty. The warranty period begins from the date of sale. 7.1 Device Maintenance In order to maintain the best long-term performance, we recommend checking the following twice per year: ...
Need help?
Do you have a question about the Helios Series and is the answer not in the manual?
Questions and answers