TP-Link TL-WA801ND User Manual
300mbps wireless n access point
Hide thumbs
Also See for TL-WA801ND:
- Manual (100 pages) ,
- User manual (81 pages) ,
- Quick installation manual (15 pages)
Table of Contents
Advertisement
Advertisement
Table of Contents

Subscribe to Our Youtube Channel
Related Manuals for TP-Link TL-WA801ND


Summary of Contents for TP-Link TL-WA801ND
-
Page 1: User Guide
User Guide 300Mbps Wireless N Access Point TL-WA801ND REV5.0.0 1910012077... -
Page 2: Table Of Contents
Contents About This Guide ......................1 Chapter 1. Get to Know About Your Access Point ..... 2 1. 1. Product Overview............3 1. - Page 3 4. 3. 6. Wireless MAC Filtering ..........31 4.
-
Page 4: About This Guide
The Quick Installation Guide can be found where you find this guide or inside the package of the access point. Specifications can be found on the product page at http://www.tp-link.com. A Technical Support Forum is provided for you to discuss our products at http://forum.tp-link.com. -
Page 5: Chapter 1. Get To Know About Your Access Point
Chapter Get to Know About Your Access Point This chapter introduces what the access point can do and shows its appearance. It contains the following sections: • Product Overview • Panel Layout... -
Page 6: Product Overview
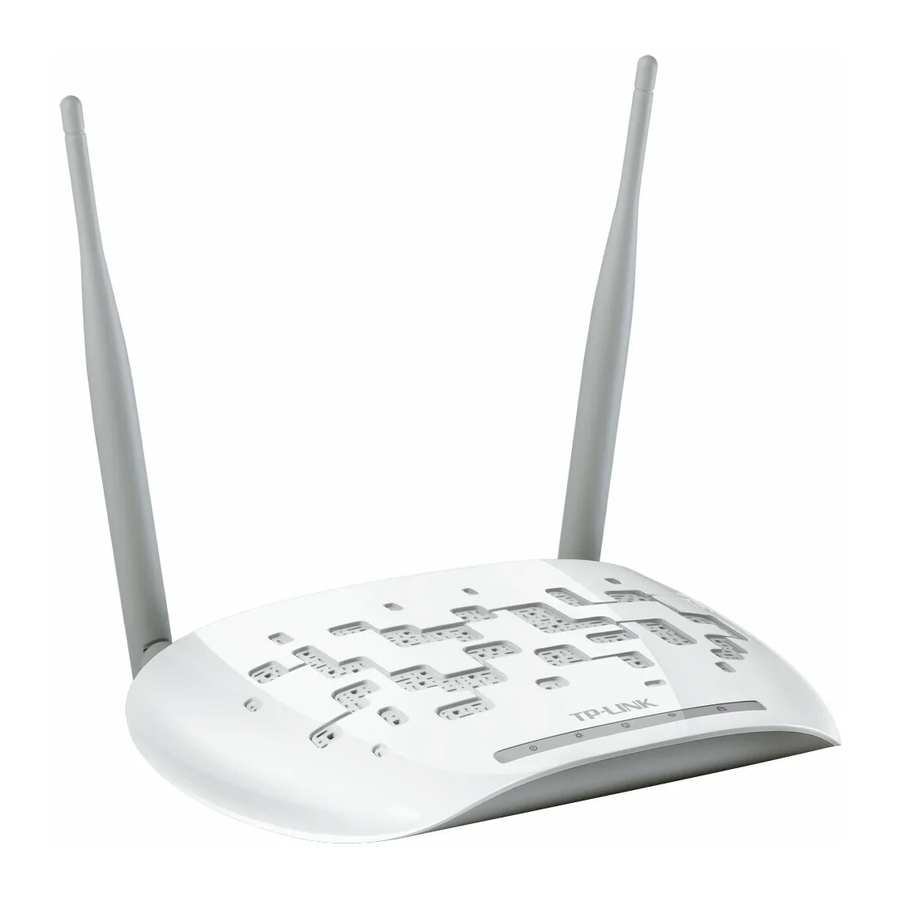
1. 1. Product Overview The TP-Link Wireless N Access Point, with multiple operation modes, is designed to establish or expand a scalable high-speed wireless N network or to connect multiple Ethernet enabled devices to a wireless network, such as game consoles, digital media adapters, printers, or network attached storage devices. -
Page 7: The Back Panel
Chapter 1 Get to Know About Your Access Point LED Explanation Name Status Indication Power is on. The system is starting up or the firmware is being Flashing upgraded. Do not disconnect or power off your access (Power) point. Power is off. The wireless function is enabled. - Page 8 Chapter 1 Get to Know About Your Access Point The following parts (view from left to right) are located on the rear panel. Ports or Buttons Description ON/OFF To power on or off the access point. For connecting the access point to a power socket via the provided Power power adapter.
-
Page 9: Chapter 2. Connect The Hardware
Chapter Connect the Hardware This chapter contains the following sections: • Position Your Access Point • Connect Your Access Point... -
Page 10: Position Your Access Point
This mode is suitable for dorm rooms or homes where there’s already a wired router but you need a wireless network. Internet TL-WA801ND’s SSID Wired Router 1. Connect the access point according to Step A to D in the diagram. -
Page 11: Repeater/Bridge Mode
Internet Host AP’s SSID TL-WA801ND’s SSID 1. Connect the access point according to Step A and B in the diagram. 2. Power on the access point, wait until the Power ( ) and Wireless ( ) LEDs are lit and stable, and use the default SSID and Password printed on the label of the access point to join its Wi-Fi network. -
Page 12: Multi-Ssid Mode
VLAN groups. This mode is suitable when you want your devices connected to different wireless networks and become isolated by VLANs. VLAN 1 Internet TL-WA801ND’s SSID Wired Router VLAN 2 1. Connect the access point according to Step A to D in the diagram. -
Page 13: Chapter 3. Set Up Internet Connection Via Quick Setup Wizard
Chapter Set Up Internet Connection Via Quick Setup Wizard This chapter introduces how to connect your access point to the internet via the web- based Quick Setup Wizard. It contains the following sections: • Log In to the Access Point •... -
Page 14: Log In To The Access Point
Chapter 3 Set Up Internet Connection Via Quick Setup Wizard 3. 1. Log In to the Access Point With a web-based utility, it is easy to configure and manage the access point. The Web- based utility can be used on any Windows, Macintosh or UNIX OS with a Web browser, such as Microsoft Internet Explorer, Mozilla Firefox or Apple Safari. -
Page 15: Access Point Mode
Chapter 3 Set Up Internet Connection Via Quick Setup Wizard 3. 2. 1. Access Point Mode 1. Either customize your Wireless Network Name Wireless Password or keep the default ones, and then click Next. 2. Select the LAN IP type of the access point or leave the default setting Smart DHCP for most cases, and then click Next. -
Page 16: Repeater/Bridge Mode
Chapter 3 Set Up Internet Connection Via Quick Setup Wizard 3. 2. 2. Repeater/Bridge Mode 1. Choose a network you want to extend from the AP List and click Connect. Enter the host network’s password in the Password field, choose to copy the wireless name from the host network or customize your own, and then click Next. -
Page 17: Client Mode
Chapter 3 Set Up Internet Connection Via Quick Setup Wizard 3. Click Finish to complete the configuration. 4. Relocate the access point about halfway between your host AP and the Wi-Fi dead zone. 3. 2. 3. Client Mode 1. Choose a network you want to connect to from the AP List and click Connect. -
Page 18: Multi-Ssid Mode
Chapter 3 Set Up Internet Connection Via Quick Setup Wizard 2. Select the LAN IP type of the access point or leave the default setting Smart IP most cases, and then click Next. 3. Click Finish to complete the configuration. Now your wired device can surf the internet. - Page 19 Chapter 3 Set Up Internet Connection Via Quick Setup Wizard 2. Select the LAN IP type of the access point or leave the default setting Smart IP most cases, and then click Next. 3. Click Finish to complete the configuration.
-
Page 20: Set Up Internet Connection By Wps (Repeater/Bridge, Client)
Chapter 3 Set Up Internet Connection Via Quick Setup Wizard 4. Connect your wireless devices to the different Wi-Fi networks to be isolated by VLANs. 3. 3. Set up Internet Connection by WPS (Repeater/ Bridge, Client) In Repeater/Bridge and Client modes, after hardware connection, you can use the WPS (Wi-Fi Protected Setup) function to set up internet connection simply by pressing the WPS button of your access point and the host router. -
Page 21: Chapter 4. Configure The Access Point
Chapter Configure the Access Point This chapter presents how to configure the various features of your access point. It contains the following sections: • Status • Network • Wireless • DHCP • System Tools • Log Out... -
Page 22: Status
Chapter 4 Configure the Access Point 4. 1. Status 1. Visit http://tplinkap.net, and log in with the username and password you set for the access point. 2. Go to Status. You can view the current status information of the access point. •... -
Page 23: Network
Chapter 4 Configure the Access Point • Mode - The current wireless mode which the access point works on. • Channel - The current wireless channel in use. • Channel Width - The current wireless channel width in use. • MAC Address - The physical address of the access point. -
Page 24: Wireless
Chapter 4 Configure the Access Point • If the new IP address you set is not in the same subnet as the old one, the IP Address pool in the DHCP Server will be configured automatically. 4. 3. Wireless 4. 3. 1. Basic Settings (Access Point, Client, Multi-SSID) 1. - Page 25 Chapter 4 Configure the Access Point • Channel Width - Determines the channel width to be used. It is unnecessary to change the default value unless required. • Enable SSID Broadcast - Select or deselect this check box to allow or deny the device to broadcast its name (SSID) on the air.
- Page 26 Chapter 4 Configure the Access Point Note: To apply any settings you have altered on the page, please click the Save button, and then you will be reminded to reboot the device. Multi-SSID Mode • Wireless - Enable or disable wireless radio. •...
-
Page 27: Connect To Network (Repeater/Bridge)
Chapter 4 Configure the Access Point • Enable VLAN - Check this box and then you can change the VLAN ID of each SSID. If you want to configure the Guest and Internal networks on VLAN, the switch you are using must support VLAN. -
Page 28: Wps
Chapter 4 Configure the Access Point • - This option is the most basic form of wireless security that can be used if your client devices can only access wireless using WEP (Wireless Equivalent Privacy). • Index - Select which of the four keys will be used. •... - Page 29 Chapter 4 Configure the Access Point 3. Within two minutes, press the WPS button on your client device. 4. A success message will appear on the WPS page if the client device has been successfully added to the access point’s network. Method TWO: Enter the Client’s PIN 1.
-
Page 30: Wireless Security (Access Point, Multi-Ssid)
Chapter 4 Configure the Access Point 2. Enter the access point’s current PIN on your client device to join the access point’s Wi-Fi network. 4. 3. 4. Wireless Security (Access Point, Multi-SSID) 1. Visit http://tplinkap.net, and log in with the username and password you set for the access point. - Page 31 Chapter 4 Configure the Access Point • Encryption - Select Auto, TKIP or AES. • Wireless Password - Enter ASCII or Hexadecimal characters. For Hexadecimal, the length should be between 8 and 64 characters; for ASCII, the length should be between 8 and 63 characters. •...
- Page 32 Chapter 4 Configure the Access Point Multi-SSID • Disable Wireless Security - The wireless security function can be enabled or disabled. If disabled, wireless clients can connect to the access point without a password. It’s strongly recommended to choose one of the following modes to enable security. •...
-
Page 33: Extended Network (Repeater/Bridge)
Chapter 4 Configure the Access Point Note: • If you do not set the key, the wireless security function is still disabled even if you have selected Shared Key as Authentication Type. • You will be reminded to reboot the device after clicking the Save button. -
Page 34: Wireless Mac Filtering
Chapter 4 Configure the Access Point 4. 3. 6. Wireless MAC Filtering Wireless MAC Filtering is used to deny or allow specific wireless client devices to access your network by their MAC addresses. This function is not available when the operation is set to Client. -
Page 35: Wireless Advanced
Chapter 4 Configure the Access Point Done! Now only client A and client B can access your network. 4. 3. 7. Wireless Advanced The configuration of each operation mode is almost the same. We take Access Point mode for example here. 1. -
Page 36: Wireless Statistics
Chapter 4 Configure the Access Point frames to a particular receiving station and negotiate the sending of a data frame. The default value is 2346. • Fragmentation Threshold - This value is the maximum size determining whether packets will be fragmented. Setting a low value for the Fragmentation Threshold may result in poor network performance because of excessive packets. -
Page 37: Throughput Monitor
Chapter 4 Configure the Access Point 4. 3. 9. Throughput Monitor 1. Visit http://tplinkap.net, and log in with the username and password you set for the access point. 2. Go to Wireless > Throughput Monitor to view the wireless throughput information. •... - Page 38 Chapter 4 Configure the Access Point • DHCP Server - Enable or disable the DHCP server. If disabled, you must have another DHCP server within your network or else you must configure the computer manually. • Start IP Address - Specify an IP address for the DHCP Server to start with when assigning IP addresses.
-
Page 39: Dhcp Client List
Chapter 4 Configure the Access Point 4. 4. 2. DHCP Client List 1. Visit http://tplinkap.net, and log in with the username and password you set for the access point. 2. Go to DHCP > DHCP Client List to view the information of the clients connected to the access point. -
Page 40: System Tools
Chapter 4 Configure the Access Point 2. Go to DHCP > Address Reservation. 3. Click Add New and fill in the blank. 1 ) Enter the MAC address (in XX-XX-XX-XX-XX-XX format.) of the client for which you want to reserve an IP address. 2 ) Enter the IP address (in dotted-decimal notation) which you want to reserve for the client. - Page 41 Domain Name System (DNS) queries. • IP Address/Domain Name - Enter the destination IP address (such as 192.168.0.254) or Domain name (such as www.tp-link.com). • Pings Count - The number of Ping packets for a Ping connection.
-
Page 42: Snmp Settings
Chapter 4 Configure the Access Point Note: Only one user can use this tool at one time. Options “Number of Pings”, “Ping Size” and “Ping Timeout” are used for the Ping function. Option “Tracert Hops” is used for the Tracert function. 4. -
Page 43: Ping Watch Dog
Chapter 4 Configure the Access Point • System Contact - The textual identification of the contact person for this managed node. Note: If you are not familiar with the setting items on this page, it’s strongly recommended to keep the provided default values; otherwise it may result in lower wireless network performance. -
Page 44: Firmware Upgrade
4. 5. 4. Firmware Upgrade TP-Link is dedicated to improving and richening the product features, giving users a better network experience. We will release the latest firmware at TP-Link official website. You can download the latest firmware file from the Support page of our website www.tp-link.com... -
Page 45: Backup & Restore
Chapter 4 Configure the Access Point 4. 5. 6. Backup & Restore The configuration settings are stored as a configuration file in the access point. You can backup the configuration file in your computer for future use and restore the access point to the previous settings from the backup file when needed. -
Page 46: Password
Chapter 4 Configure the Access Point • Upgrade the firmware of the access point (system will reboot automatically). • Restore the access point to its factory defaults (system will reboot automatically). • Update the configuration with the file (system will reboot automatically). 4. -
Page 47: Log Out
Chapter 4 Configure the Access Point • Log Level - By selecting the log level, only logs of this level will be shown. • Refresh - Refresh the page to show the latest log list. • Clear Log - All the logs will be deleted from the access point permanently, not just from the page. -
Page 48: Faq
Q1. How do I restore the access point to its factory default settings? With the access point powered on, use a pin to press and hold the Reset button until all the LEDs turn on momentarily, then release the button. Note: Upon resetting, all previous configurations will be cleared, and the access point will reset to the default Access Point Mode. - Page 49 Q5. What should I do to maximize my signal strength in Repeater/Bridge mode? When choosing an ideal location to optimize wireless signal in Repeater/Bridge mode, please refer to the following recommendations. • The Best Way is Halfway Generally, the ideal location for the repeater is about halfway between your wireless router and your wireless clients and make sure that the location you choose is within the range of the host router.
- Page 50 Specifications are subject to change without notice. is a registered trademark of TP-Link Technologies Co., Ltd. Other brands and product names are trademarks or registered trademarks of their respective holders. No part of the specifications may be reproduced in any form or by any means or used to make any derivative such as translation, transformation, or adaptation without permission from TP-Link Technologies Co., Ltd.
- Page 51 FCC STATEMENT This equipment has been tested and found to comply with the limits for a Class B digital device, pursuant to part 15 of the FCC Rules. These limits are designed to provide reasonable protection against harmful interference in a residential installation. This equipment generates, uses and can radiate radio frequency energy and, if not installed and used in accordance with the instructions, may cause harmful interference to radio communications.
-
Page 52: Canadian Compliance Statement
2. l’utilisateur de l’appareil doit accepter tout brouillage radioélectrique subi, meme si le brouillage est susceptible d’en compromettre le fonctionnement. This radio transmitter (IC: 8853A-WA801NDV5/ Model: TL-WA801ND) has been approved by Industry Canada to operate with the antenna types listed below with the maximum permissible gain indicated. -
Page 53: Industry Canada Statement
Déclaration d’exposition aux radiations: Cet équipement est conforme aux limites d’exposition aux rayonnements IC établies pour un environnement non contrôlé. Cet équipement doit être installé et utilisé avec un minimum de 20 cm de distance entre la source de rayonnement et votre corps. Industry Canada Statement CAN ICES-3 (B)/NMB-3(B) Korea Warning Statements:... -
Page 54: Safety Information
Safety Information • When product has power button, the power button is one of the way to shut off the product; when there is no power button, the only way to completely shut off power is to disconnect the product or the power adapter from the power source. •...
Need help?
Do you have a question about the TL-WA801ND and is the answer not in the manual?
Questions and answers