Advertisement
Quick Links
1/1 8 T H S C A L E A R R P R O V E R S I O N O F
T H E C H A M P I O N S H I P W I N N I N G X X X -T
O p e r a t i o n s M a n u a l
Introduction
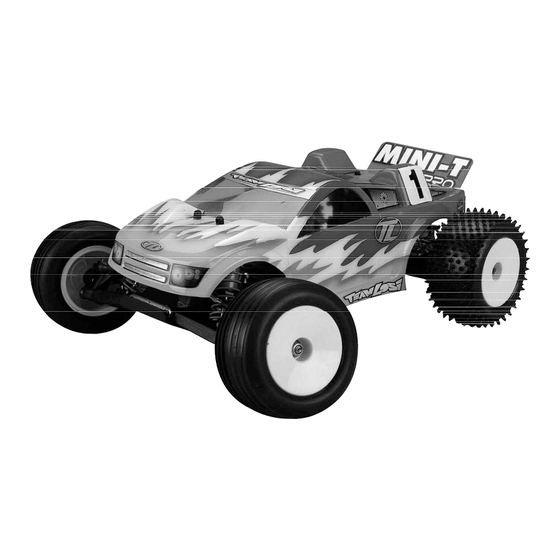
Thank you for choosing the Mini-T Pro from Team Losi Sport. This model requires you to install
the Radio gear and !ll the shocks with "uid. This guide contains these and the basic instructions
for operating your new Mini-T Pro. It is critical that you read all of the instructions and all accom-
panying printed material in order to operate your model correctly and avoid unnecessary damage.
Please take a moment to look them over before building the model.
Copyright 2004 Team Losi
A Division of Horizon Hobby Inc.
800-0249
RT 11-04
Visit
www.modelflight.com.au
for more information and spare parts online.
Advertisement

Summary of Contents for Team Losi MINI-T PRO
- Page 1 Radio gear and !ll the shocks with "uid. This guide contains these and the basic instructions for operating your new Mini-T Pro. It is critical that you read all of the instructions and all accom- panying printed material in order to operate your model correctly and avoid unnecessary damage.
- Page 2 Mini-T Pro. If you do not already have these we suggest you use one of the newer smaller mounting hole as shown. Expert Electronics SL110 Do this modi!cation on receivers and ESC’s as it will be easier to !t these in the space available.
- Page 3 The motor screws should be slightly loose. Slide the motor forward allowing the tion and performance. Since the Mini-T Pro comes from the factory with optimum settings, we sug- pinion gear to mesh with the spur gear. Snug (not tight) the bottom motor screw gest !rst-time R/C drivers leave these as they are and simply maintain them as necessary.
- Page 4 1) Remove your ball differential from your tranny. 2) Remove left outdrive cup and loosen diff ad- The Mini T Pro features a choice of battery positions. In the “Back” position, the Mini-T Pro will justing screw with a small "athead screw driver or a .050 allen wrench. Remove right side outdrive have a bit more traction and will jump nose high with less steering.
- Page 5 Mini-T Pro Trouble Shooting Guide Doesn’t operate Battery not charged or plugged in Charge battery / plug-in No crystal in receiver Check and replace if neces- sary No crystal in transmitter Check and replace if neces- sary Receiver switch not “on”...


Need help?
Do you have a question about the MINI-T PRO and is the answer not in the manual?
Questions and answers