
Related Manuals for Rejuvenation Raven


Summary of Contents for Rejuvenation Raven
-
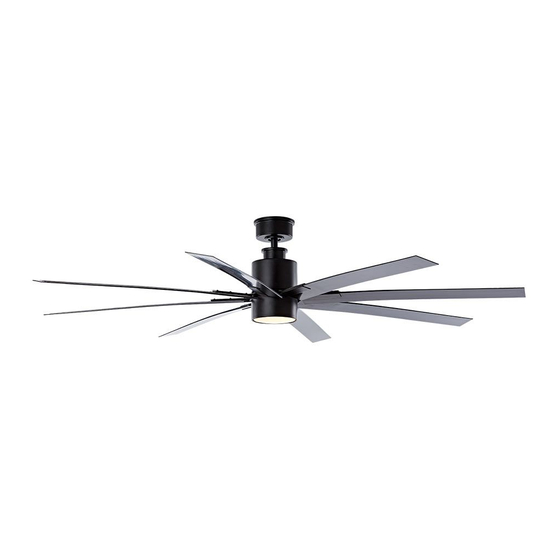
Page 1: Ceiling Fan
The Raven Ceiling Fan Net Weight 19.99 lbs (9.07 kgs) OWNER’S MANUAL READ AND SAVE THESE INSTRUCTIONS... -
Page 2: Important Safety Instructions
Important Safety Instructions WARNING: To avoid fire, shock and serious personal injury, follow these instructions. 1. Read your owner’s manual and safety information before installing your new fan. Review the accompanying assembly diagrams. 2. Before servicing or cleaning unit, switch power off at service panel and lock service panel disconnecting means to prevent power from being switched on accidentally. -
Page 3: Table Of Contents
How to Wire Your Ceiling Fan ..... Raven Parts List ....... . . -
Page 4: Tools Needed For Assembly
This manual is designed to make it as easy as possible for you to assemble, install, operate, and maintain your Rejuvenation ceiling fan. Tools Needed for Assembly Materials • One Phillips head screwdriver (supplied) Wiring outlet box and box connectors must be of type required by local code. -
Page 5: Energy Efficient Use Of Ceiling Fans
Energy Efficient Use of Ceiling Fans Ceiling fan performance and energy savings rely Using the Ceiling Fan Year Round heavily on the proper installation and use of the ceiling Summer Season: Use the ceiling fan in the counter- fan. Here are a few tips to ensure efficient product clockwise direction. - Page 6 Electrical and Structural Requirements (Continued) Deep box with brace (Figure 3) Paired with a deep box, this hanger is meant to span CEILING JOIST between two joists and takes the place of wooden blocking. WARNING To reduce the risk of fire, electric shock, or personal injury, mount to outlet box marked acceptable for fan support of 15.9 kg (35 lbs) or less and use mounting screws provided with the outlet box.
-
Page 7: How To Assemble Your Ceiling Fan
How to Assemble Your Ceiling Fan 1. Prior to assembly, set aside and save the hardware bags packed in the packing. Remove the hanger ball by loosening the setscrew in the hanger ball until the ball falls freely down the downrod. Remove the pin Hanger Ball from the downrod, then remove the hanger ball. - Page 8 How to Assemble Your Ceiling Fan (continued) 5. Route wires through motor coupling cover, canopy screw cover and ceiling canopy. (Figure 5) Ceiling Canopy Canopy Screw Cover Motor Coupling Cover Figure 5 6. Reinstall the hanger ball on the downrod as follows.
-
Page 9: How To Hang Your Ceiling Fan
How to Hang Your Ceiling Fan ▲WARNING To avoid possible electrical shock, be sure electricity is turned off at the main fuse box before hanging. (Figure 1) NOTE: If you are not sure if the outlet box is grounded, contact a licensed electrician for advice, as it must be grounded for safe operation. -
Page 10: How To Wire Your Ceiling Fan
How to Wire Your Ceiling Fan NOTE: If fan or supply wires are different colors than indicated, have this unit installed by a qualified electrician. WARNING To avoid possible electrical shock, be sure electricity MAIN FUSE BOX (Figure 1). NOTE: If you are not sure if the outlet box is Figure 1 grounded, contact a licensed electrician for advice, as it must be grounded for safe operation. -
Page 11: How To Install Your Canopy Housing
How to Install Your Canopy Housing NOTE: This step is applicable after the necessary wiring is completed. WARNING To avoid possible fire or shock, make sure that the electrical wires are completely inside the canopy housing and not pinched between the housing and the ceiling. Canopy Motor Assembly 1. -
Page 12: How To Assemble Your Light Kit Assembly
How to Assemble Your Fan Blade (Continued) 2. Attach blade holders to the bottom of the fan motor hub using the 1/4˝–20 screws w/lockwashers. Make sure the screws with lockwashers securing the blade holders to the fan motor hub are tight and that the blade holders are properly seated. - Page 13 How to Assemble Your Light Kit Assembly (Continued) 3. Connect the 2 single pin connectors from the LED assembly to the 2 single pin connectors from motor assembly. (Figure 3A) CAUTION To reduce the risk of electric shock, disconnect the electrical supply circult to the fan before installing light kit.
-
Page 14: How To Operate Your Ceiling Fan
How to Operate Your Ceiling Fan 1. IMPORTANT: Using a full range dimmer switch (not included) to control fan speed will damage the fan. To reduce the risk of fire or electrical shock, do not use a full range dimmer switch to control the fan speed. (Figure 1) Restore electrical power to the outlet box by turning the electricity on at the main fuse box. - Page 15 How to Operate Your Ceiling Fan (continued) 5. Remote functions: (Figure 5) • Indicator LED light: fan speed and light dimmer indicator • button: Tap once turn off the fan. Press and hold this button for 5 seconds to turn on or turn off the buzzer.
-
Page 16: Setup The Fansync App (Optional)
(Figure 1) 10:37 AM Fans List Setup New Fan Setup New Fan myFanimation DC myFanimation DC Raven myFanimation DC Figure 1 Press Save and your fan will be ready to operate (Figure 2) 10:39 AM Setup Fan Raven... -
Page 17: How To Install Your Remote Control
How to Install Your Remote Control Installing Wall Plate: (Figure 1) Attach wall plate using the two provided screws. Figure 1 Maintenance n i l CAUTION maintenance that is needed. Do not use solvents when cleaning your ceiling fan. It When cleaning, use only a soft brush or lint free cloth could damage the motor or the blades and create the possibility of electrical shock. -
Page 18: Raven Parts List
Raven Parts List Ref.# Description Part # Hanger Bracket Assembly AP255BL Downrod/Hanger Ball Assembly ADR1-45** Ceiling Canopy P799401** Canopy Screw Cover Assembly AP260** Motor Coupler Cover Assembly AP799402** Fan Motor Assembly AMA7994** Blade Holder Set AP799412** Medaillion Blade Holder Set... -
Page 19: Raven Exploded-View Illustration
Raven Exploded-View Illustration NOTE: The illustration shown is not to scale or its actua... -
Page 20: Trouble Shooting
1 and 3 or 1 and 4. If this does not improve wobble, exchange 2 and 4. 4. NOT ENOUGH AIR 1. If possible, consider using a longer downrod MOVEMENT (not included, you can buy the longer downrod from rejuvenation.com). - Page 21 2550 N.W. Nicolai Street, Portland Oregon 97210 Customer Service: 888-567-2055 www.rejuvenation.com...
Need help?
Do you have a question about the Raven and is the answer not in the manual?
Questions and answers