Table of Contents
Advertisement
Advertisement
Table of Contents

Subscribe to Our Youtube Channel
Summary of Contents for Performax AntFi X60-2
- Page 1 Auto-Darkening Welding Helmet User's Manual FOR SKU#:2421487 2014 Made in China...
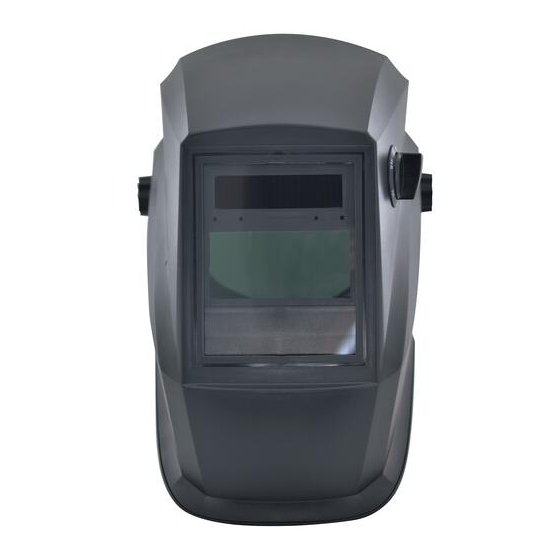
- Page 2 USER INSTRUCTION MANUAL TECHNICAL SPECIFICATIONS AUTO-DARKENING WELDING HELMET AntFi X60-2 ADF Model 2014 Viewing Area 98mm x 42mm/3.86" x1.65" Cartridge Size 110 x 90 x9mm /4.33" x 3.54" x 0.35" WARNING UV/IR Protection Shade DIN 4 Permanent Shade DIN 16 Light State Please read all instructions before using this Auto-Darkening Welding Helmet.
- Page 3 Shade Range Select Switch OPERATION 1.ADJUST THE WELDING HELMER ACCORDING TO YOUR INDIVIDUAL REQUIREMENTS The headband should be adjusted both in circumference and height. The angle between face and helmet should also be adjusted and recommended to be 10°-12°. (Fig.1) The ranges can be selected by the Shade Range Select Switch as shown on Fig.1.
- Page 4 4. DELAY TIME (Fig.2) This Welding Helmet is featured with continuously adjustable delay time control. The lens will lighten in 0.1 to 1.0 seconds upon ambient temperature and shade setting. By turning the DELAY knob (on the rear of the cartridge) clockwise, the delay time will increase from 0.1 seconds to 1.0 seconds.
- Page 5 Take out the old cover lens. (Fig.6) PARTS LIST Make sure that the protective film is removed from the new cover lens. Place the new cover lens in the recess at the front of the helmet. (Fig.7) Adjustable Headband Lens Retaining Frame Lock Switch Inside Cover Lens Cartridge...
- Page 6 Install The new inner cover lens is assembled after the protective film is removed. Insert tabs of the front lens retaining frame under the two slots of the back lens Locate one of the sides inserting the edge under the hook at the side and bend retaining frame.
- Page 7 INSPECTION OPERATION 1. Carefully inspect your Auto-Darkening Welding Filter regularly. Adjust headband per personal preference. (Fig.13) 2. Cracked, pitted or scratched filter glass or cover lenses reduce vision will Adjust helmet/headband stop to get desired viewing angle. (Fig.14) seriously impair protection. 3.
- Page 8 WARRANTY The passive welding helmets are warranted against defects in materials and workmanship for a period of two (2) year from date of purchase. This warranty is limited to the repair or replacement of items which are not in compliance with this warranty. This warranty does not extend to any item subject to unauthorized repair, alteration, tampering, improper storage or operation, inadequate maintenance, accident, misuse, abuse or negligent handling.
Need help?
Do you have a question about the AntFi X60-2 and is the answer not in the manual?
Questions and answers