Table of Contents
Advertisement
October 2017
Installation & Owner's Manual
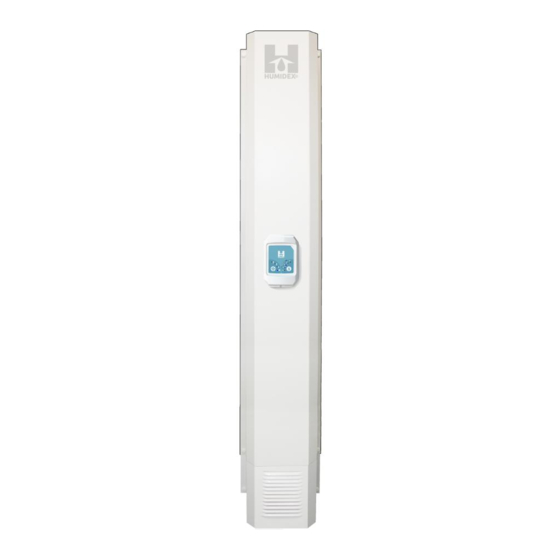
Humidex UNS & HDS
English
This Manual Covers the Following Models
UNS-103
UNS-105
UNS-209
HDS-103
Heavy Duty Crawl Space
HDS-209
Manufactured by:
ClairiTech Innovations Inc.
1095 Ohio Rd.
Boudreau-Ouest, NB
Canada E4P 6N4
Crawl Space
Pony Wall
Basement
Heavy Duty Basement
Rev. 7.4En
Advertisement
Table of Contents


Need help?
Do you have a question about the UNS-103 and is the answer not in the manual?
Questions and answers