Advertisement
Advertisement
Table of Contents

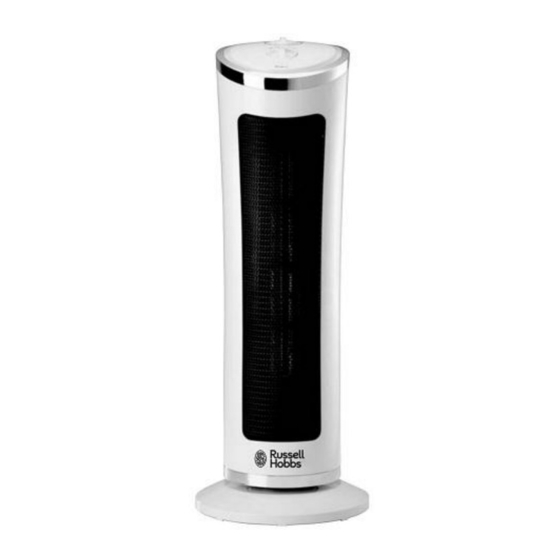
Summary of Contents for Russell Hobbs RHFH505
- Page 1 INSTRUCTIONS AND WARRANTY MODEL NO. RHFH505 DESCRIPTION: CERAMIC FAN HEATER...
-
Page 2: Important Safeguards
Congratulations on purchasing our Elegant Tower fan Heater. Each unit is manufactured to ensure safety and reliability. Before using this appliance for the first time, please read the instruction manual carefully and keep it for future reference. FEATURES OF THE RUSSELL HOBBS ELEGANT TOWER FAN HEATER IMPORTANT SAFEGUARDS... - Page 3 11. Never immerse the unit in water or any other liquid for cleaning purposes. 12. Remove the plug from the socket by gripping the plug. Do not pull on the cord to disconnect the fan heater from the mains. Always unplug the unit when not in use, before cleaning or when adding or removing parts.
-
Page 4: Parts Diagram
27. The manufacturer does not accept responsibility for any damage or injury caused by improper or incorrect use, or for repairs carried out by unauthorised personnel. 28. In case of technical problems, switch off the machine and do not attempt to repair it yourself. - Page 5 1. Thermostat knob: Turn the thermostat knob to select your desired temperature. 。When the temperature reaches the selected comfort level, the heater will switch off. 。When the room temperature drops below your selected comfort level, the heater will start operating again. 2.
- Page 6 To remove stubborn spots/marks, wipe the surfaces with a cloth slightly dampened in soapy water or mild non-abrasive cleaner. Rinse and dry a clean, dry, soft cloth. STORING THE APPLIANCE Unplug the unit from the wall outlet and clean all the parts as instructed above. Ensure that all parts are dry before storing.
- Page 7 CHANGING THE PLUG Should the need arise to change the fitted plug, follow the instructions below. This unit is designed to operate on 230V-240V current only. Connecting to other power sources may damage the appliance. Connect a three-pin plug as follows: The wires in this mains lead are coloured in accordance with the following code: Green/Yellow = Earth Blue...
- Page 8 PLEASE AFFIX YOUR PROOF OF PURCHASE/RECEIPT HERE IN THE EVENT OF A CLAIM UNDER WARRANTY THIS RECEIPT MUST BE PRODUCED. W A R R A N T Y Home of Living Brands (Pty) Limited (“Home of Living Brands”) warrants to the original purchaser of this product (“the customer”) that this product will be free of defects in quality and workmanship which under normal personal, family or household use and purpose may manifest within a period of 1 (one) year from the date of purchase (“warranty period”).


Need help?
Do you have a question about the RHFH505 and is the answer not in the manual?
Questions and answers