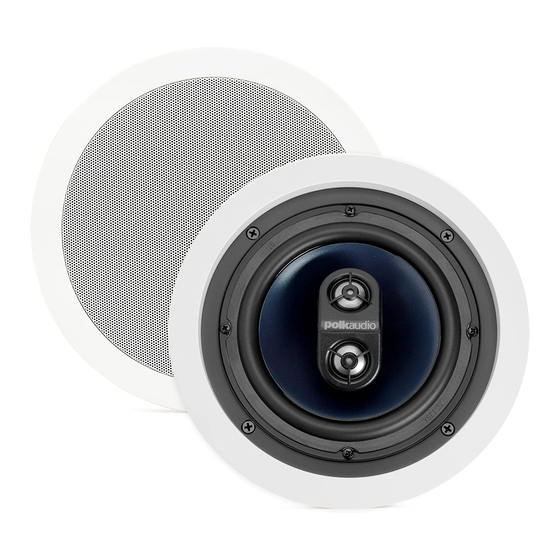
Summary of Contents for Polk Audio RC6S
- Page 1 RC6s Custom Wall & Ceiling Speaker Haut-parleur encastrable dans murs et plafonds Owner’s Manual High Performance In-Wall Speakers Haut-parleurs haute performance «In-Wall»...
- Page 2 PERFORMANCE ENHANCING ACCESSORIES Your authorized Polk Audio dealer can recommend a slew of audiophile accessories to help you get more performance from your system. Or, for high quality speaker stands that match our speaker finishes, wall-mount brackets, system enhancing acces- sories, exclusive Polk Audio logowear and more, visit our WebStore: http://shop.polkaudio.com.
- Page 3 Polk Audio dealer, or a building contractor. FIGURE 1 The RC6s gives you lifelike stereo imaging from a single speaker, It's made to fit locations where a pair of speakers would be impractical, such as corners, hallways, or even shower stalls.
-
Page 4: Preparing To Paint
• Paint mask (to cover the unpaintable parts, supplied!). PREPARING TO PAINT: 1. Separate the parts of the speaker. If the speaker is not yet installed, the grille can be removed simply by pushing the clamp screws forward to push the grille off the speaker from the inside. -
Page 5: Painting The Frame
Spray painting is recommended. 2. Remove the masking material as soon as you apply the final coat. This avoids peeling up the dried paint on the speaker along with the masking tape or paper later. 3. Allow the speaker to dry fully before handling. -
Page 6: You Will Need
(and this is your responsibility, of course). Wiring is best performed by an experienced professional. If you are in doubt that you possess the necessary skills or tools, consult your Polk Audio dealer, or a professional installer. YOU WILL NEED: •... - Page 7 [Figure 7]. 5. Once you have cut the hole, fish your previously positioned wiring out of the hole and connect the speaker. Follow the hookup directions included with your receiver and in this manual.
-
Page 8: In-Wall Mounting
Repeat for each terminal [Figure 8]. IN-WALL MOUNTING 1. To mount the speaker, make sure that the rotating wall clamps are flipped inwards so that your speaker fits into your cutout without nicking your wall. Then place the speaker carefully into the cutout. -
Page 9: Safe Limits Of Operation
SAFE LIMITS OF OPERATION Your Polk Audio Loudspeakers are constructed of the highest quality materials for years of trouble-free performance. However, damage to loudspeakers can occur when an amplifier, regardless of its wattage, is made to play at higher listening levels than its power can clearly produce. -
Page 10: Specifications
For further detailed information, please contact the retailer where you purchased this product or the Polk Audio Importer/Distributor in your country. A listing of Polk Audio Importer/ Distributors can be found on the Polk Audio website www.polkaudio.com or by contacting Polk Audio at 5601 Metro Drive, Baltimore, Maryland 21215, USA—... - Page 11 Product, even if Polk Audio, Inc. or a Polk Audio Authorized Dealer has been advised of the possibility of such damages, or for any claim by any other party.
- Page 12 5601 METRO DRIVE, BALTIMORE, MARYLAND 21215, USA, 800-377-7655, FAX: 410-764-5266 www.polkaudio.com...


Need help?
Do you have a question about the RC6S and is the answer not in the manual?
Questions and answers