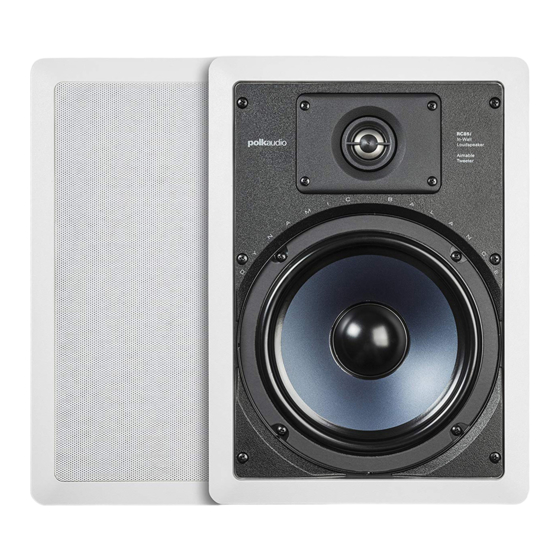
Polk Audio RC55i Owner's Manual
Rci series high performance in-wall speakers
Hide thumbs
Also See for RC55i:
- Owner's manual (21 pages) ,
- Owner's manual (13 pages) ,
- Owner's manual (13 pages)
Summary of Contents for Polk Audio RC55i
- Page 1 RC60 i RC80 i RC55 i RC65 i RC85 i Owner’s Manual High Performance In-Wall Speakers Haut-parleurs encastrables Haute Performance « In Wall »...
-
Page 2: Placement Options
PLACEMENT OPTIONS Polk Audio RCi Series In-Wall Loudspeakers give you nearly endless placement options. But remember that placement choice for your in-wall speakers bears careful consideration, as installa- tion requires that you cut a hole in your wall! Fill a room with sound by installing in-wall speakers in nearly any wall or ceiling location [figure 1]. - Page 3 Zerstreuung des Schallfelds in Richtung der nächstliegenden reflektierenden Flächen positioniert werden (Wand oder Zimmerdecke). FIGURE 4 RC55i, RC65i, RC85i models: Holding the edges of the oblong tweeter carefully between the thumbs and forefingers of both hands, rock the tweeter slightly to aim it.
-
Page 4: Preparing To Paint
Get more information and exclusive accessories, visit www.polkaudio.com PREPARING TO PAINT: 1. Separate the parts of the speaker. If the speaker is not yet installed, the grille can be removed simply by pushing the clamp screws forward to push the grille off the speaker from the inside. -
Page 5: Painting The Frame
épaisse pourrait boucher les trous de la grille. 3. Modèles RC55i, RC65i et RC85i: Avant de peindre la grille à l’aérosol, retirez la toile de l’intérieur de la grille en la détachant délicatement de la grille [figure 8]. Déposez cette toile sur une surface plate et propre où... -
Page 6: Installation
Install speaker wires before installing speakers. Wire meeting appropri- ate building and fire codes must be used. Use at least 18 gauge wire or heavier for the utmost in sound quality. - Page 7 (so you have two unfrayed strands). Note that one of the terminals on the rear of each speaker is red (+) and the other is black (-). Make certain that you connect...
- Page 8 Cela fera tourner les crampons et fixera solidement votre haut-parleur au mur ou au plafond. Conseil : pour les modèles RC55i, RC65i et RC85i, resserrez les vis du milieu avant de resserrer les vis des coins – le haut-par- leur sera ainsi mieux affleuré.
-
Page 9: Safety First
For further detailed information, please contact the retailer where you purchased this product or the Polk Audio Importer/Distributor in your country. A listing of Polk Audio Importer/ Distributors can be found on the Polk Audio website www.polkaudio.com or by contacting Polk Audio at 5601 Metro Drive, Baltimore, Maryland 21215, USA—... -
Page 10: Specifications
SPECIFICATIONS RC55i Frequency Response 67Hz-20kHz Recommended Power 20-100wrms Impedance Compatible with 8 Ohm amplifiers Efficiency (dB 1w/1m) 89db Drive Unit Complement Mid-Bass 1–5 1/4" (13.3cm) mineral filled polypropylene cone, rubber suspension Tweeter 3/4" (1.9cm) soft dome in swivel mount Cutout Dimensions 6 1/4"... -
Page 11: Garantie Limitée De 5 Ans
La garantie sera automatiquement annulée avant sa date d’expiration spécifiée si l’acheteur original vend ou transfère le produit à tout autre parti. Polk Audio, Inc., garantit - à l’acheteur au détail original seulement - que le ou les HAUT-PARLEUR(S), COMPOSANTE(S) DE FILTRE PASSIF et CAISSON(S) de ce pro- duit Polk Audio seront exempts de tout défaut attribuable aux pièces d’origine et... - Page 12 5601 METRO DRIVE, BALTIMORE, MARYLAND 21215, USA, 800-377-7655, FAX: 410-764-5266 www.polkaudio.com...


Need help?
Do you have a question about the RC55i and is the answer not in the manual?
Questions and answers