Sign In
Upload
Download
Table of Contents
Contents
Add to my manuals
Delete from my manuals
Share
URL of this page:
HTML Link:
Bookmark this page
Add
Manual will be automatically added to "My Manuals"
Print this page
×
Bookmark added
×
Added to my manuals
Manuals
Brands
Casio Manuals
Synthesizer
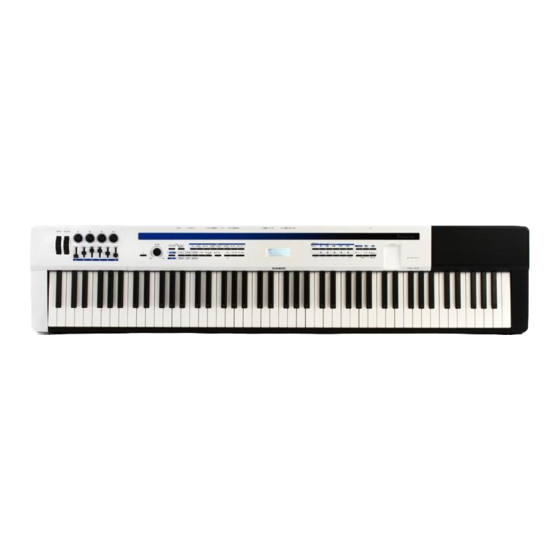
Privia PX-5S
Quick start manual
Casio PX-5S Quick Start Manual
Hide thumbs
Also See for PX-5S
:
Manual
(83 pages)
,
User manual
(56 pages)
,
User manual
(44 pages)
1
Table Of Contents
2
3
4
5
6
7
8
9
10
11
12
13
14
15
16
17
18
19
20
21
22
23
24
page
of
24
Go
/
24
Contents
Table of Contents
Bookmarks
Table of Contents
Table of Contents
Quick Tour
Selecting Sounds
Changing Banks
Modify Sound
Pedal Control Applications
Stage Setting Vs. Tone
Selecting Other Tones
Hex Layers
Stage Setting Zones
Changing Sounds Within the Layer
Split Keyboard Setups
Making Your Own Split Setup
Choosing Tones
Setting the Split Point
Other Important Edits
Zone Volume
Zone Effects Amount
Enabling / Disabling
Controllers Per Zone
Saving Your Edits
Adding New Sounds
Loading USB Files
Record Your Playing
More Resources
Advertisement
Quick Links
1
Quick Tour
2
Selecting Sounds
3
Changing Banks
4
Pedal Control Applications
5
Stage Setting Vs. Tone
6
Stage Setting Zones
7
Hex Layers
8
Loading Usb Files
Download this manual
See also:
User Manual
,
Manual
QUICK START GUIDE
Table of
Contents
Previous
Page
Next
Page
1
2
3
4
5
Advertisement
Table of Contents
Need help?
Do you have a question about the PX-5S and is the answer not in the manual?
Ask a question
Questions and answers
Subscribe to Our Youtube Channel
Related Manuals for Casio PX-5S
Musical Instrument Casio PX-5S Manual
(83 pages)
Musical Instrument Casio Privia PX-5S User Manual
Tutorial (56 pages)
Musical Instrument Casio Aculaser M2 User Manual
Digital piano (44 pages)
Cash Register Casio Privia PX-5S User Manual
(8 pages)
Synthesizer Casio AP-200 Manual
Midi implementation (45 pages)
Synthesizer Casio privia PX-120 User Manual
Casio user's guide musical instrument px-120 (38 pages)
Synthesizer Casio PL-40R User Manual
Casio piano user's guide pl-40r (34 pages)
Synthesizer Casio PL-40R Troubleshooting Manual
(14 pages)
Synthesizer Casio Privia PX-300 Guía Del Usuario
Privia (36 pages)
Synthesizer Casio Privia PX-500L User Manual
Casio px500l user's guide (36 pages)
Synthesizer CASIO PG-310 Player's Manual
Guitar synthesizer (14 pages)
Synthesizer Casio PT-50 Operation Manual
Electronic musical instrument (54 pages)
Synthesizer Casio PT-80 Operation Manual
Electronic musical instrument (33 pages)
Synthesizer Casio PX-S1000 Manual
Midi implementation (26 pages)
Synthesizer Casio PX-S7000HM Manual
(27 pages)
Synthesizer Casio PX-S5000 Implementation
Midi implementation (27 pages)
This manual is also suitable for:
Privia
Table of Contents
Print
Rename the bookmark
Delete bookmark?
Delete from my manuals?
Login
Sign In
OR
Sign in with Facebook
Sign in with Google
Upload manual
Upload from disk
Upload from URL


Need help?
Do you have a question about the PX-5S and is the answer not in the manual?
Questions and answers