Advertisement
Thanks for choosing ClearView - the clear choice in video surveillance!
You should have these components in your DVR system package:
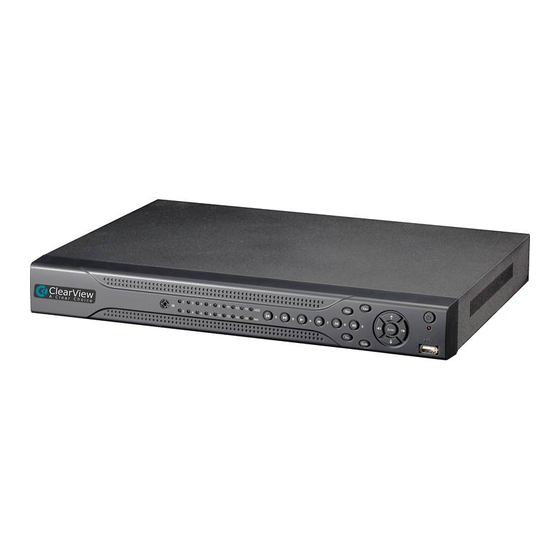
1 – ClearView DVR with hard drive pre-installed, and a DVR power supply.
1 or 2 – Camera power supply w/AC cord & 4 port splitter (2 of these with an 8 camera system).
4 or 8 – Clearview weatherproof cameras (8 cameras included with an 8 camera system).
Accessory Box – Camera mounting screws, mount templates, DVR remote control, USB mouse.
Register Your New DVR Online
Why register? Registering your product confers the following benefits:
•
FREE DDNS so your DVR will stay connected
•
Ensures product warranty – REGISTRATION IS REQUIRED for product repairs
•
New Software updates & and feature notification
•
Knowledge base and video tutorials
Go to
http://register.clearviewcctv.com
column. Filling in the form will create a MyClearView login, and you will be asked to register your DVR.
Report any missing components to your dealer immediately!
and enter your information under the PRODUCT REGISTRATION
Eagle / Hawk / CBT
KIT INSTALLATION GUIDE
Advertisement
Table of Contents

Subscribe to Our Youtube Channel
Related Manuals for ClearView Eagle View DVR Kit


Summary of Contents for ClearView Eagle View DVR Kit
- Page 1 1 or 2 – Camera power supply w/AC cord & 4 port splitter (2 of these with an 8 camera system). 4 or 8 – Clearview weatherproof cameras (8 cameras included with an 8 camera system). Accessory Box – Camera mounting screws, mount templates, DVR remote control, USB mouse.
- Page 2 CAMERA INSTALLATION You will need the following tools for installation: An OSHA approved ladder, Phillips screwdriver, power drill & 3/4” and 3/16” bits, rubber self-seal tape or heat shrink tubing, and some caulk or sealant for outdoor cables. A section of stiff wire and some masking tape can help run the camera cables. TIP: When you run your camera wires, MAKE SURE that the POWER JACK end of the video cable is located at the DVR end to connect to one of the camera power supply plugs...
- Page 3 Congratulations – you have successfully installed your ClearView DVR! NETWORK & ONLINE SETUP Now that your ClearView video system is up & running, you can connect it to your network to view and work with from a remote PC or Apple Mac computer on your network and online.
- Page 4 REGISTER & STAY CONNECTED AUTOMATICALLY – ClearView gives you a FREE DDNS service - when you register your new DVR online! The DDNS (Dynamic Domain Name System) automatically keeps your DVR online, and gives your DVR an easy to remember “host name”...
Need help?
Do you have a question about the Eagle View DVR Kit and is the answer not in the manual?
Questions and answers