Table of Contents
Advertisement
Advertisement
Table of Contents

Related Manuals for Pentax MZ-7 QUARTZ DATE


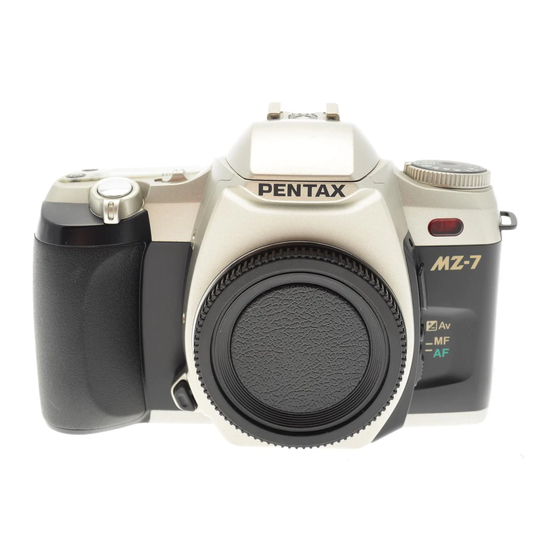
Summary of Contents for Pentax MZ-7 QUARTZ DATE
-
Page 2: Table Of Contents
[ INDEX ] Page [DISASSEMBLY & ASSEMBLY PROCEDURES] ................. 2 ............................2 OUTLINE ............................2 COSMETIC PARTS ......................3 SOLDERING OF THE MAIN BODY (0-T100)........................4 MAIN P BOARD ............................... 4 MAIN BODY * Soldering position of lead wires for Winding motor (0-S200) ............4 (0-A301) .......................... -
Page 3: [Disassembly & Assembly Procedures]
[Disassembly & Assembly procedures] Outline The disassembly and assembly procedures of MZ-7 are similar to the MZ-5 and MZ-10. The only exclusive notice of assembly for MZ-7 is mentioned below. For others, refer to the Service manual of MZ-5 and MZ-10. 1. -
Page 4: Soldering Of The Main Body
2. Soldering of Main body [Disassembly procedure] 2-1. Switch the panorama lever to “Full frame” 2-2. Remove the LCD….TY-CNL-D1.7x5.0 2-3. Around the release SW (Refer to the figure below) 8 lead wires, 8 soldering lands [Note of assembly] Arrange lead wires as below. ( DT(3x7) Red(A36) Blk(A37) ... -
Page 5: Main P. C. Board (0-T100)
3. Main P. C. Board (0-T100) [Note of assembly] 3-1. When the viewfinder LCD is installed, push the LCD to the direction of allow mark. (Same as MZ-10) 3-2. Stick the tape (DT, PT and BT) as shown in the figure. 4. -
Page 6: Top Cover (0-A301)
5. Top cover (0-A301) [Note of assembly] When assembling the top cover, refer to the Parts list and figures below. The type of the Hot shoe cover should be “FK” type for MZ-7. (The other type may activate the switch (A329) and result the Flash won’t pop-up.) 5-a. -
Page 7: 5-C. [Adjustment & Confirmation] Installing Position Of The Pop-Up Magnet (G119)
5-c. [Adjustment & Confirmation] Installing position of Pop-up magnet (G119) 1) At the flash pop-up condition, the armature of G119 should be positioned as shown in figure right. 2) Loosen Q3 installing screw and tight again. (Refer to figure in front page) 3) At the flash retracted position, when the armature lever (0-A373) is pushed toward the back and released, the flash should be pop-up. -
Page 8: Adjustment With The Programmed Software
3) Remote control mode – Select the mode ( ) by the drive button ( The self-timer LED should flash, and the shutter should be released by the transmitter. 4) Set the mode dial at “Tv” and operate the select lever, Tv and Av display should be changed. The Bar Graph in the viewfinder should be displayed when the Side button is pressed, and the 1/30 or slower speed should be displayed by orange color. -
Page 9: [Data Table]
[Data table] 1. Battery life 20℃/68°F -10℃/14°F Condition/Temperature Without flash Approx. 120 rolls Approx. 30 rolls With 50% flash Approx. 20 rolls Approx. 15 rolls With 100% flash Approx. 12 rolls Approx. 5 rolls Exposure time at the Bulb mode Approx. -
Page 10: The Tool For Flash Pop - Up
*Flash pop-up jig [Material] Telephone-card or equivalent, which can be inserted between flash, cover and top cove 1.The way of making (Size and shape are just for the reference) 1) Cut the card as below. (Fig.1) 2) Cut the corner as below. (Fig.2) 50 ①...
Need help?
Do you have a question about the MZ-7 QUARTZ DATE and is the answer not in the manual?
Questions and answers