Advertisement
Advertisement
Table of Contents

Related Manuals for Sercomm xCAM


Summary of Contents for Sercomm xCAM
- Page 1 User’s Guide...
-
Page 3: Table Of Contents
Table of Contents CHAPTER 1 INTRODUCTION ....................1 Overview ..........................1 Physical Details - xCAM ....................2 Physical Details - XW3 ...................... 4 Package Contents ......................5 CHAPTER 2 BASIC SETUP ....................6 System Requirements ......................6 Installation ......................... 6 Wall Mounting ........................ -
Page 5: Chapter 1 Introduction
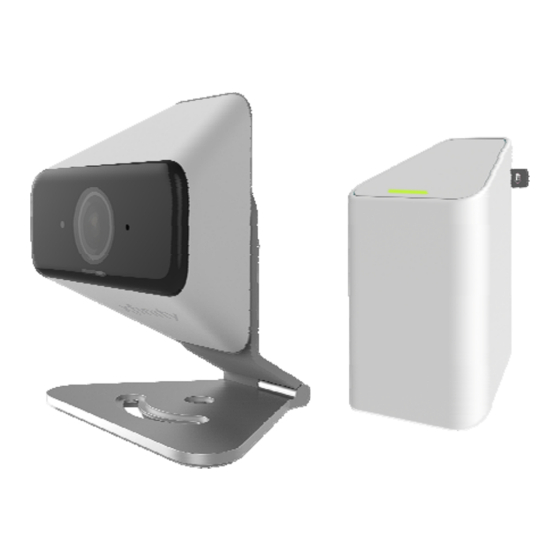
This Chapter provides information of the xCAM's features, components and capabilities. Overview Congratulations on the purchase of your new xCAM. The xCAM is a True Day/Night IP camera that features high definition 1280 x 720p video resolution and 802.11n WiFi connectivity. -
Page 6: Physical Details - Xcam
POWER indicator On (Blue) - The xCAM is paired. (Blue/Yellow) Flashing (Blue) - The xCAM is connected to router but not paired. Flashing (Yellow) - The xCAM is not connected to XW3 or XW3 is not connected to a router. - Page 7 To Clear All Data and restore the factory default values: 1. Power On. 2. Keep holding the Reset Button down for 8 seconds. 3. Release the Reset Button. The xCAM is now using the factory default values. Microphone The built-in microphone is located on the rear of the device.
-
Page 8: Physical Details - Xw3
Physical Details - XW3 LAN Port To be connected to the RJ-45 jack of xCAM for power feed and data exchange. Reset Button This button has the following function: • Reset to manufacturer default valued and reboot. When pressed and held over 10 seconds, the settings of the XW3 will be set to their default values. -
Page 9: Package Contents
Package Contents The following items should be included in the package: If any of these items are damaged or missing, please contact your dealer immediately. • xCAM Unit (with Stand and Ethernet RJ-45 pigtail) * 1 • Y-cable * 1 •... -
Page 10: Chapter 2 Basic Setup
Make sure the Router and the Touch Panel are both powered on and synchronized before adding your xCAM. This step is required when an xCAM is used for the FIRST time. It only needs to be done ONCE in order to configure the wireless settings for the xCAM. - Page 11 14. Now you can see the live stream in the touch panel. Setup is now complete. 15. Unplug the Y-cable and power off the xCAM. Now the xCAM is ready to be placed at a desired location, and can operate under wireless mode.
-
Page 12: Physical Installation
Figure 4: Installation 1. Move the xCAM to where it is to be placed. 2. Connect the Ethernet cable to the LAN port of the xCAM and XW3. 3. Check and make sure that the Power LED is on. ... -
Page 13: Wall Mounting
Wall Mounting *Note: Please make sure that the xCAM is configured and added to the network before permanent mounting. 1. Use the electric drill for boring two holes in the desired position where you would like to install the xCAM. - Page 14 Note: The following steps are recommended: a. Mount the camera with the screw first. b. Adjust the angel by moving the opening of the stand. Install the other screw after the adjustment. 4. Ensure that the xCAM is secured firmly.
-
Page 15: Appendix A Specifications
Appendix A Specifications Spec xCAM Model xCAM Dimensions 76.8mm (W) x 76.8mm (H) x 38.6mm (D) (without stand) Operating Temperature 0° C to 40° C Video compression H.264 and MJPEG Network Interface 1 Ethernet 10/100BaseT (RJ45 pigtail) Storage Temperature -20° C to 70° C... -
Page 16: Regulatory Approvals
Regulatory Approvals FCC Statement This equipment generates, uses and can radiate radio frequency energy and, if not installed and used in accordance with the instructions, may cause harmful interference to radio communications. However, there is no guarantee that interference will not occur in a particular installation.
Need help?
Do you have a question about the xCAM and is the answer not in the manual?
Questions and answers