Advertisement
Quick Links
Warranty Information
Cooler Master guarantees that this device is free of defect in material and
workmanship, and provides a two-year limited hardware warranty for the device
commencing from the date of purchase. Please keep your receipt for proof of
purchase.
This product is designed for computer usage only. Using this device in any other
capacity voids the warranty. If you are not familiar with computer hardware
installation, please ask for professional assistance.
The warranty offered covers normal use. Defect or damage that result from
improper operation, storage, misuse or abuse, accident or neglect, which are not
the fault of Cooler Master, are exclude from warranty coverage.
Note: the warranty is voided by removal or alternation of product or parts identification labels.
Chapter 1: Product Overview
Specifications:
Available Color
Dimensions
Weight
Material
M/B Type
5.25" Drive Bay
3.5" Drive Bay
Cooling System
I/O Panel
Power Supply
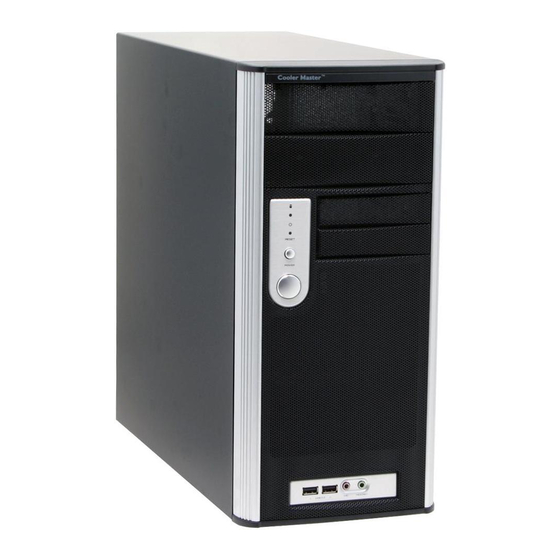
The installation process of Chassis B540 and B541 are the same. B540 and B541 have the
same casing, but the front panel designs are different.
B540
Silver
L420 x W180 x H390 mm
7 kg
Aluminum bezel, SECC chassis
m-BTX
2 (Exposed)
2 (Exposed); 2 (Hidden)
One 120x120x25mm front fan ( Intake) (Option)
1200rpm,22dBA
Dual 80x80x25mm rear fan ( Exhaust )(Option)
1800rpm,22dBA
USB2.0 x 2; MIC x 1; SPK x 1
Standard ATX PS2, 380W support LGA775(option)
Centurion B540/B541
B541
Rear
English
1
Advertisement

Related Manuals for Cooler Master Centurion B540


Summary of Contents for Cooler Master Centurion B540
-
Page 1: Chapter 1: Product Overview
English Warranty Information Cooler Master guarantees that this device is free of defect in material and workmanship, and provides a two-year limited hardware warranty for the device commencing from the date of purchase. Please keep your receipt for proof of purchase. - Page 2 Centurion B540/B541 English Explosion chart and Parts List Item Parts Q Item Parts 1 Aluminum Panel 1 13 Screwless device 4 2 Plastic Panel 1 14 Side Panel 3 5.25” shield 2 15 Screw (side panel) 2 4 3.ⁿ” shield...
-
Page 3: Chapter 2: Installation
Centurion B540/B541 English Items Quantity Parts Box(7"*3 7/8"*2 1/4) Tweezers Bag (195*260*0.04mm) No. 7 Tweezers No. 5 Tweezers No. 2 Tweezers M3*5 Round Head Screws 6*5 Round Head Screws 6*8 Round Head Screws 540 Instruction Manual 5*10KT Screws 6*6 Hexagonal Screws... - Page 4 Centurion B540/B541 English Installing the Motherboard Remove the screws on the HDD Rack and slide the HDD Rack backwards to remove it. Lie down the casing. Align the holes on motherboard and casing and secure them with screws. Installing the Add-on Card 1.
- Page 5 Centurion B540/B541 English Install the CD-ROM. and FDD into the 5.25” and 3.5” slot respectively. Locate the HDD device in place, and align its screw holes with the rack’s. Push forward the plastic handling and tightening it. Push the lock and the installation is done.
- Page 6 Centurion B540/B541 English I/O Function Panel Installation Guide Please refer to the illustration on the section of USB2.0and Audio connector from the motherboard user manual. Please select the motherboard which used the same USB2.0, AC’97,HD Audio standard as below; otherwise, it will cause damages to device(s).
Need help?
Do you have a question about the Centurion B540 and is the answer not in the manual?
Questions and answers