Advertisement
Quick Links
719181214
Owner's Manual
& Assembly Guide
Series Storage Chest
Customer Service:
1-800-851-1085
assist@arrowsheds.com
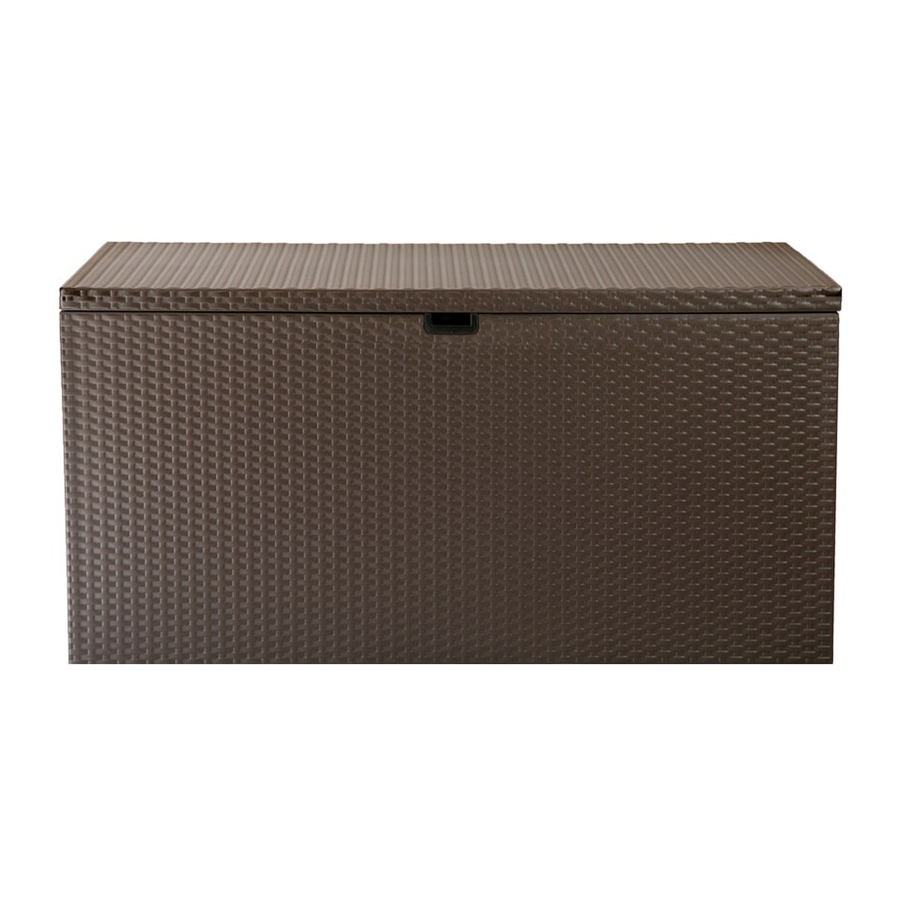
UNIT DIMENSIONS
Storage
Area
10 Sq. Ft.
22 Cu. Ft.
0,9 m
0,6 m
2
* See Inside for Detailed Safety Information.
or
Exterior Dimensions
(Lid Edge to Lid Edge)
Width
Depth
52"
27 3/16"
132,1 cm
69,1 cm
3
www.arrowsheds.com
Model No.
Gloves must be worn
at all times to reduce
risk of injury!
Interior Dimensions
Height
Width
26 3/16"
50 1/2"
66,5 cm
128,3 cm
DSSCBW
DSSCBWDI
DSSCANBW
DSSCANBWDI
PATENT PENDING
(Wall to Wall)
Depth
Height
25"
24 11/16"
63,5 cm
62,7 cm
01V
Advertisement

Subscribe to Our Youtube Channel
Related Manuals for SPACEMAKER DSSCBW


Summary of Contents for SPACEMAKER DSSCBW
- Page 1 719181214 Owner’s Manual & Assembly Guide www.arrowsheds.com Model No. DSSCBW DSSCBWDI DSSCANBW DSSCANBWDI Series Storage Chest PATENT PENDING Customer Service: 1-800-851-1085 Gloves must be worn assist@arrowsheds.com at all times to reduce risk of injury! UNIT DIMENSIONS Storage Exterior Dimensions Interior Dimensions...
-
Page 2: What You Need
BEFORE YOU BEGIN... Safety precautions MUST be followed at all times throughout the construction of your Storage Unit! •Care must be taken when handling various pieces of your Storage Unit since many contain sharp edges. Please wear work gloves, eye protection and long sleeves when assembling or performing any maintenance on your Storage Unit. - Page 3 HARDWARE LIST... Part Part Description Qty. List M4*16 Cross recessed pan head screw M4*12 Cross recessed pan head self-tapping screw M4*12 Cross recessed countersunk head screw M4*12 Cross recessed countersunk head screw (Black) M4 Hex Nut M4*8 Cross recessed pan head screw Top Air Spring Pedestal Bottom Air Spring Pedestal Feet M6 x 15...
-
Page 4: Parts List
PARTS LIST... Part Part Qty. Description List Lid Panel Front Panel Back Panel Left/Right Panel Bottom Panel Strength Rib Plastic Handle Corner Support... - Page 5 ASSEMBLY BY KEY NO.
- Page 6 Step 1 You will need for this page: • Back Panel - C (QTY:1) • Bottom Air Spring Pedestal - HH (QTY: 2) • Corner Support - H (QTY: 3) (QTY: 8) (QTY: 4) Attach the Bottom Air Spring Pedestal to the Back Panel by using Screws provided with Bottom Air Spring Pedestal.
- Page 7 Step 2 You will need for this page: • Front Panel - B (QTY: 1) • Plastic Handle - G (QTY: 1) • Corner Support - H (QTY: 3) (QTY: 4) (QTY: 4) (QTY: 8) (QTY: 4) Install the Plastic Handle on the Front Panel using four (4) Hardware DD and four (4) Hardware EE as shown in Figure D.
- Page 8 Step 3 You will need for this page: • Lid Panel - A (QTY: 1) • Top Air Spring Pedestal - GG (QTY: 2) Attach Top Air Spring Pedestal to Lid Panel using Screws provided with Top Air Spring Pedestal as shown in Figure G. Fig.
- Page 9 Step 4 You will need for this page: • Back Panel Assembly (Step 1) • Front Panel Assembly (Step 2) • Strength Ribs - F (QTY: 20) (QTY: 5) Assemble Front Panel Assembly, Back Panel Assembly, and fi ve (5) Strength Ribs together using twenty (20) Hardware BB as shown in Figure H.
- Page 10 Step 5 You will need for this page: • Bottom Panel - E (QTY: 1) (QTY: 12) Attach the Bottom Panel using twelve (12) Hardware BB as shown in Figure I. Fig. I...
- Page 11 Step 6 You will need for this page: • Left/Right Panel - D (QTY: 2) (QTY: 8) (QTY: 8) (QTY: 8) (QTY: 8) Attach one (1) Left/Right Panel using four (4) Hardware FF and four (4) Hardware EE as shown in Figure J. Attach Left/Right Panel at Corner Support using four (4) Hardware AA as shown in Figure K.
- Page 12 Step 7 You will need for this page: • Lid Panel Assembly (Step 3) • Air Spring - JJ (QTY: 2) (QTY: 9) (QTY: 9) Connect the Lid Panel Assembly to assembled box using nine (9) Hardware CC and nine (9) Hardware EE as shown in Figure M.
- Page 13 CARE & MAINTENANCE... Exterior Care: For a long lasting fi nish clean the exterior surface. We recommend washing with a mild soap solution. DO NOT use power washing, bleach, ammonia, or caustic cleaner to clean your storage unit. Using a spray automotive type wax periodically on the exterior is highly recommended if you are in a high humidity or coastal climate region.
-
Page 14: Assembly Notes
ASSEMBLY NOTES... - Page 15 ASSEMBLY NOTES...
Need help?
Do you have a question about the DSSCBW and is the answer not in the manual?
Questions and answers